Aluminium Panels
Below are pictures of the materials
that I'm Going to use to create the Aluminium panes that are evident on
the full size pup.
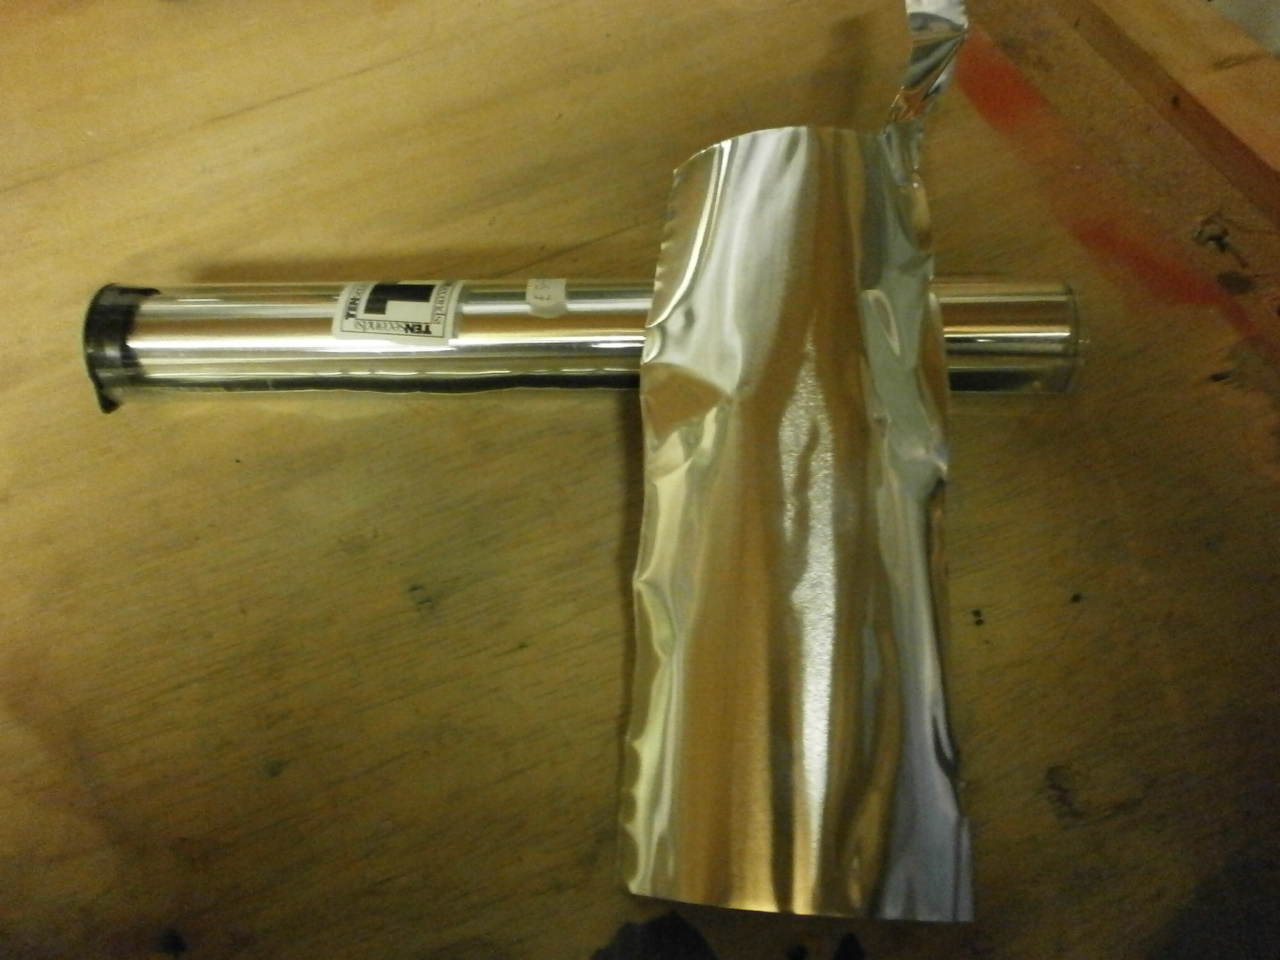
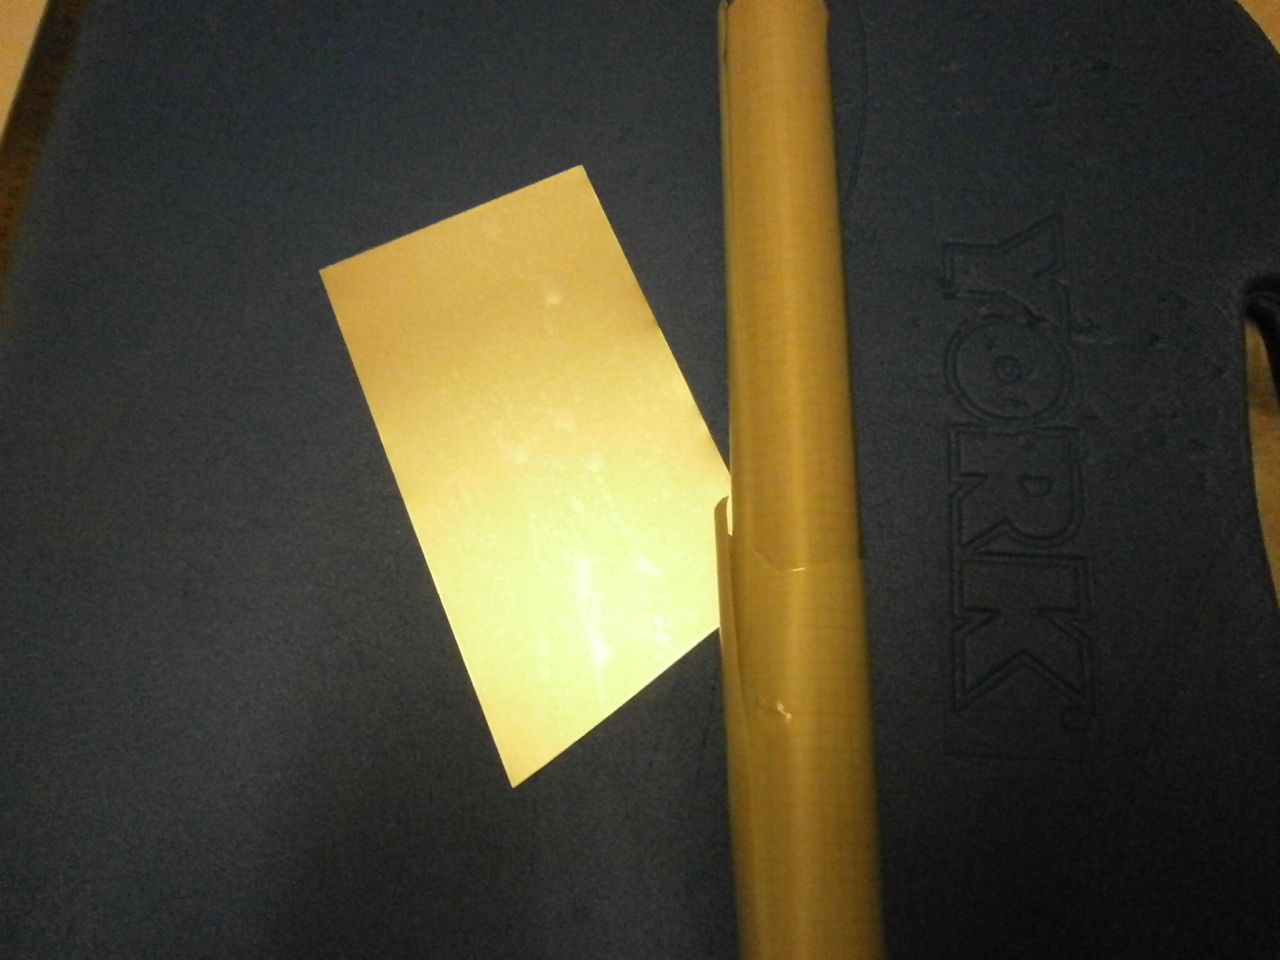
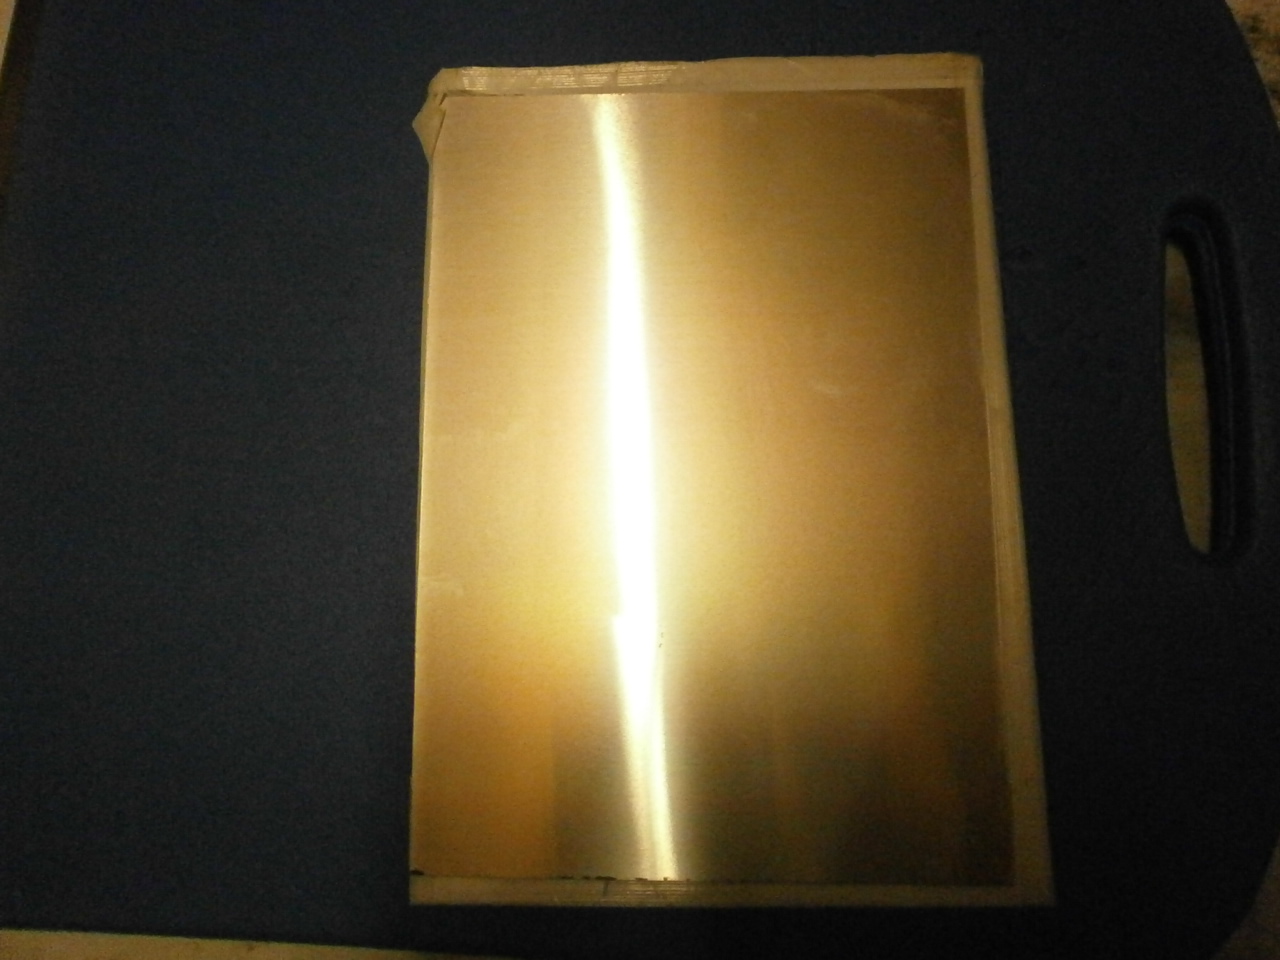
The first picture below shows the aluminium or litho sheet. This was purchased from
a card makers shop and is approximately 1M long. It is just slightly
thinner than litho plate and cost me £10.00. Litho plate purchased off
ebay, 3 A4 sheets cost £4.00.
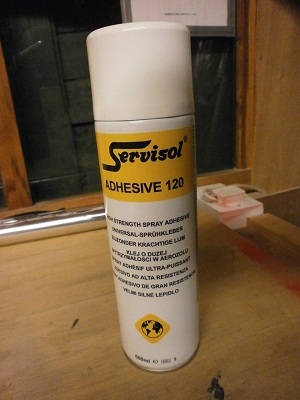
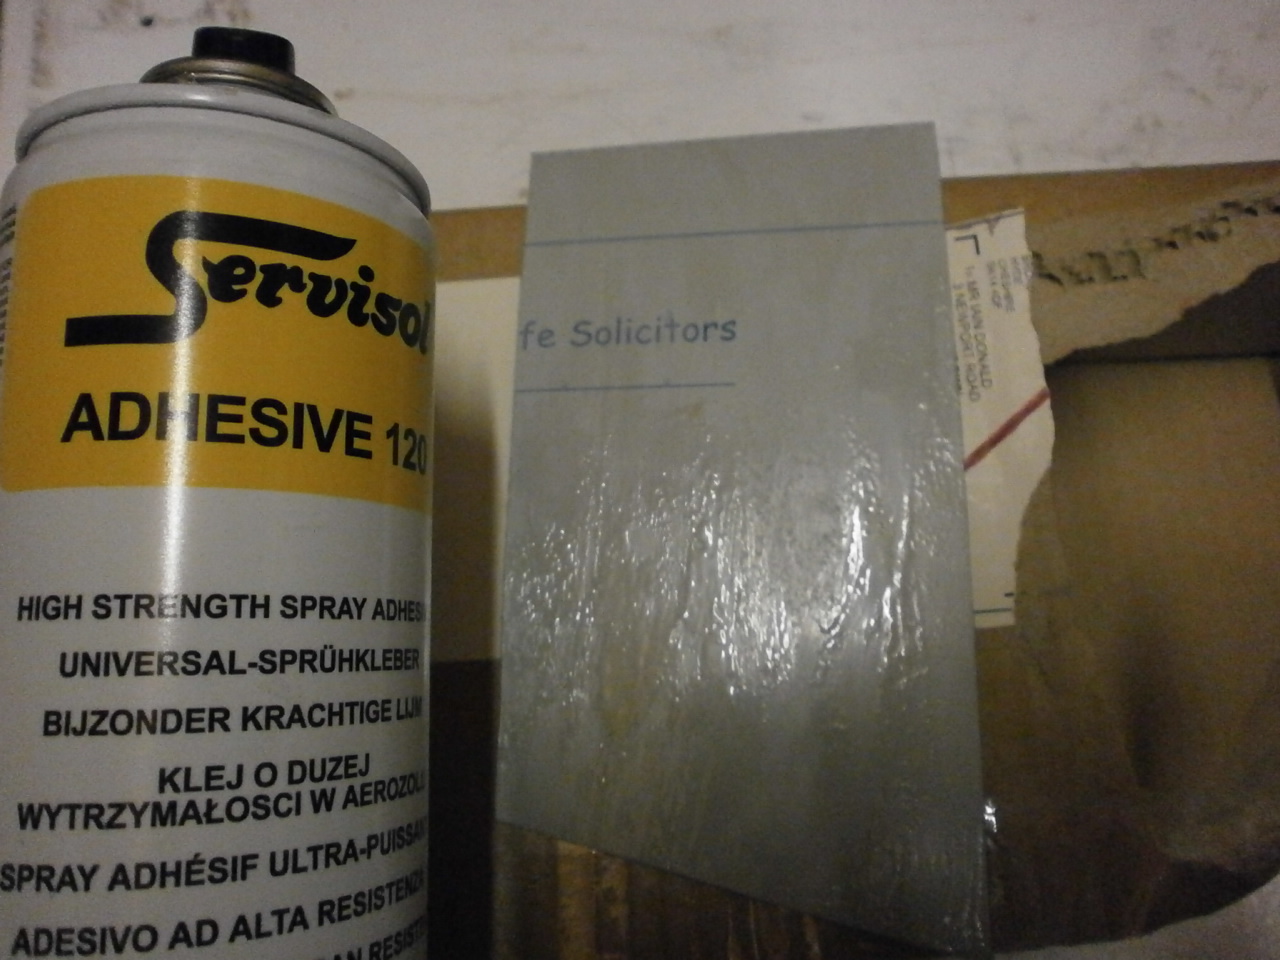
The next picture is of the glue that I will be using. This is an industrial contact adhesive and cost around £7.00 and is obtainable from Amazon.
 |
 |
The pictures to come will explain the stages that where taken to get the above panel completed but this will be carried out on the fuselage.
The first thing I need to do is to feather in the overlap of the text so that when I apply the aluminium we do not get an unsightly line in the panel as this would have not been the case on the full size. The following two pictures below show the application of the filler and then the finished result after sanding.
|
|
 |

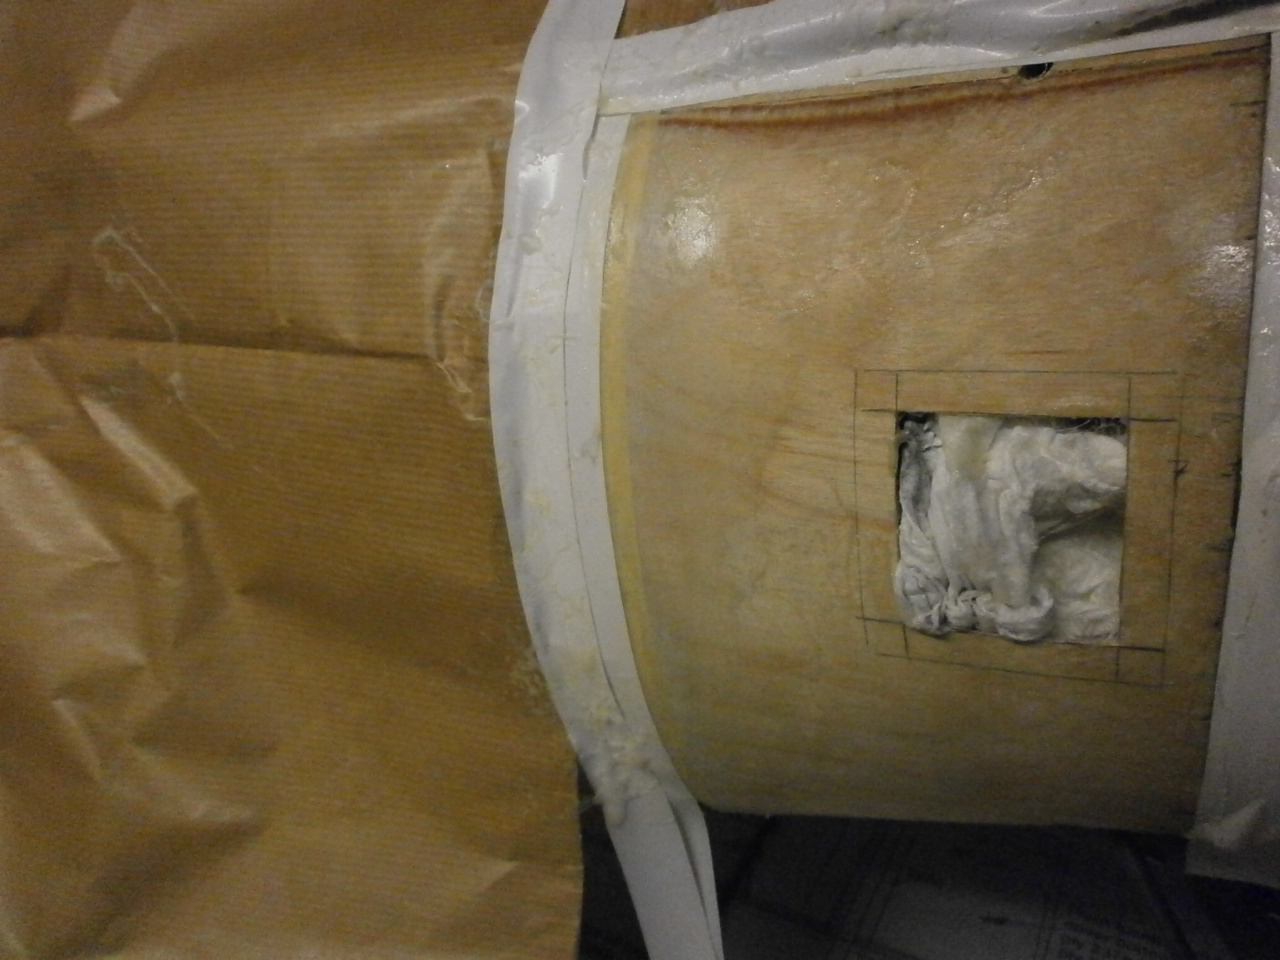
With the feathering completed, the next thing is to cut out the openings for the hatches. It is not essential that you do this as aluminium sheet cut out into the shape of a hatch and then glued into position, this will give the same effect. The reason I'm cutting the openings is that I want to hide the on / off switches that operate the power supply to both the radio system and engine spark ignition system and hiding them under the hatches will do the job nicely.
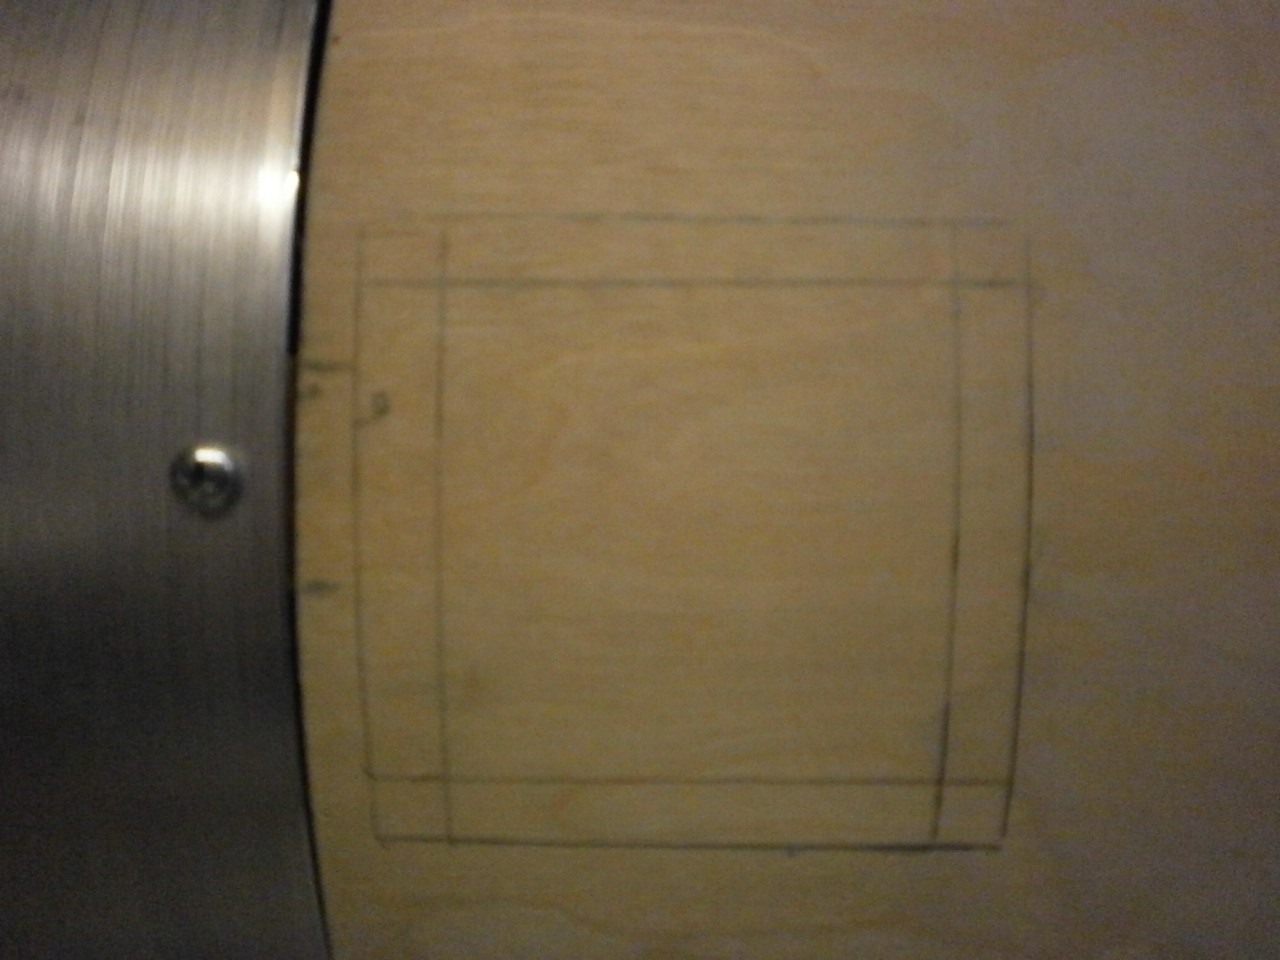
The first thing to do is cut out a template to the required size ( the size is shown on the fuselage plan). This is then placed onto the desired area of the of the fuselage side and drawn around with a pencil. Next a further pencil line is scribed inside of that giving us our overlap.
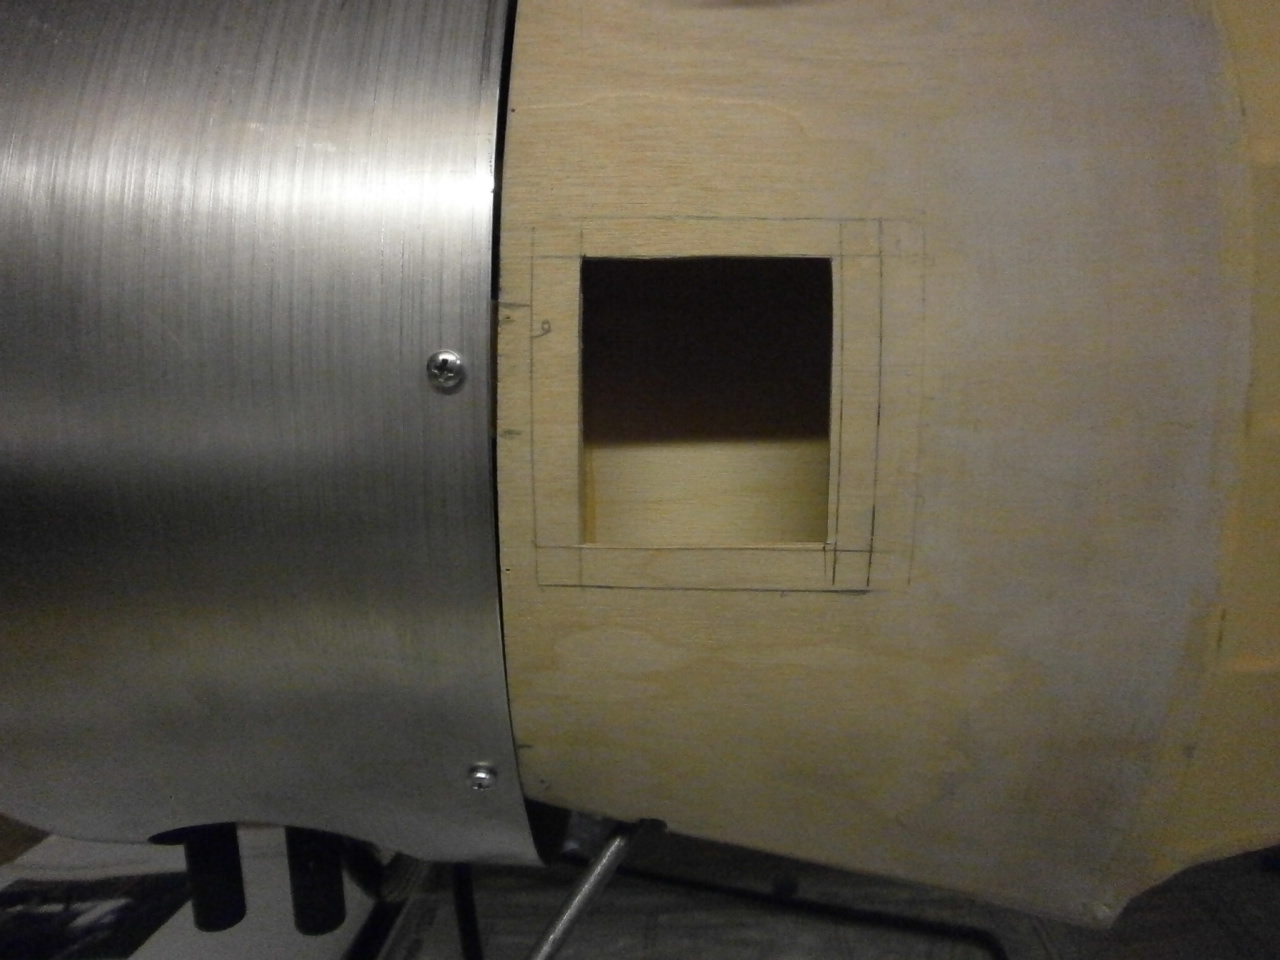
Then with a scalpel carefully cut out the inner mark to revel the opening. See pictures below.
 |
 |
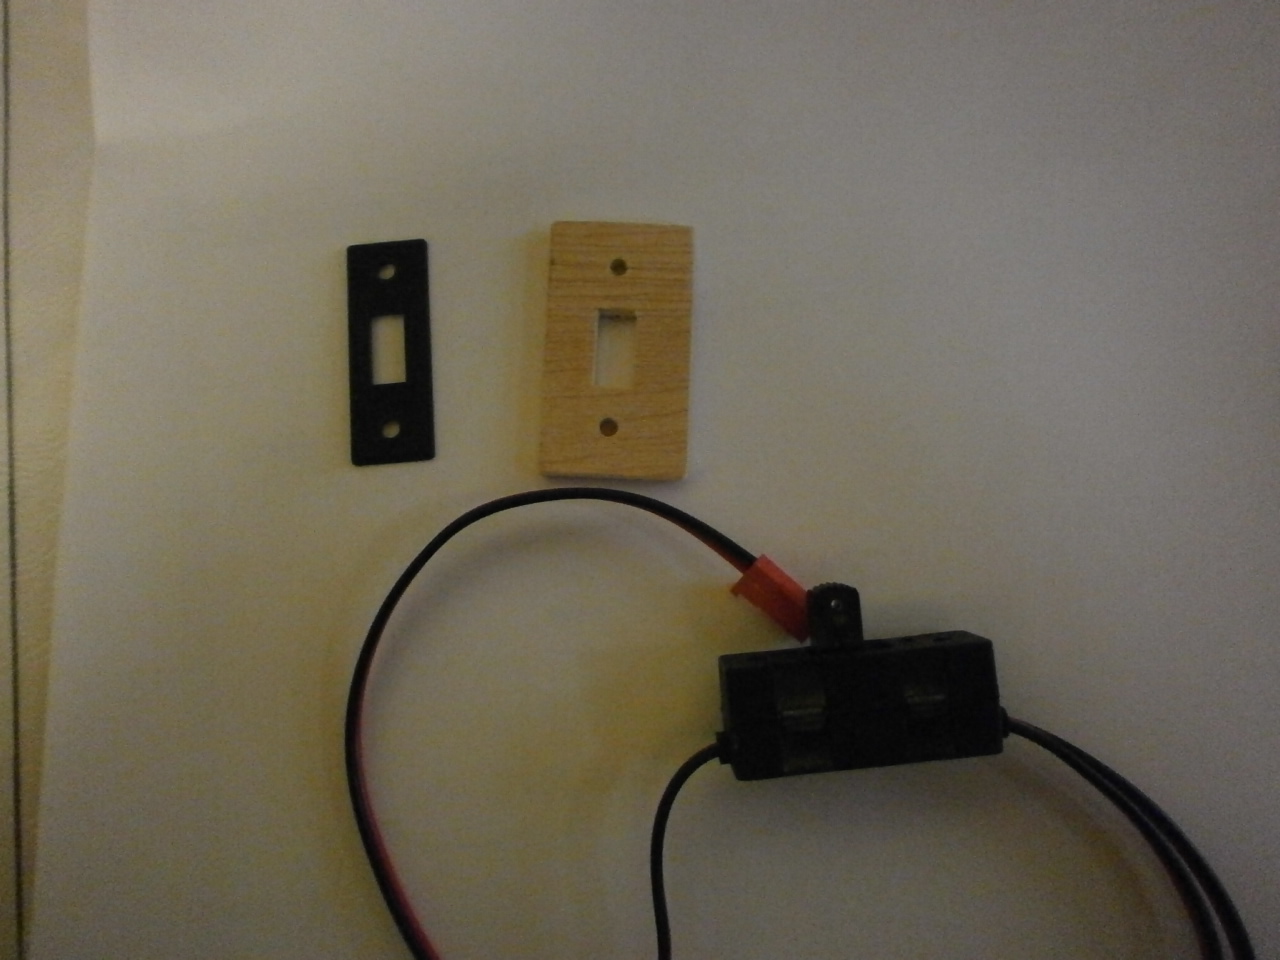
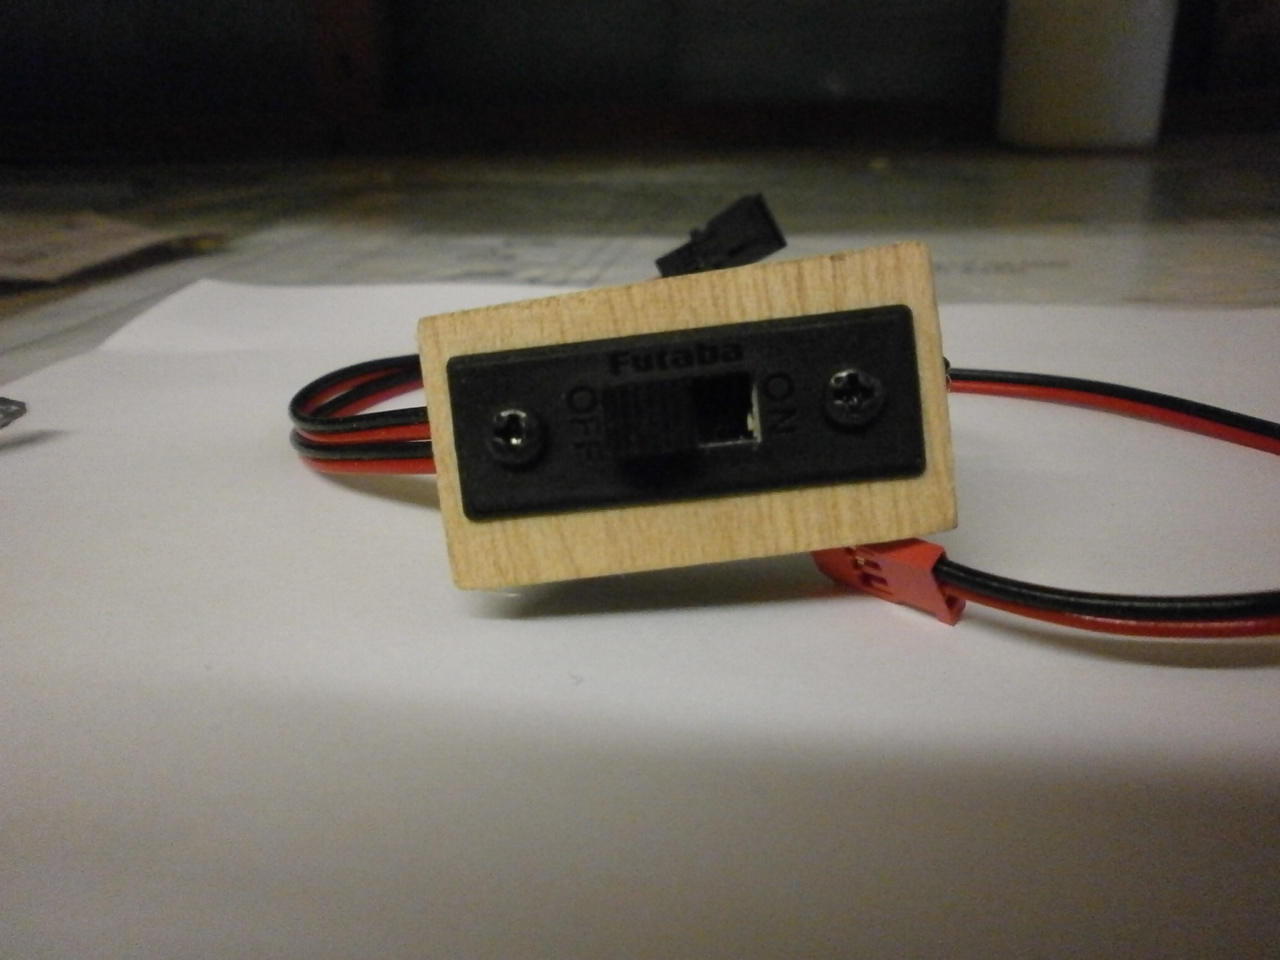
Now that is done we can make up the mounting bracket
that is going to hold our heavy duty switch into place within the opening
See pictures below.
 |
 |
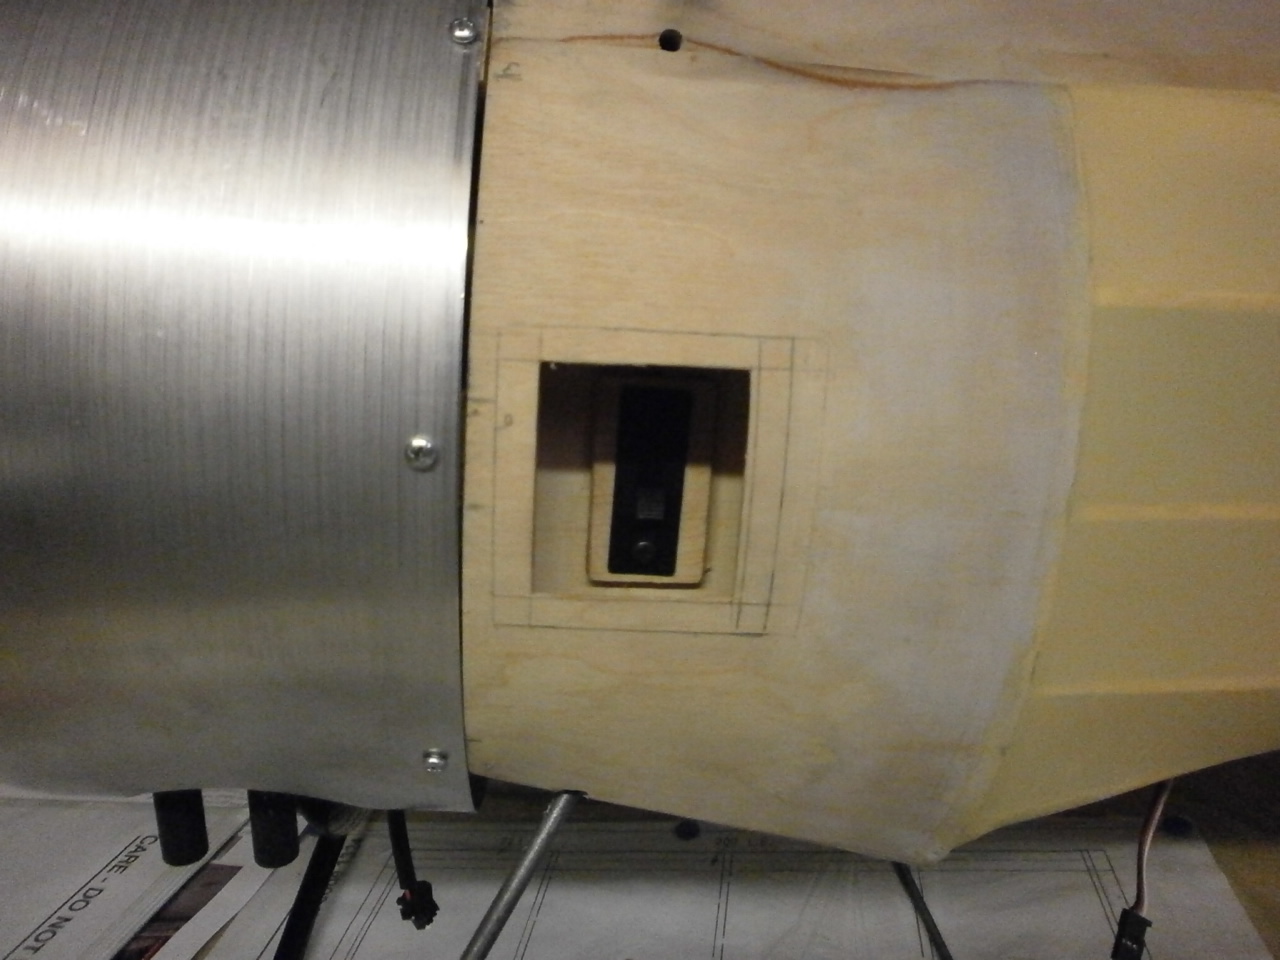
Next measure the size of the switch and transfer the dimensions to the inside light ply fuselage side. Once marked out the hole is made using a drill and junior hacksaw blade (sorry forgot to take picture of cutting sequence). Once cut out test fit the switch and when happy glue switch and mounting into place. See first picture below
With both hatches either side completed I can move on to applying the aluminium sheet in this case litho plate.
The first thing I to do is decide which panel you are going to tackle. As the top decking sheet sits slightly over the side panels it was decided that I would start with the left hand side panel. Measurements where taken from the edge of the cowl out to the edge where the text meets the ply (feathered area). The panel is cut slightly over length as it can be trimmed up later. The second picture shows the panel cut to shape (you can use a craft knife to do this)
 |
.. |
With the panel cut I then covered the front face with masking film. The glue I'm going to use is quite messy and by doing this will avoid any glue that gets on to my fingers (and it will) messing up the front face of the panel. The first picture below showing the now masked panel. (I used frisk film)
Next I needed to mask up all the areas of the fuselage that I do not want the spray glue to come into contact with. See second picture below.
 |
 |
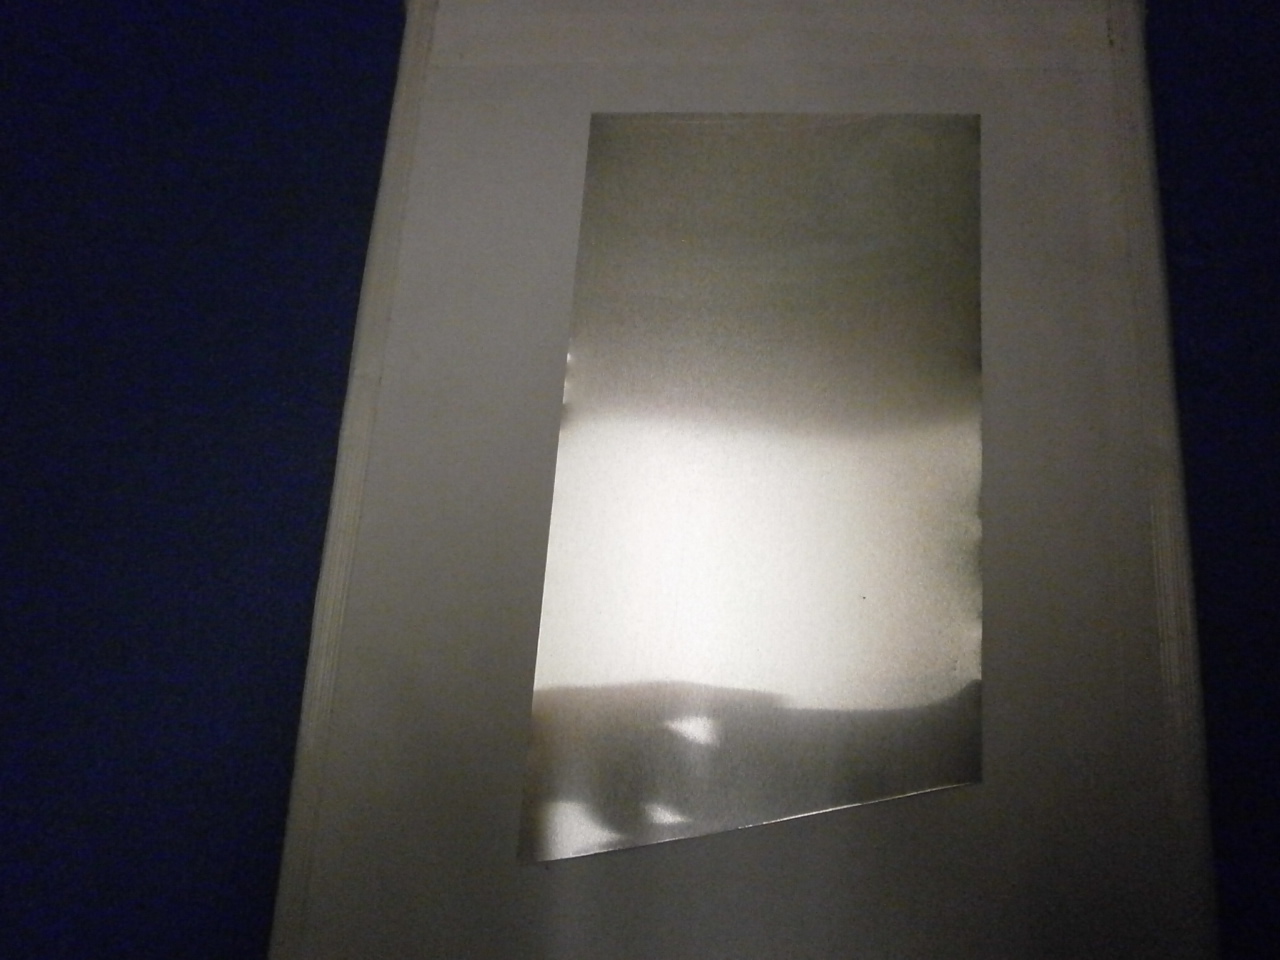
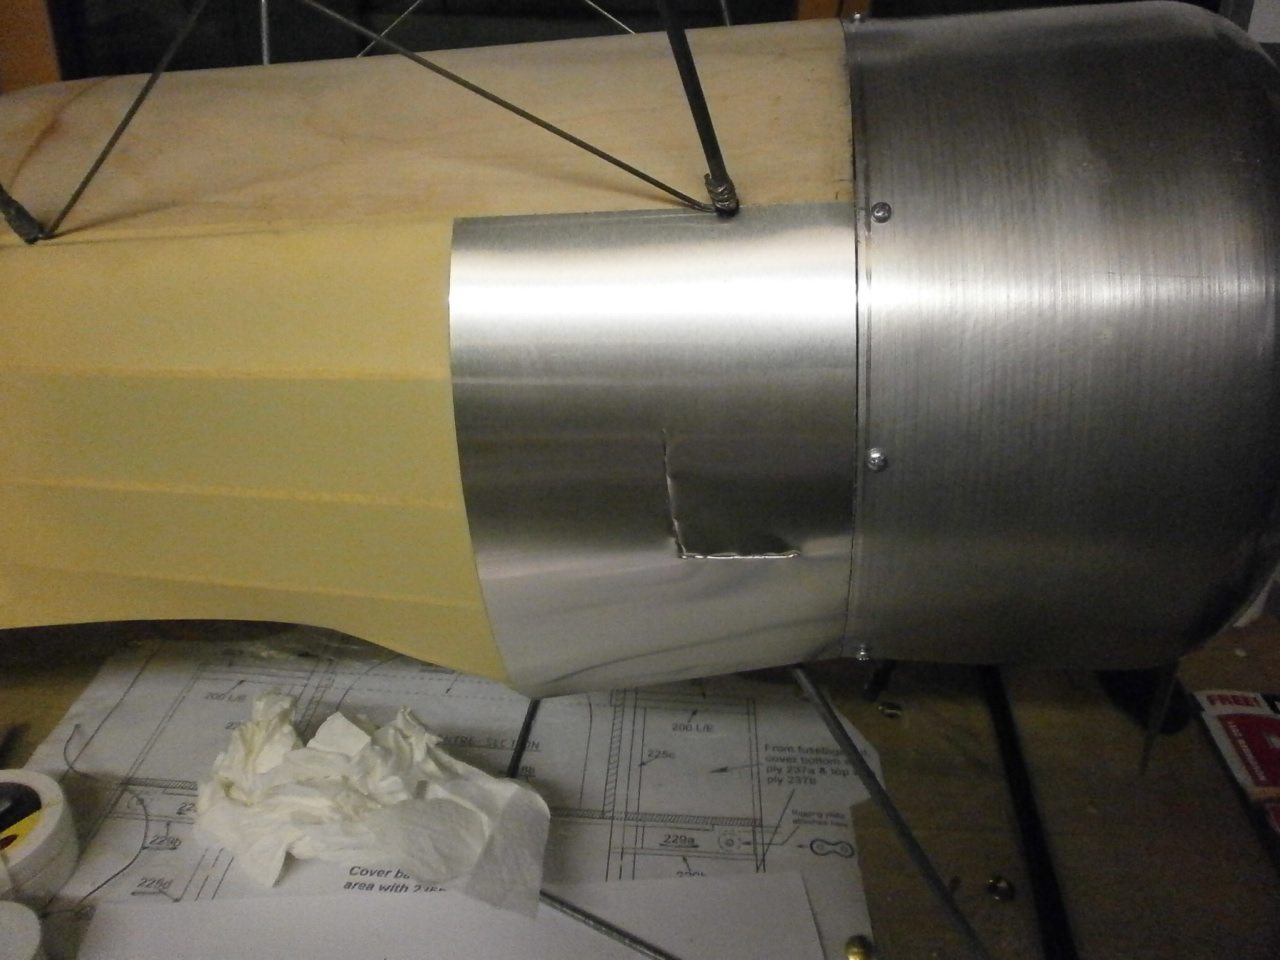
Once every thing was masked up, out came the glue ( be warned when using this glue it gets everywhere if your not careful). Spray both the panel and the fuselage and leave both until they become tack dry. Whilst waiting I removed the masking from around the fuselage. Once tack dry I offered up the panel to the fuselage, lining the panel with the edge of the cowl for a guide. Then gradually and gently (You don't get a second chance) working from the cowl outward, pushed the panel into place. See second picture below
Once in place I again went over the whole panel with a piece of tissue smoothing everything down into place. Once happy with the result, I then removed the film and started cutting out the hatch opening. This is achieved simply by inserting the scalpel blade into the aluminium and running it around the opening edges. Again see picture two and one below.
 |
 |
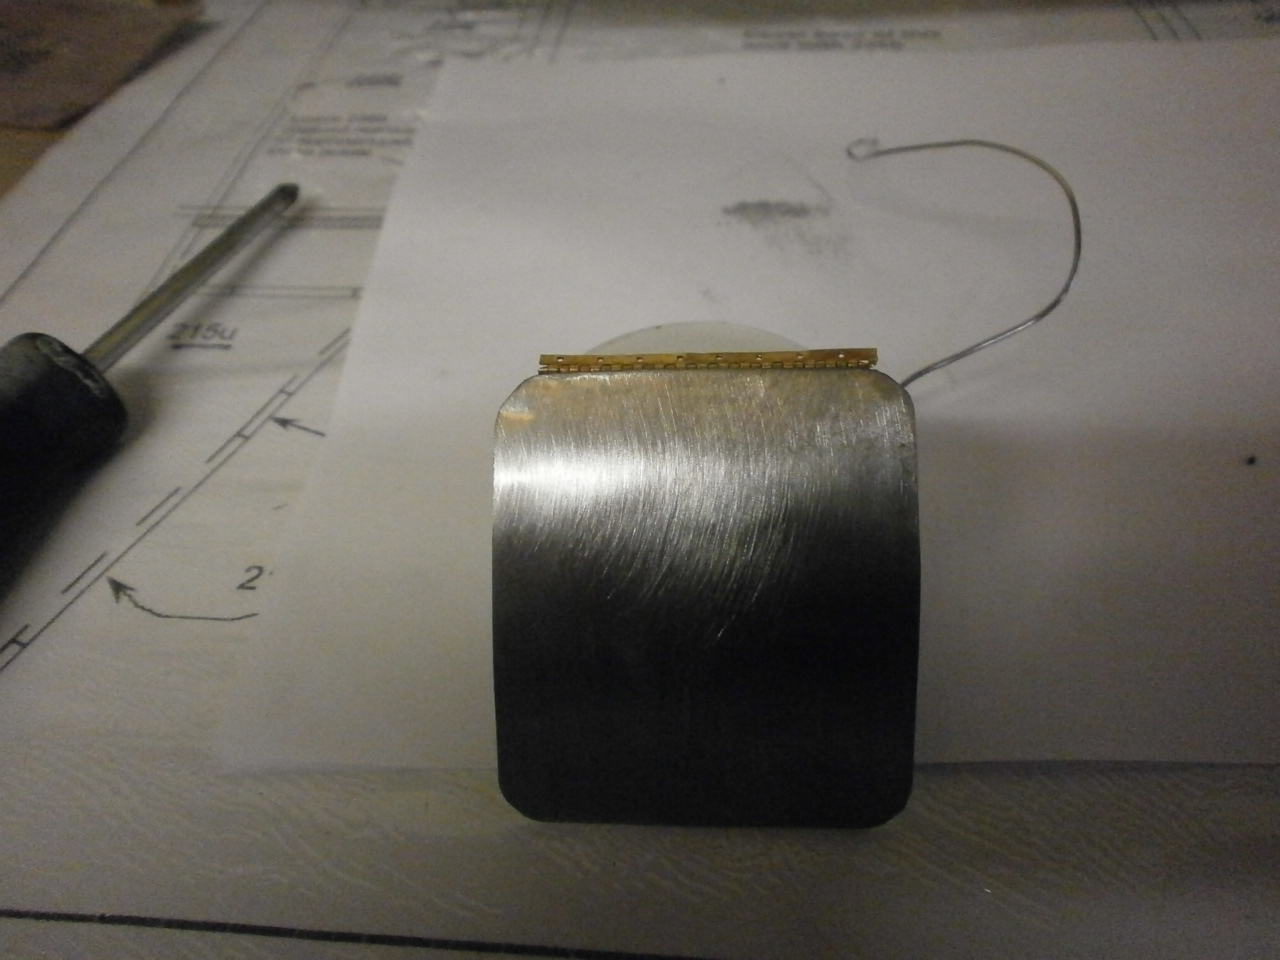
Next the hatch is made up using a piece of tin plate and scale hinging. Second picture below.
 |
 |
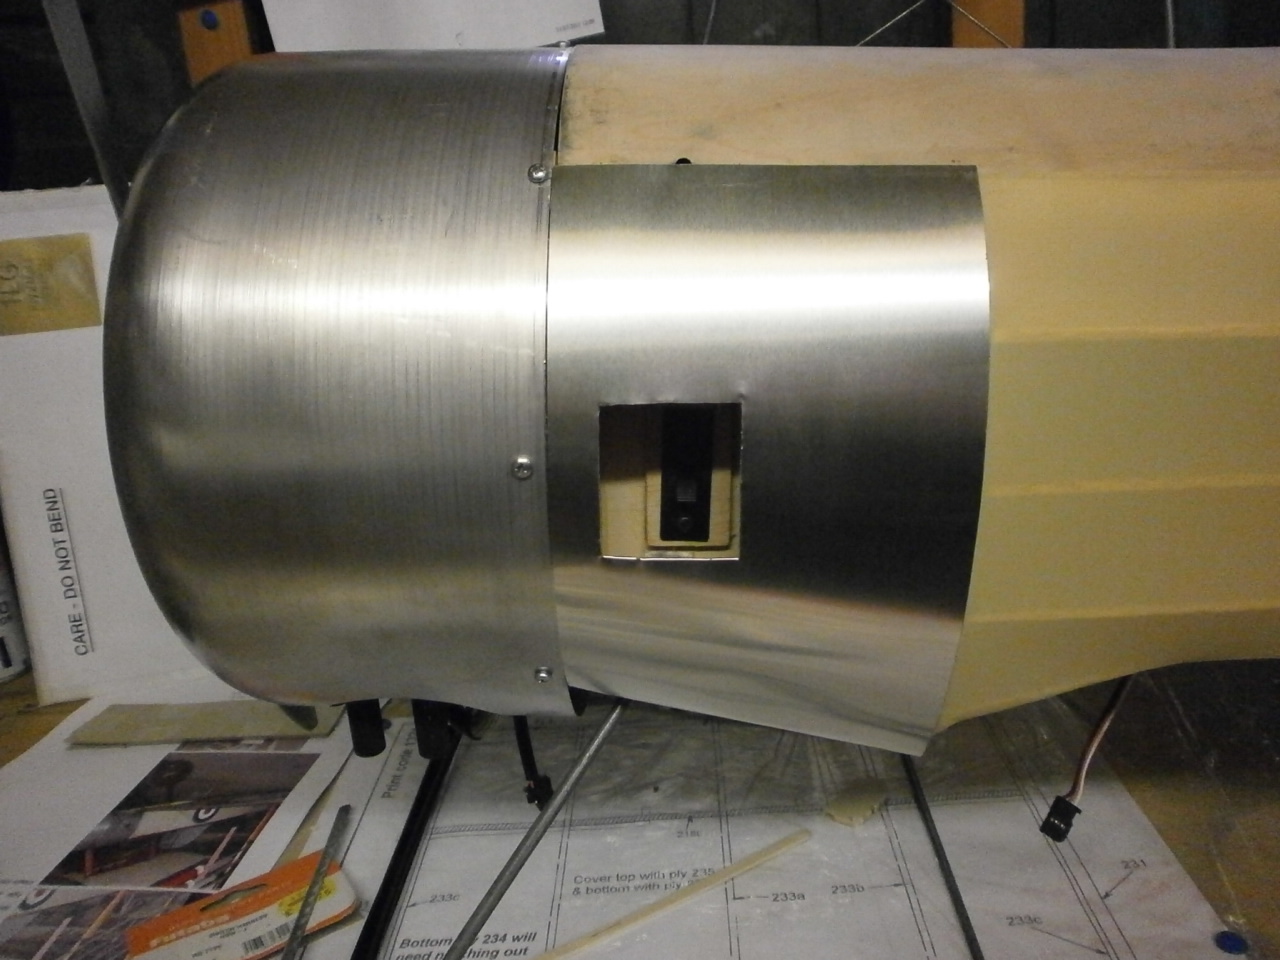
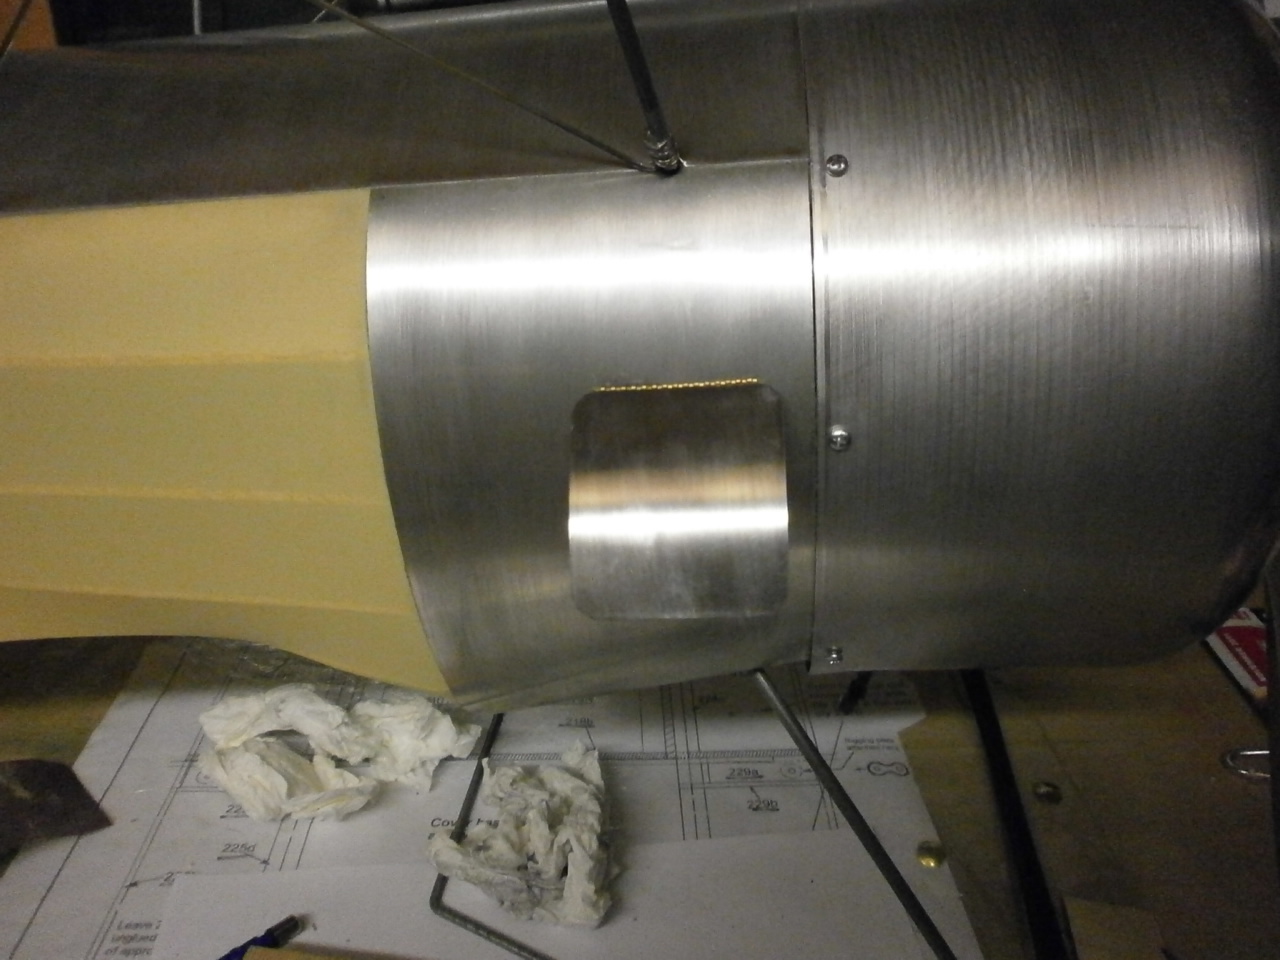
The hatch is then located into position using specialised metal superglue. First picture below. Earth Magnets are positioned inside the fuselage side so that when the hatch is closed it is held tightly into position
Once both side panels and hatch covers had been completed I then moved onto the top deck panel. This again is cut to size and covered with frisk film for protection.
 |
 |
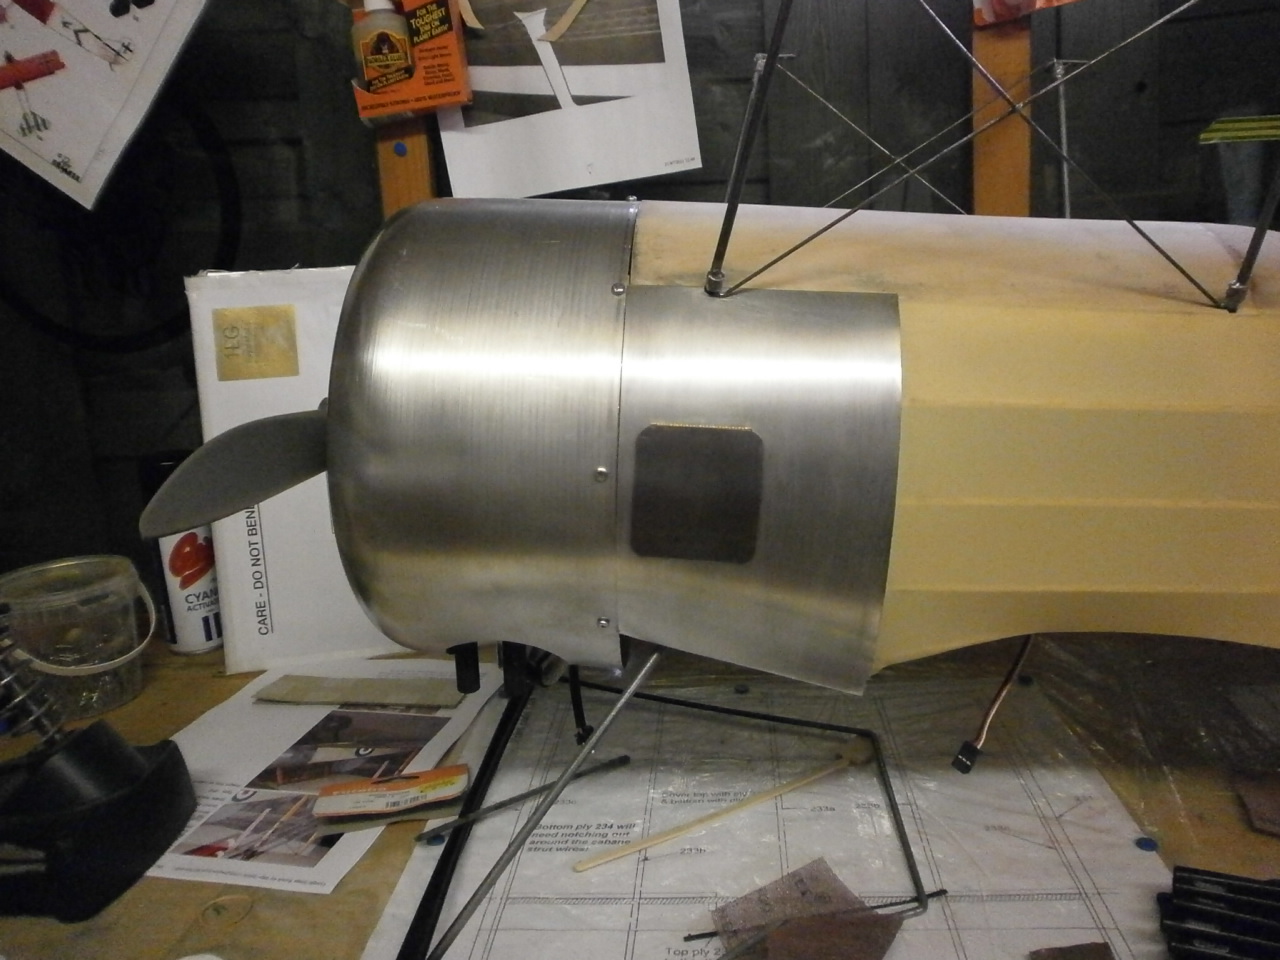
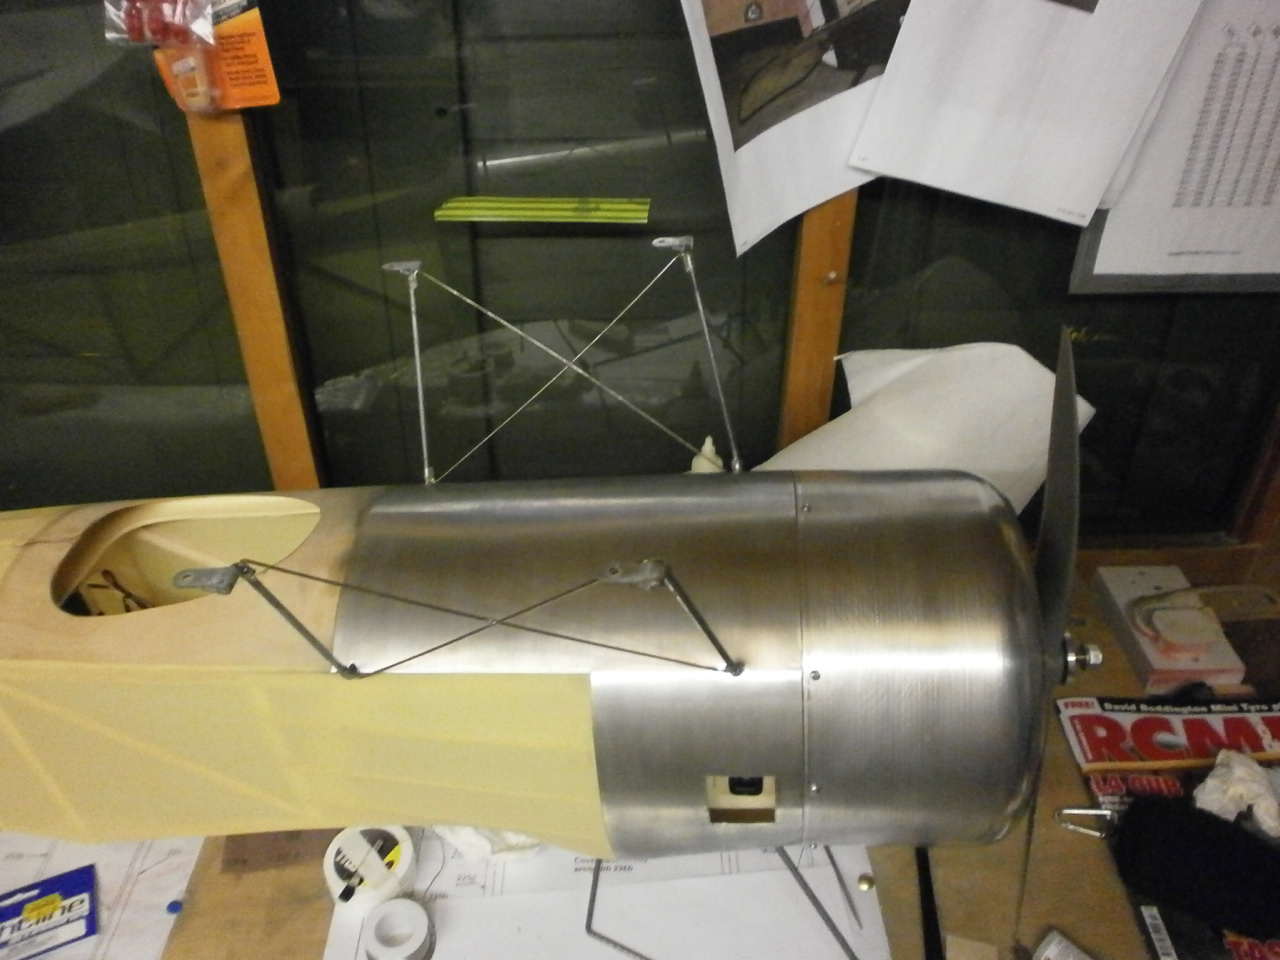
The following three pictures show the finished result. All the panels have been sanded with 400 grit paper to give a burnished metal effect.
 |
 |
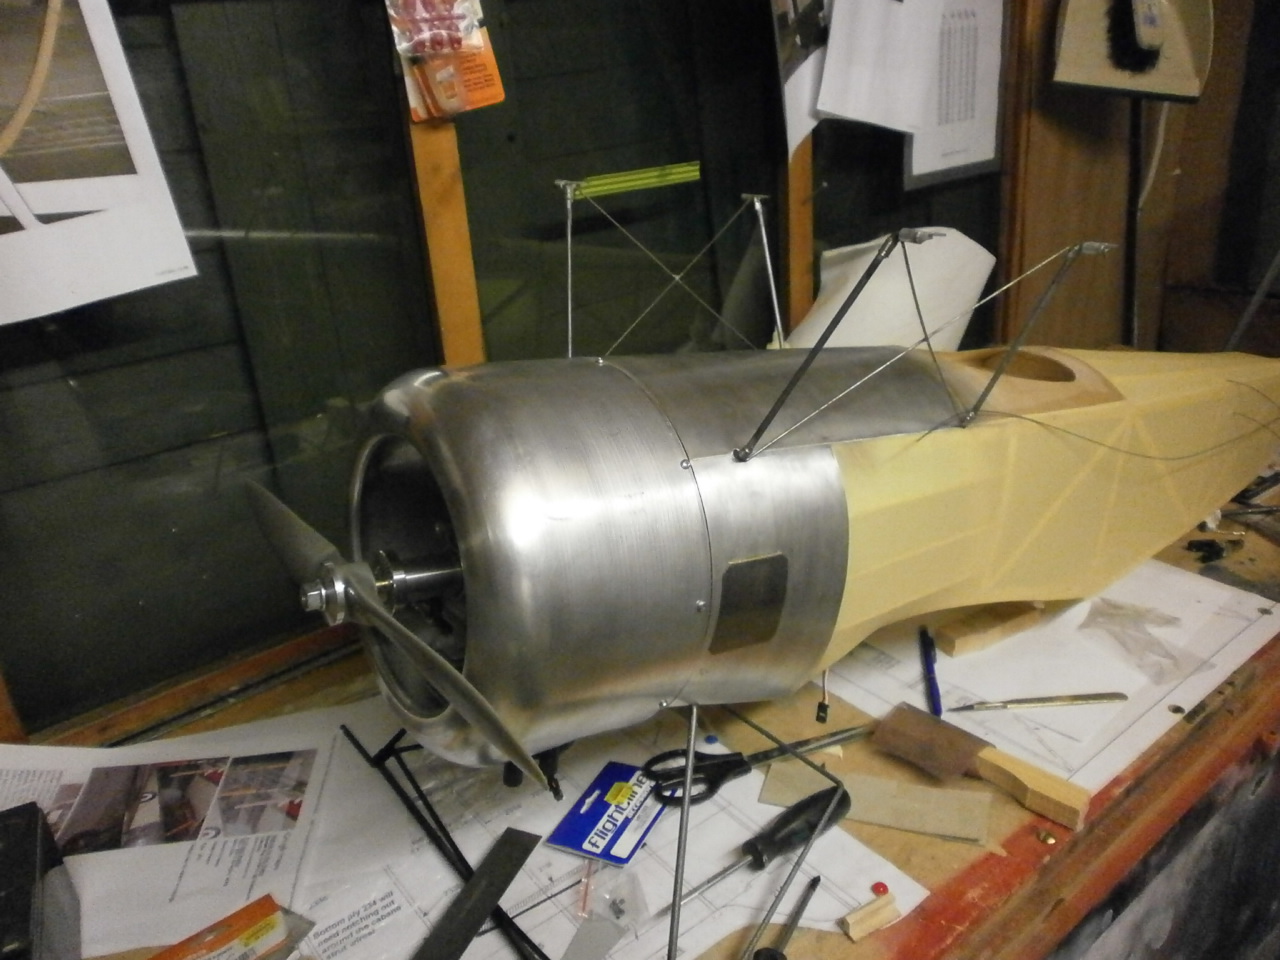 |
There is still work to be carried out on these panels but for now I'm happy with the result.