Making a Glass Fibre Mold
This page has been produced to explain the process's employed in making a glassfibre mold, which can then be used to produce a final item, in this case a spinner for a 1/4 scale Bristol M1c
The following processes explained below can be used for simple shaped objects such as cowls, Spinners, canopies, hatches, undercarriage doors etc.
The first thing that will be
required is to make a plug of the required part.
A plug is an exact representation of the object to be made and can be made from
a variety of different materials.
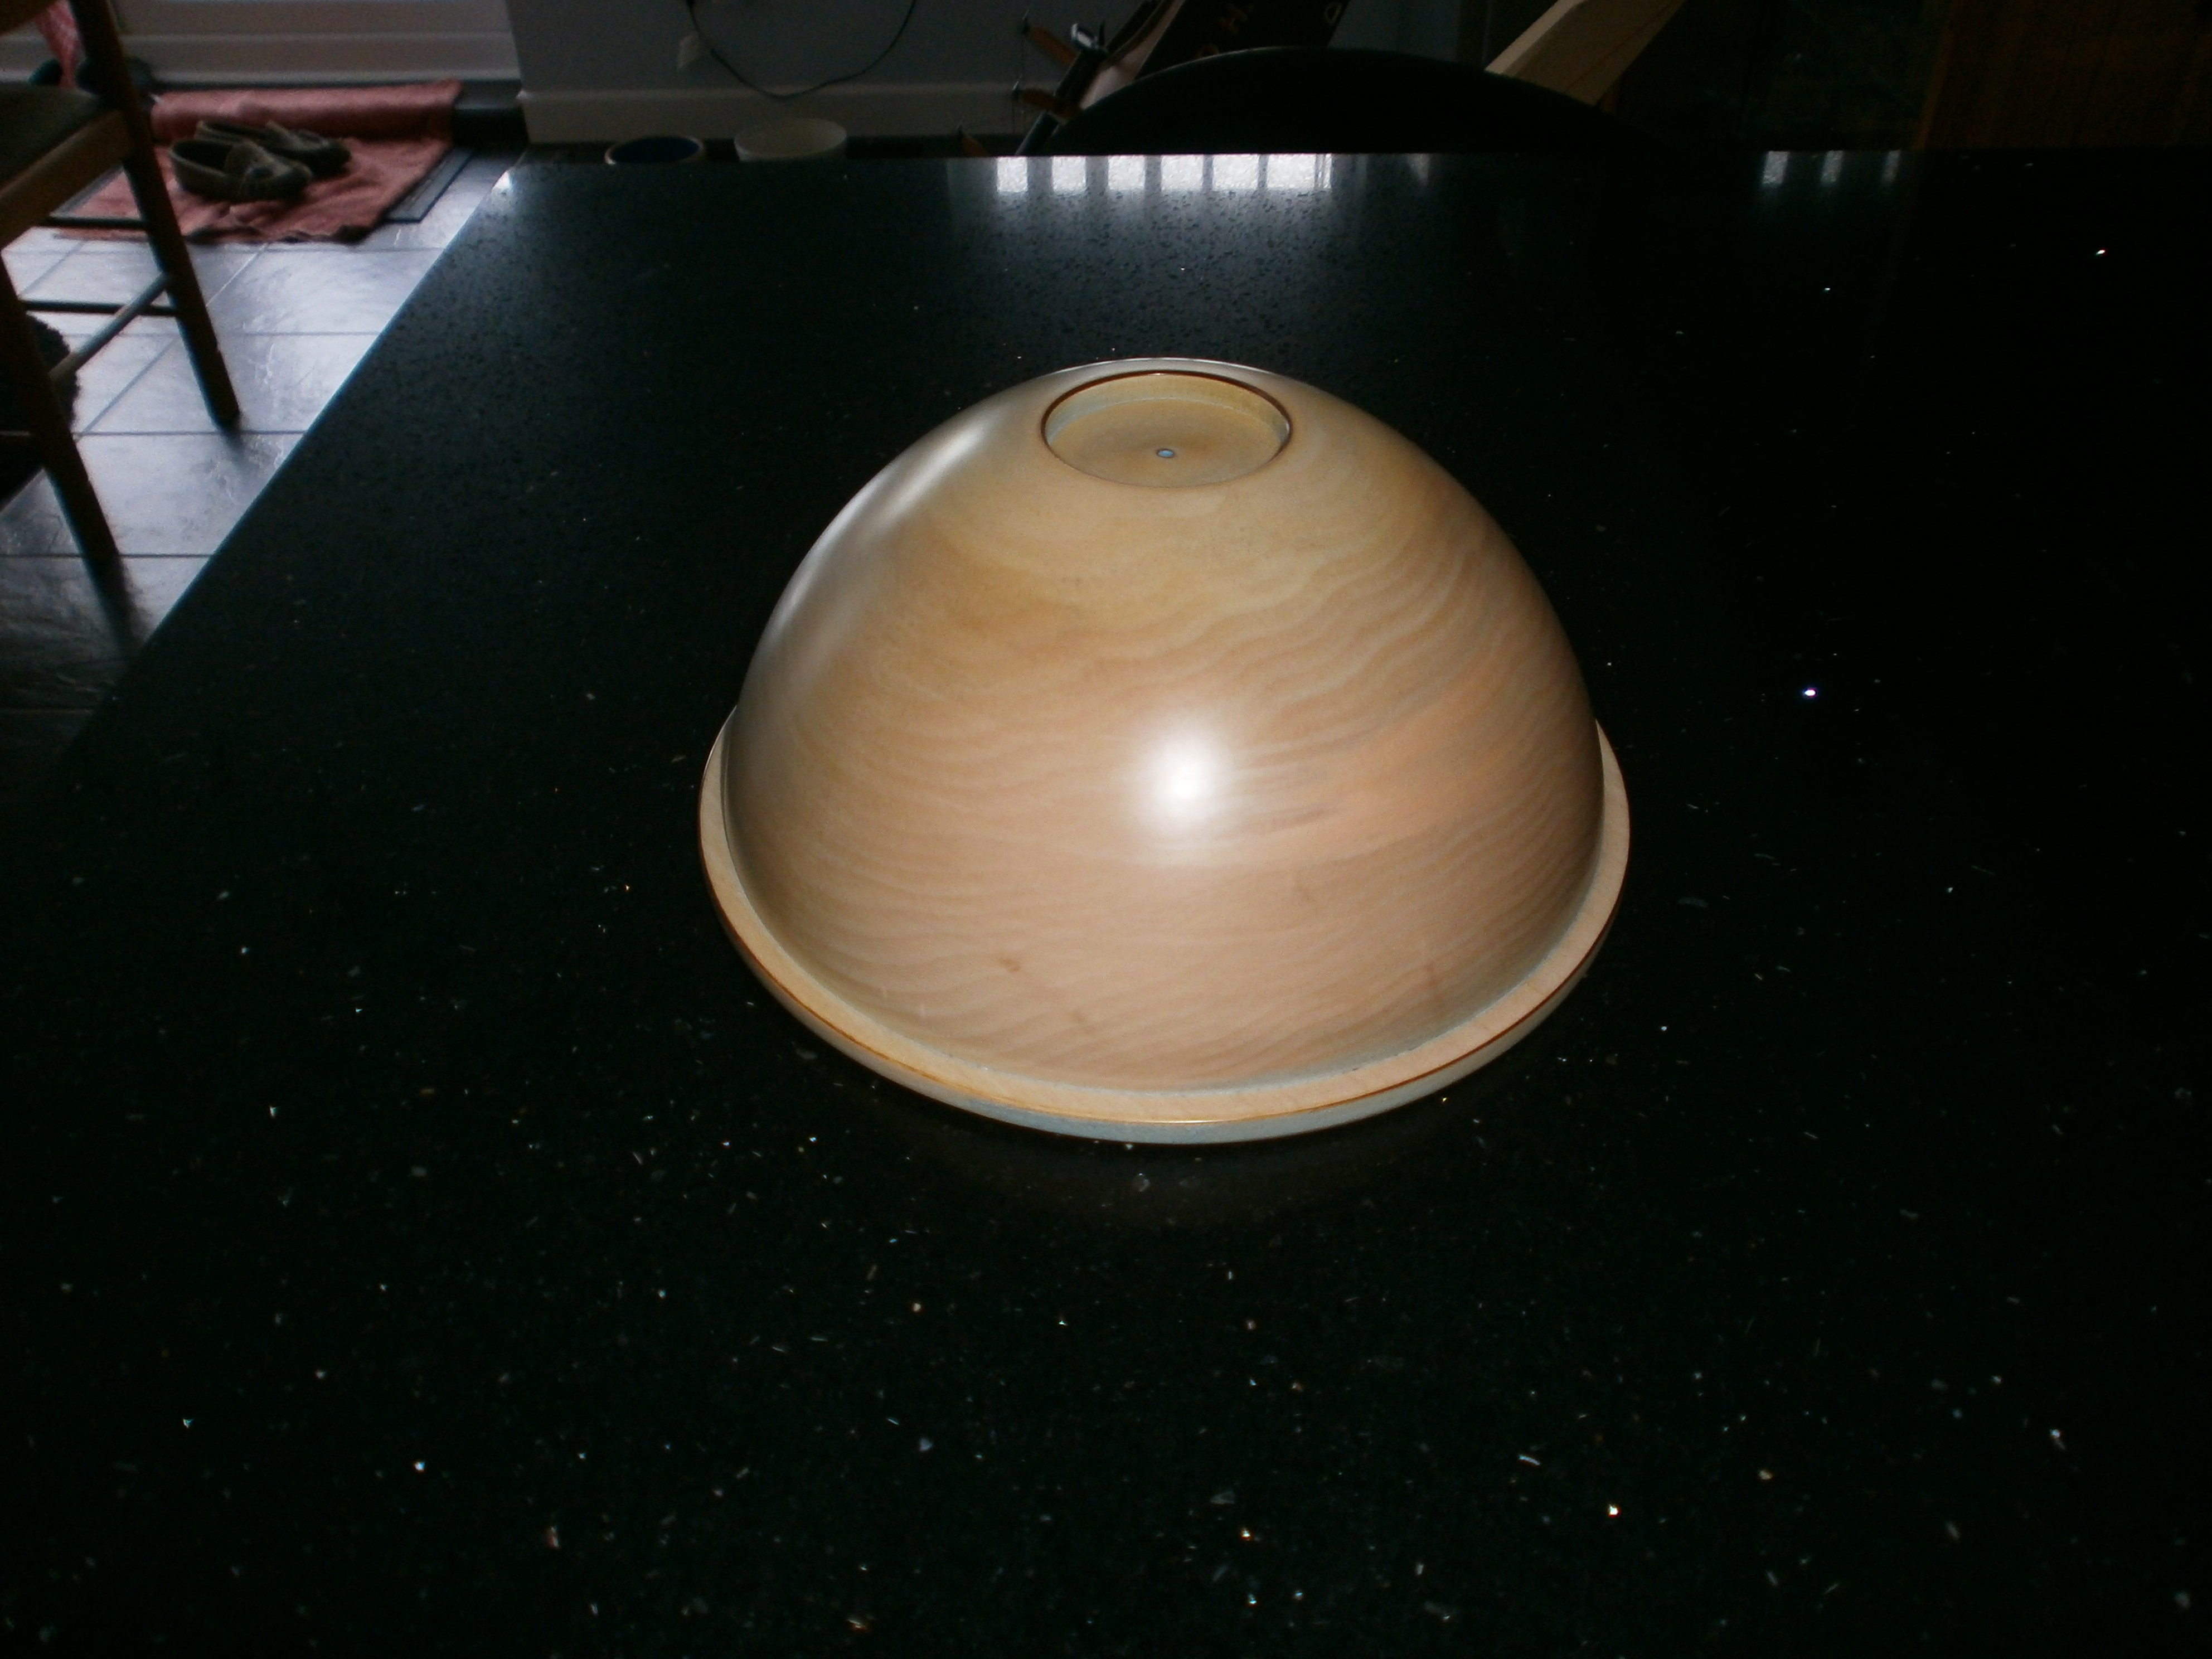
As the object I'm making a mold for is doomed and quite large, I'm using wood as the shape is going to be turned on a wood lathe.
To enable me to get the perfect shape a template was made (taken from the models
plans) and used as a guide throughout the turning process. When using wood as a
plug the finished plug must be sealed using several coats of sanding sealer of
vanish which is then sanded back to a high quality finish as can be seen from
the 1st picture below.
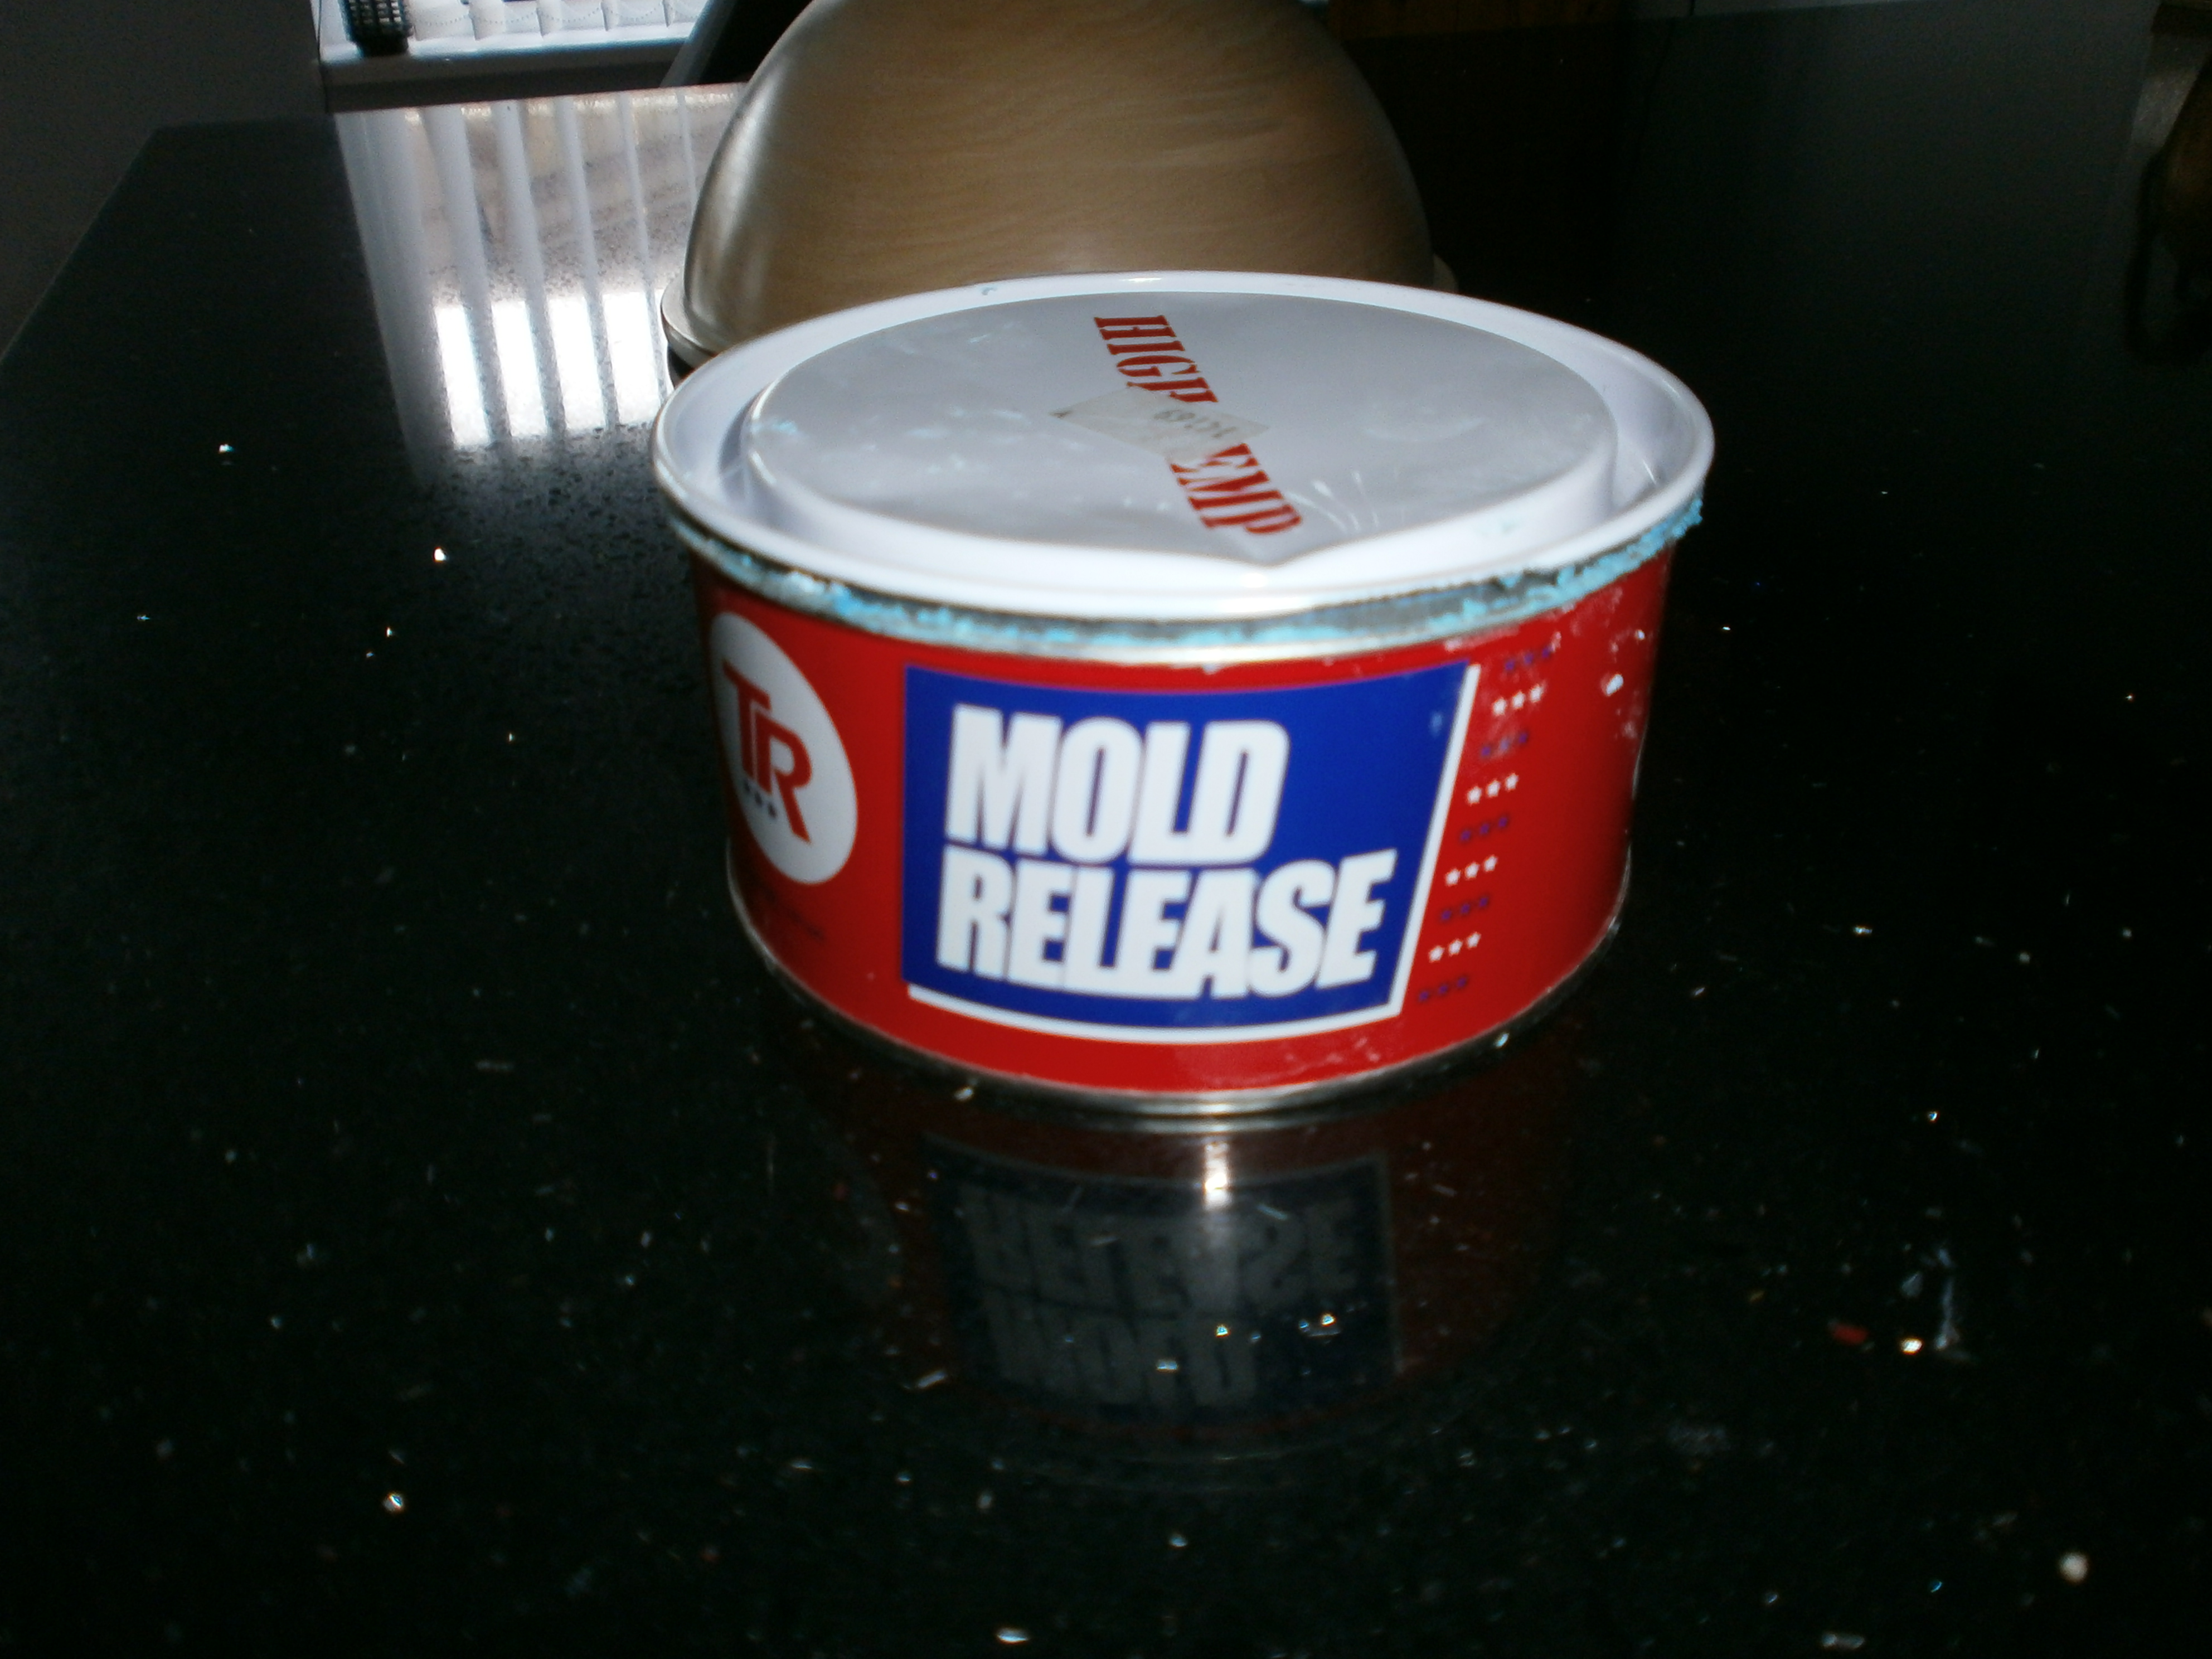
Once the plug has reached the
required standard a mould release agent is applied.
The release agent will allow the mold to be separated from the plug once it is
finished.
The mold release agent that I'm using is
Carnauba Wax.
As the mold is new it will require at least 6 applications of this wax
before it can be used to make our part.
The wax is applied using a sponge pad using circular motions around the
entire mold surface.
The wax is then allowed to develop a light haze which takes approximately 5 to
10 mins depending on room temp.
Once a haze is apparent the wax is polished back
using a clean cloth and left a further 35 mins to cure before adding the next
coat.
|
|
|
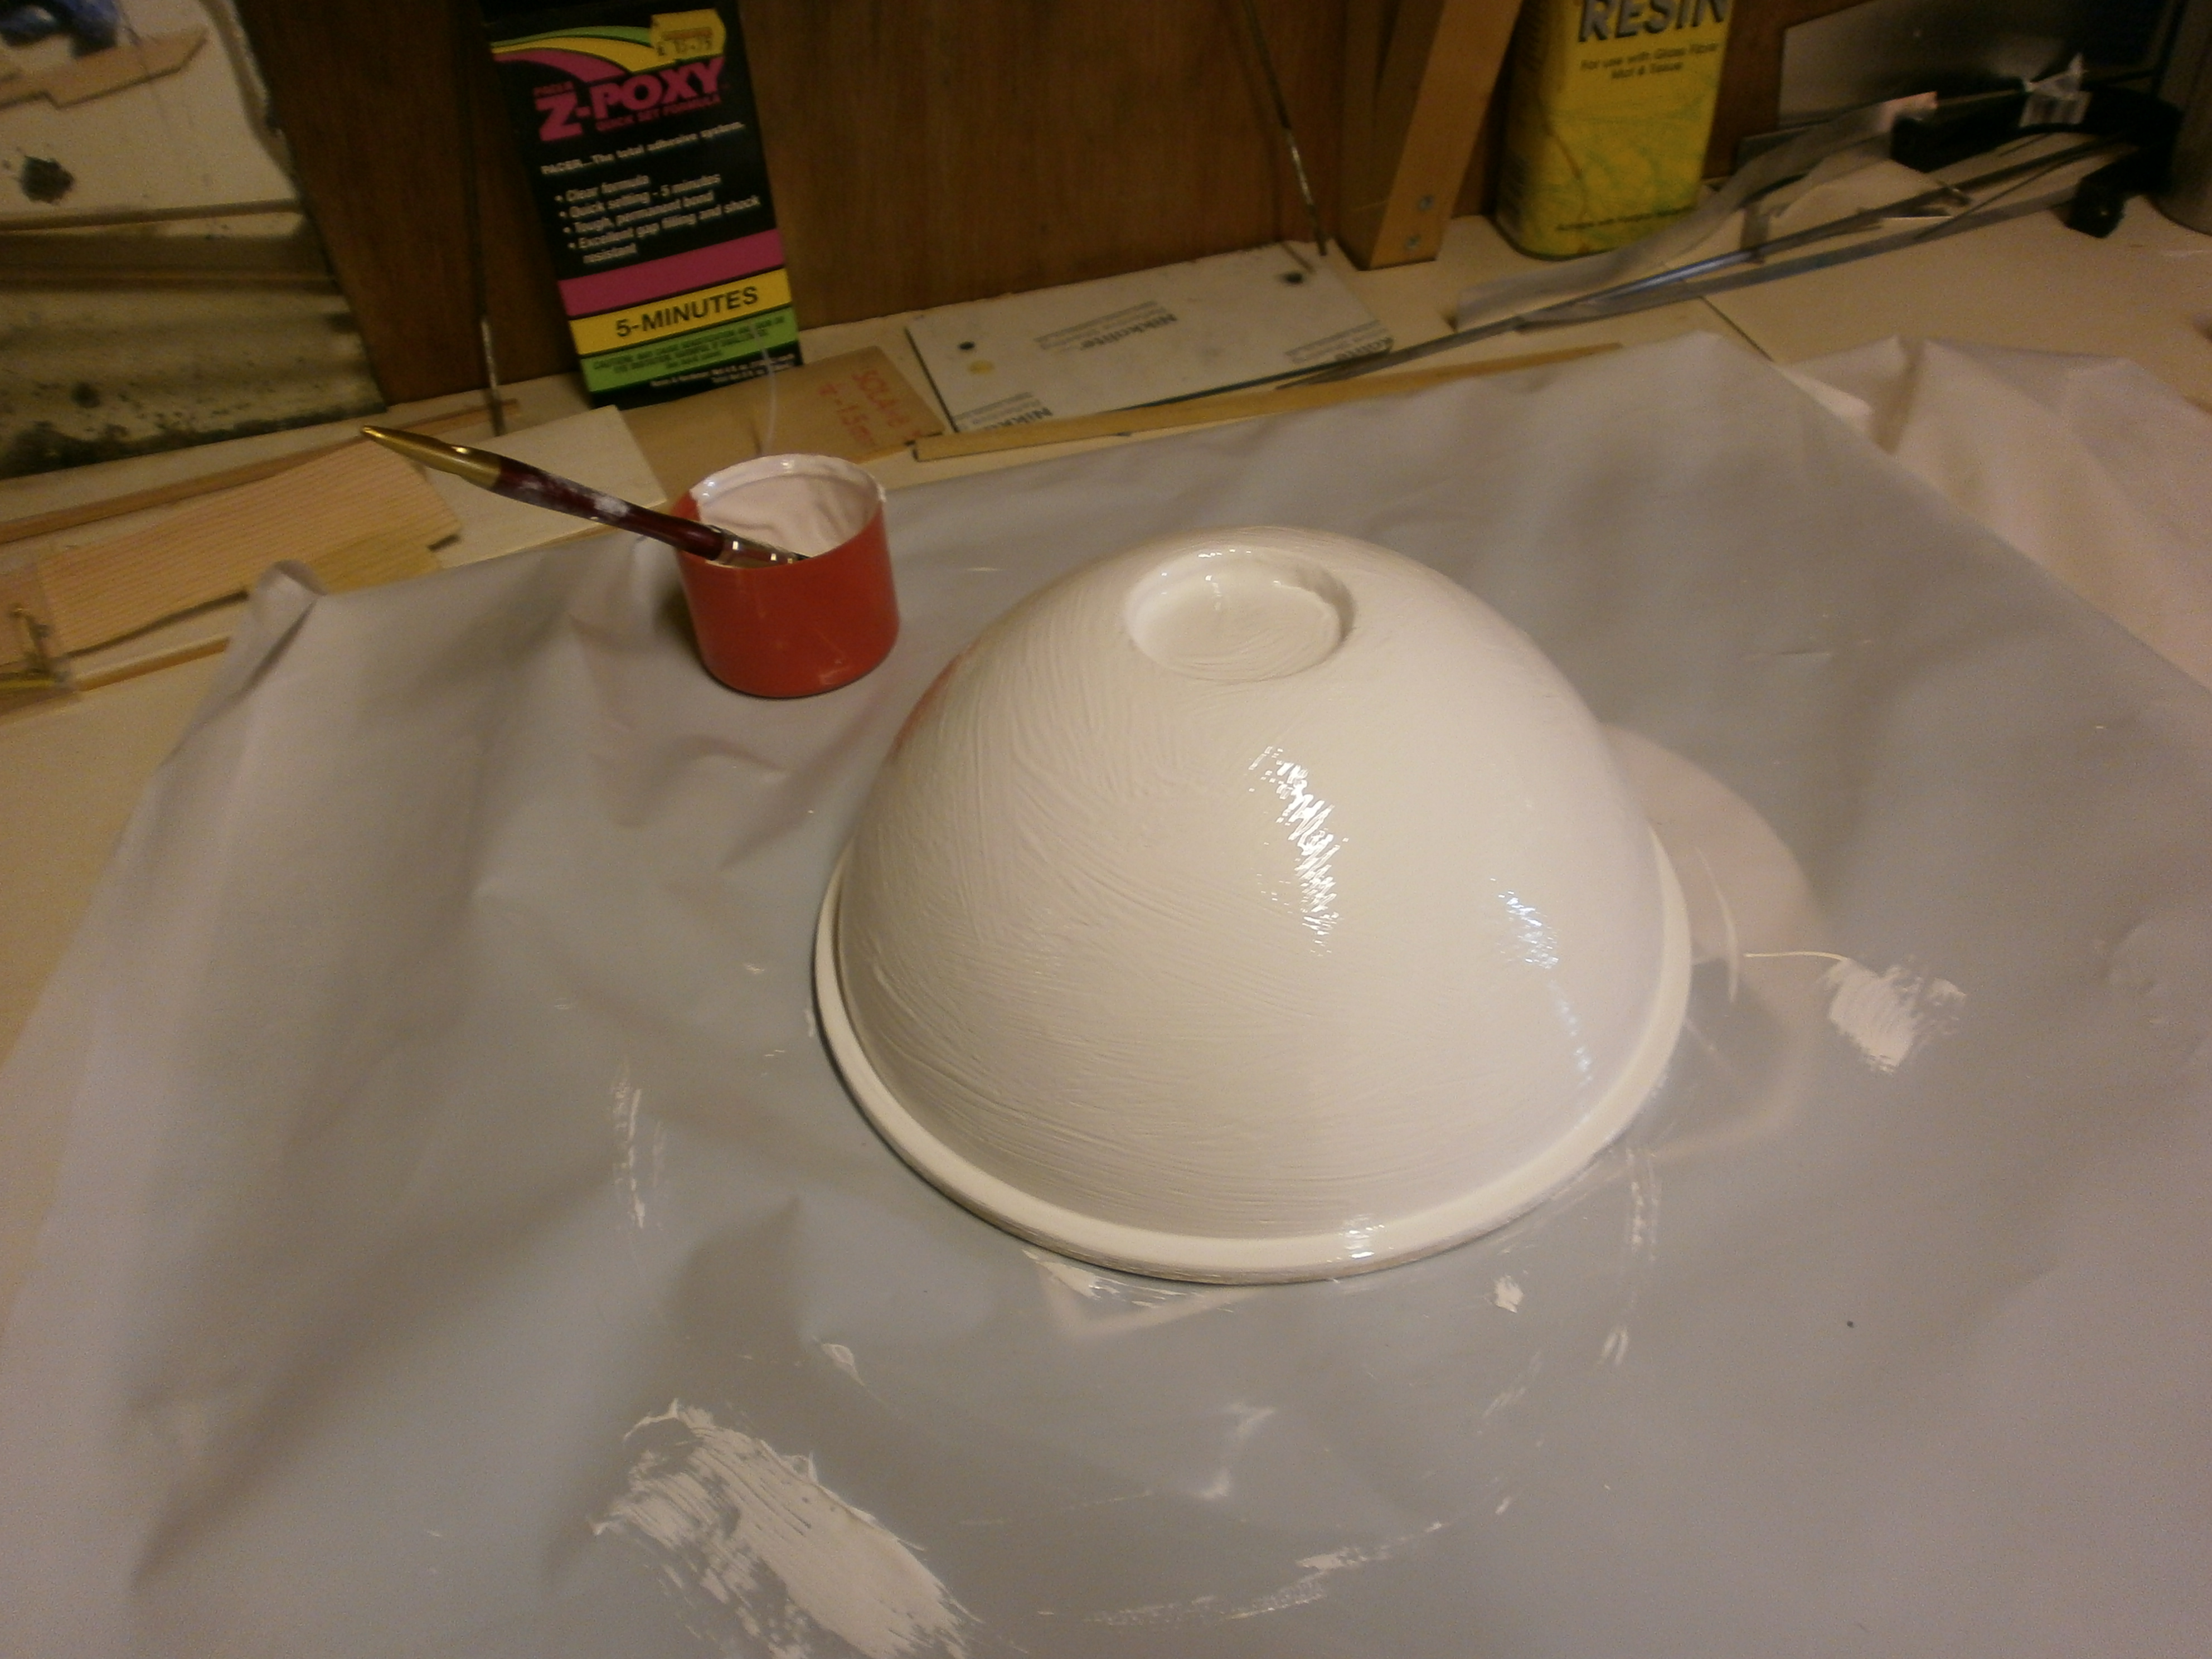
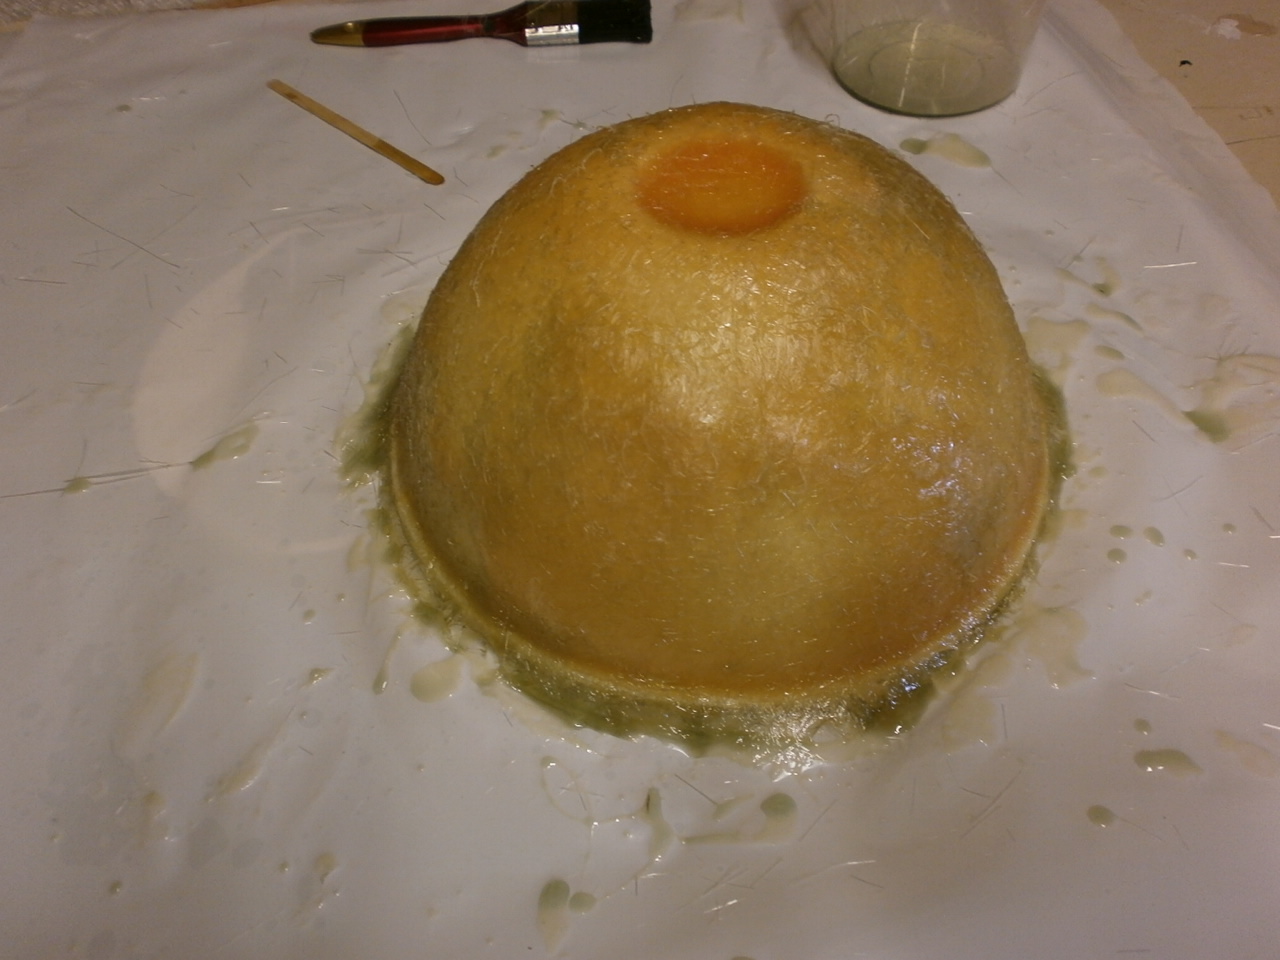
As can be seen in the first picture below once the release agent has been allowed to cure after its final application the mold making process can begin.
The first process is to apply a gel coat layer. (Gel coat protects fibreglass
from ultraviolet exposure, and gives an improved final surface finish to the mold)
The Gel coat that I'm using is Polyester based gel and requires a
catalyst to enable it to cure.
Once mixed with the catalyst it is applied directly to the mold surface
using a brush.
When completely covered the Gel coat is left to dry (about 45 mins dependent on
ambient temperature) Once cured the Gel coat will feel slightly tacky to the
touch, this is normal and helps the Glass chop strand matting to adhere in the
following process.
The next step is to start applying the resin and chop strand matting. See second picture below
The resin I'm using for this part of the process is a again Polyester resin with a cure time of about 25 mins. The best approach to this stage is to collect all the necessary tools and materials together and lay them out in order of usage. Cut all the material (Glass matting) to size and make sure it is close to hand as the resin used to affix this to the mold as mentioned has a very quick cure time and time is of the essence when using this resin type.
If you feel that the time scales are to fast for you then you can use Epoxy resins which have fast and slow hardeners that may better suit the project in hand
Resin is mixed up in a suitable
container with the catalyst and then brushed over the gel coat. Next our pre-cut
matting is laid up in the mold with further resin being applied over it.
It is
important to make sure that any air gaps are removed from between the gel coat
and the matting. This can be achieved by using a stiff paint brush. Using a
stippling action and starting from the centre of the mold work out to the
edges removing any air pockets that may have gotten into the work piece.
 |
 |
Once happy that there are no air pockets the resin is left to cure. Once cured, as with the gel coat the surface will be tacky. Now a second layer of glass matting can be applied in the same fashion as above. (first picture below)
Repeat this process a minimum of three layers.
Once cured leave the mold to stand for at least a
day.
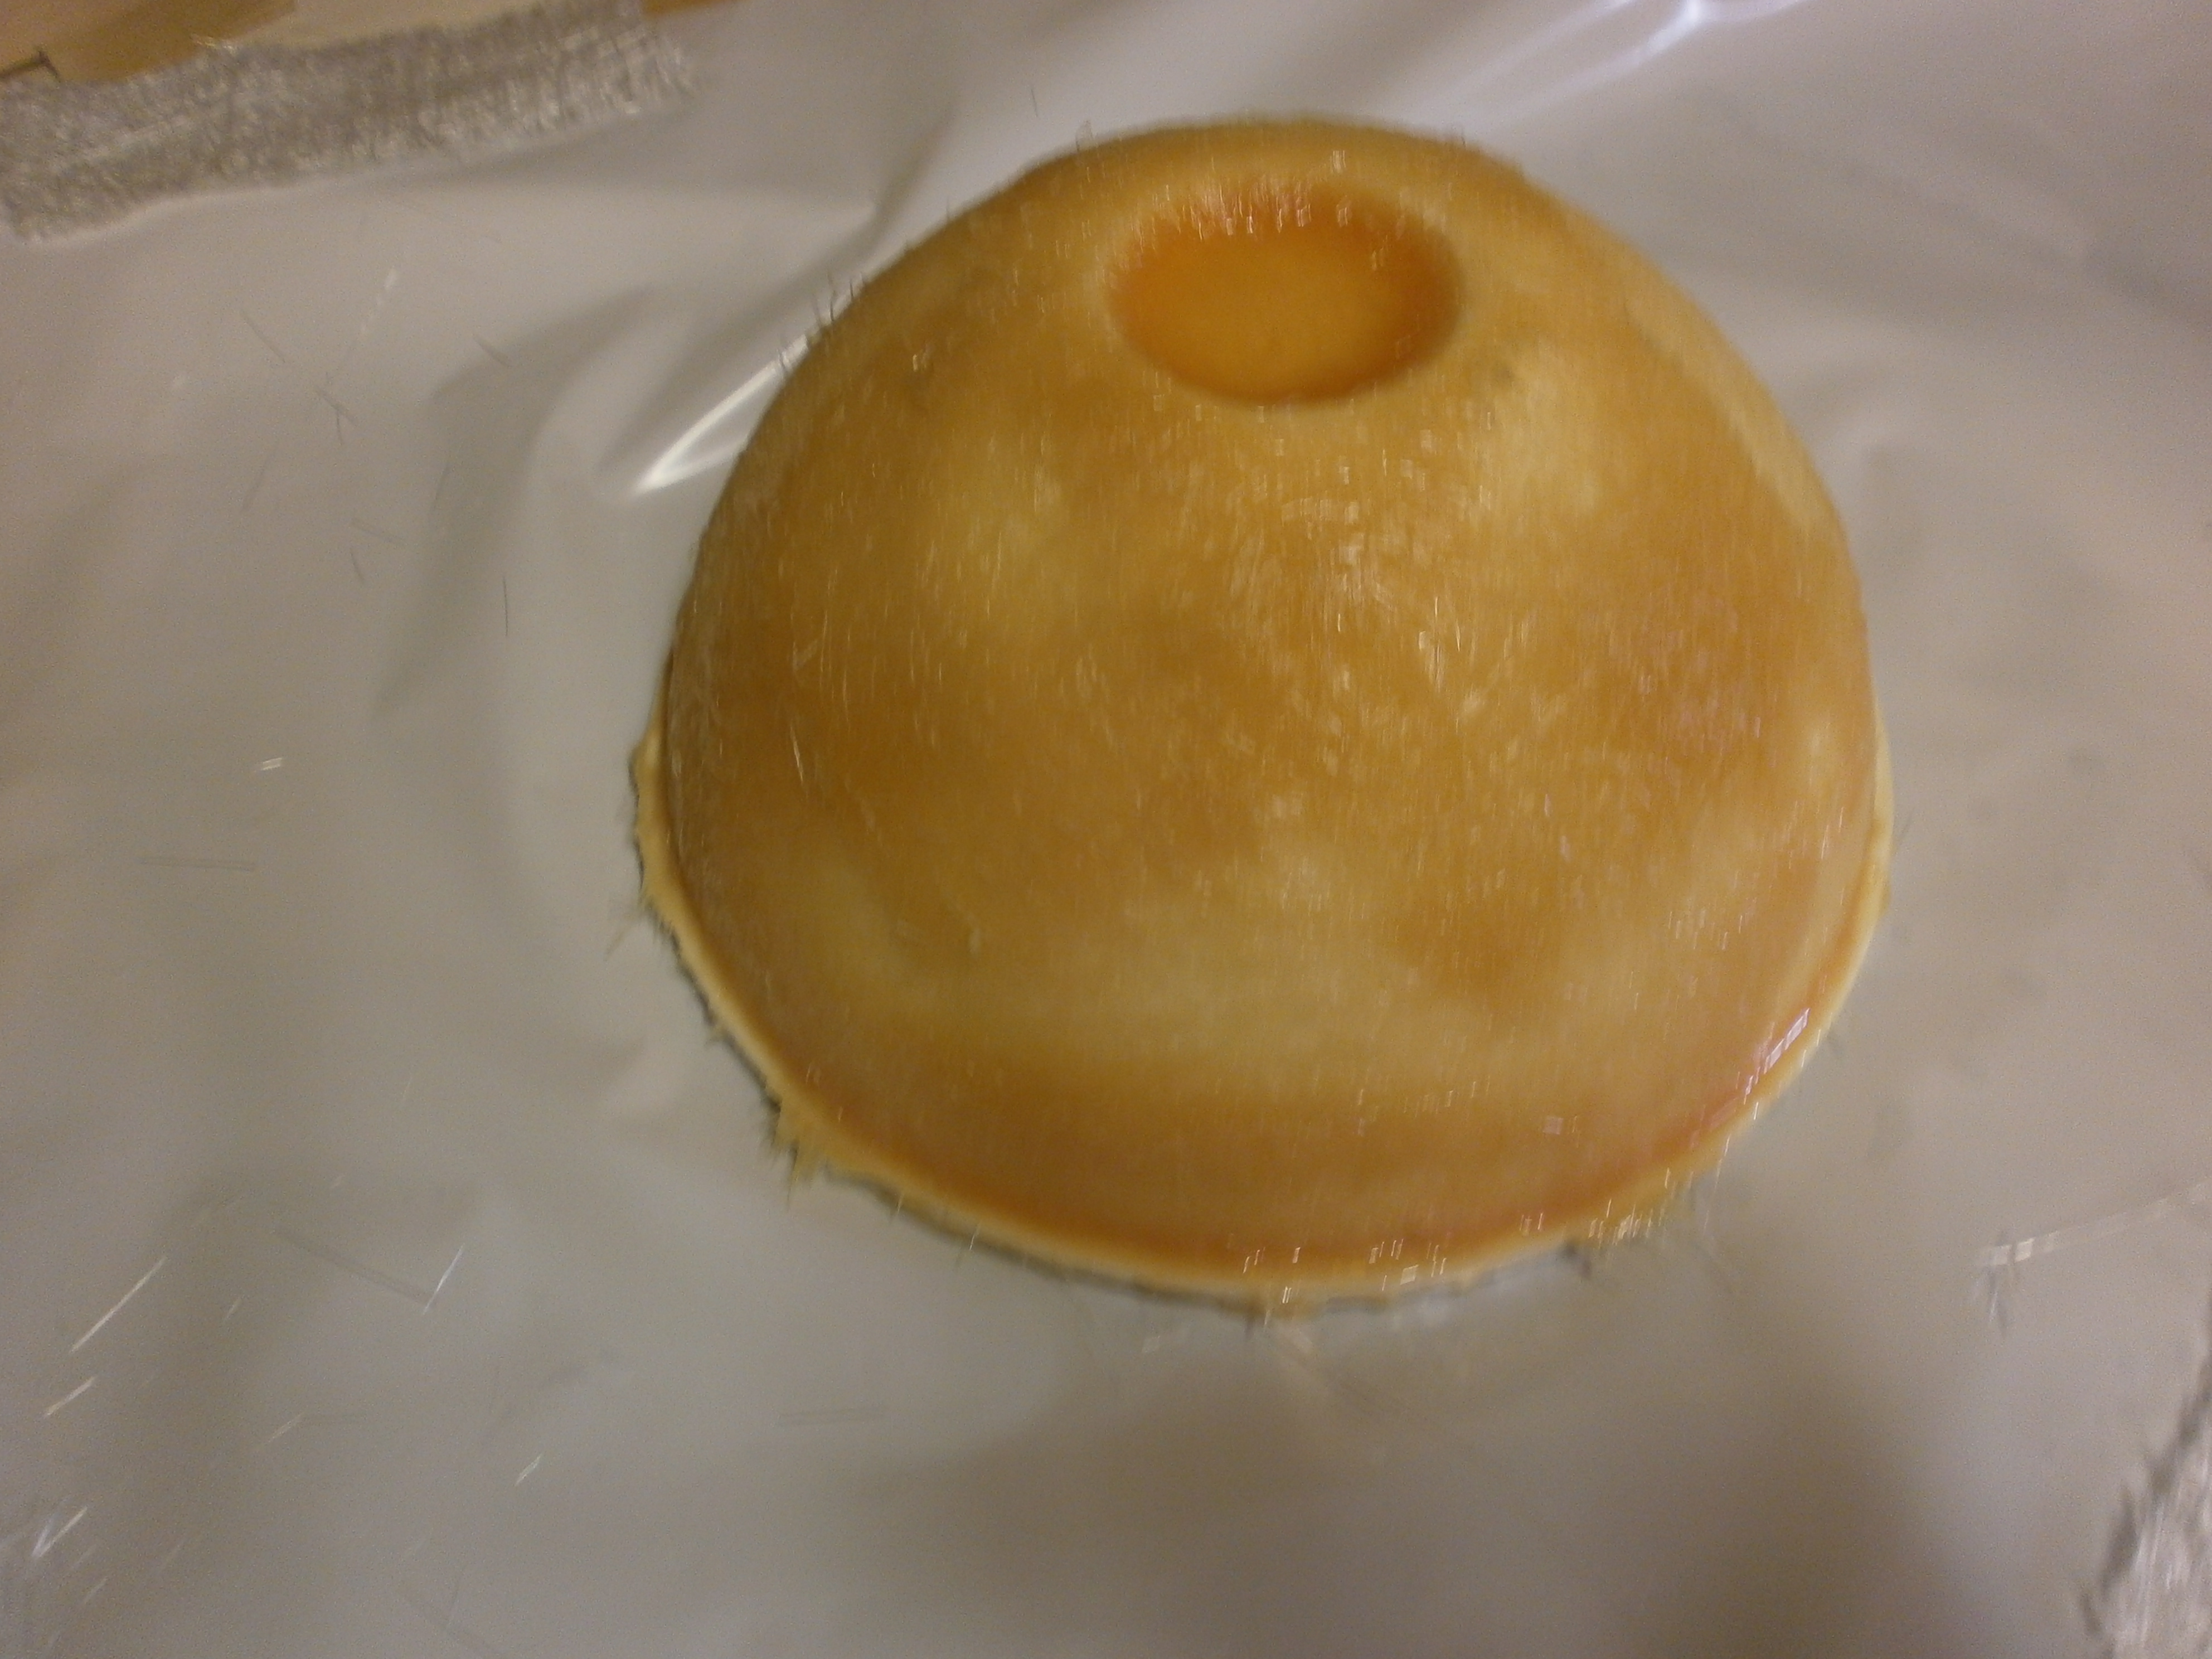
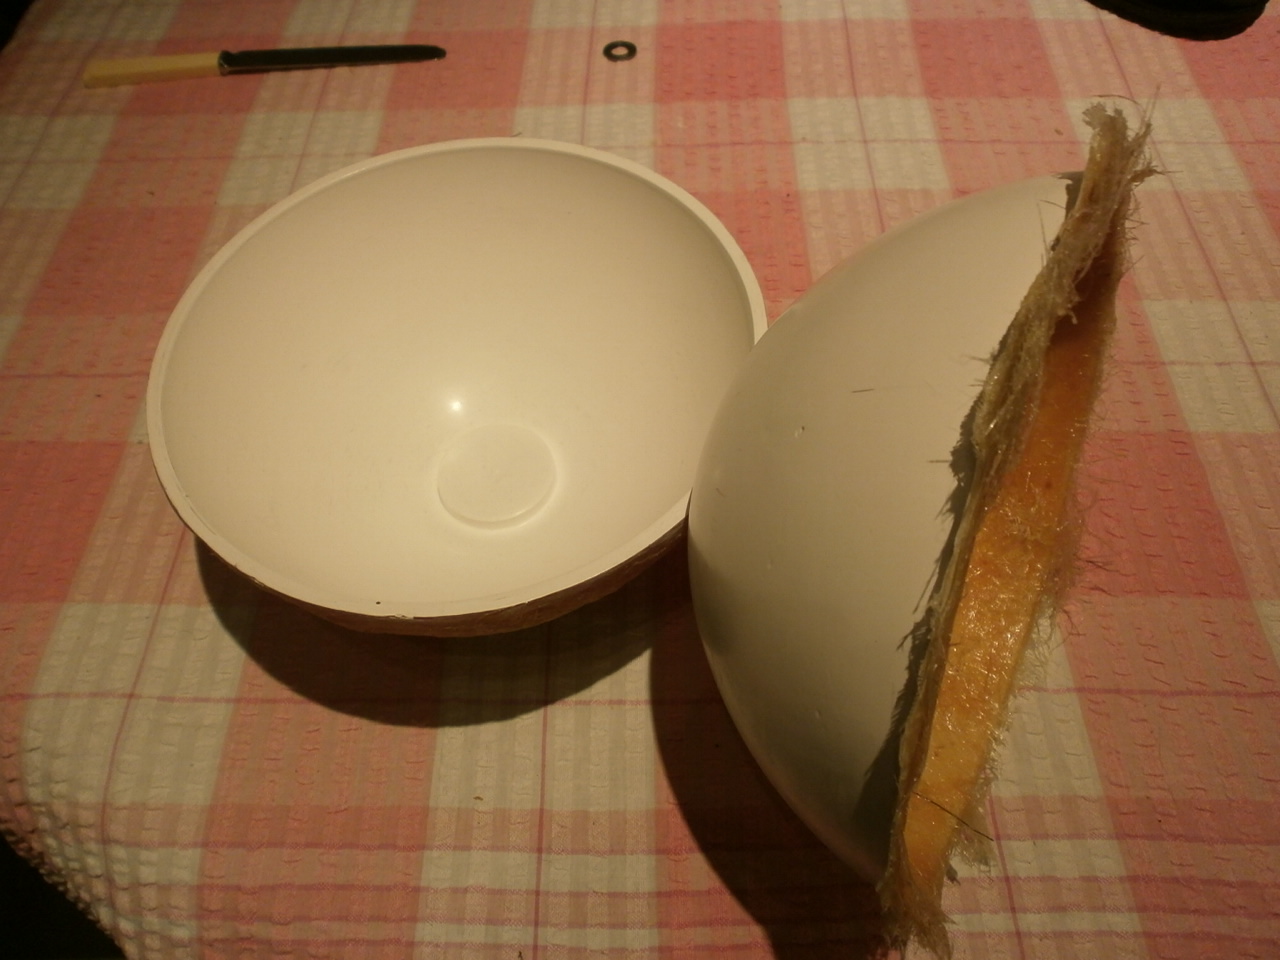
The mold is now ready to be separated from the plug.
This is done by carefully easing the edges of the overlapping glassfibre up and
away from the mold.
Once this has been achieved carefully insert a plastic spatula down between the
plug and the side of the mold, gradually working it around until the mould
releases. (this may be a little difficult at first, but you will find it will
all of a sudden release.)
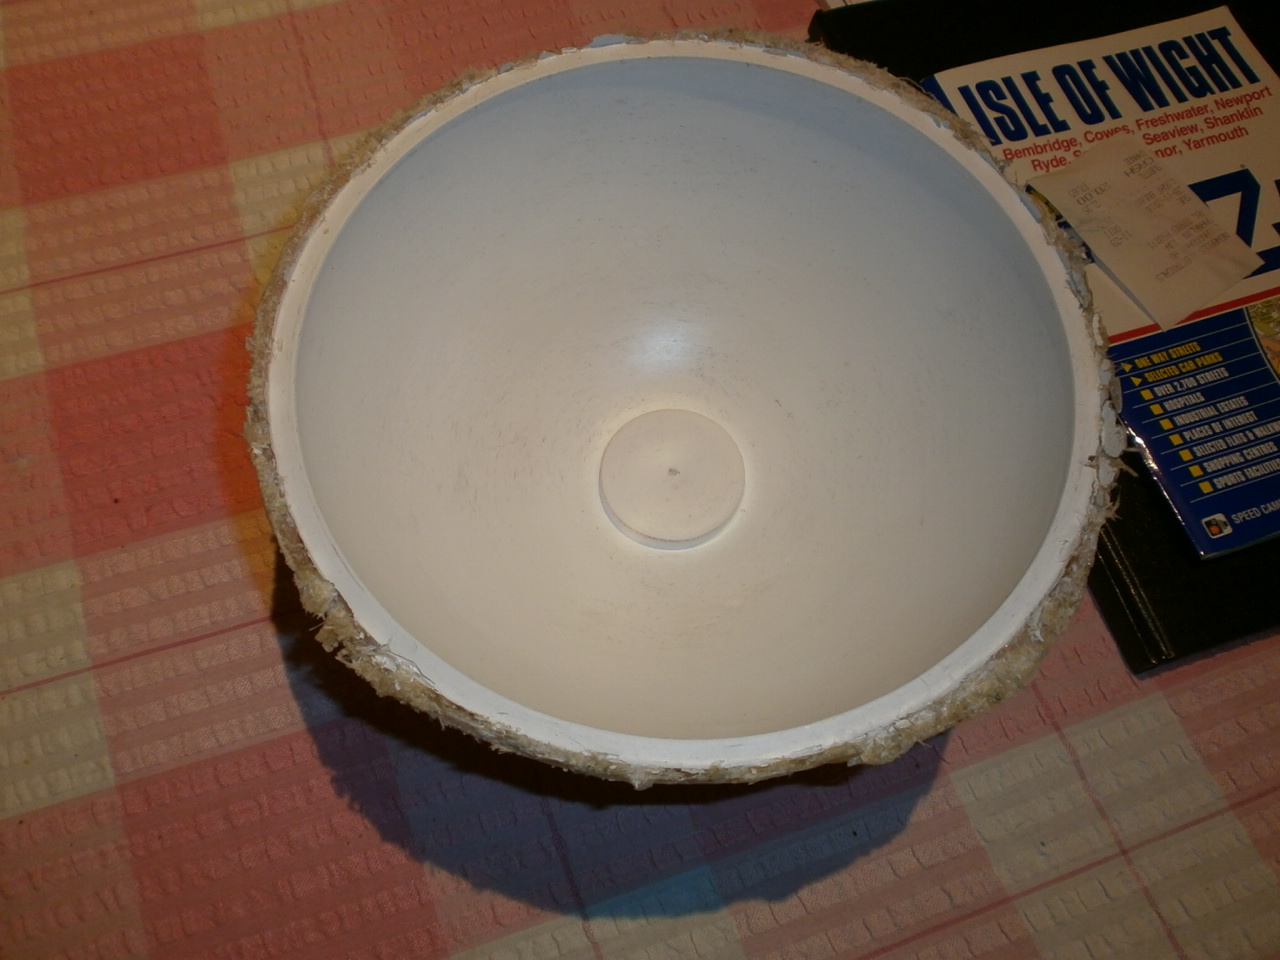
The second picture shows the new mold, an exact replica of the plug.
All that is needed to do now is clean up the overlap edges and you have a nice mold that you can use multiple times.
 |
 |
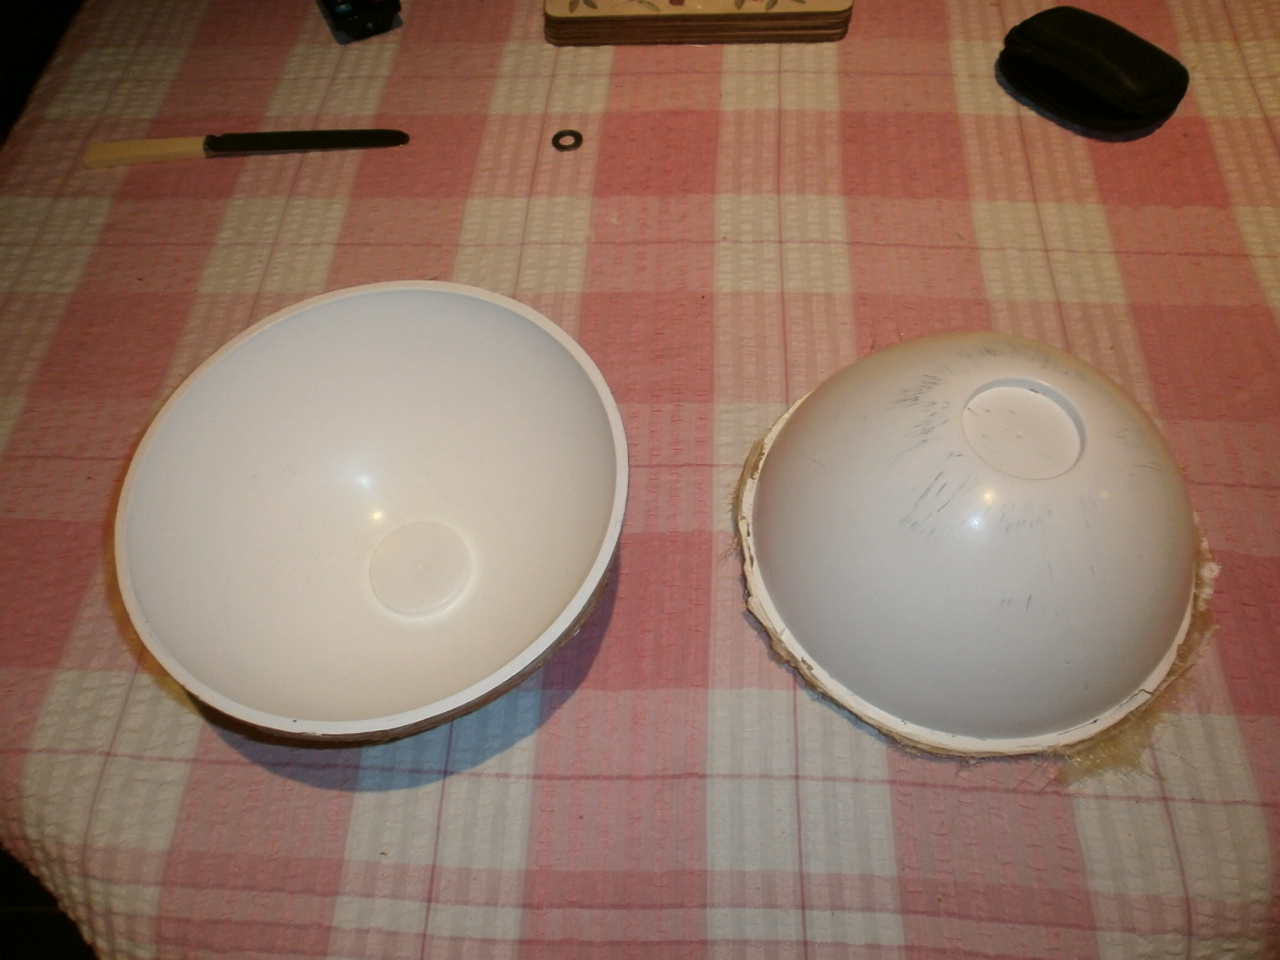
The last few of pictures below show the mold and the spinner made from it.
 |
 |

|