|
|
Applying Rib Tapes
This is my method of applying rib tapes to a model, although the techniques used here will vary according to the model being built.
Again this is not the only way to carry out the application of tapes, but this works for me and I'm happy with the results this method gives.
Once the wings are covered you can start applying rib tapes to enhance the scale appearance of the model. Although this is a very time consuming procedure and is not essential for the structural integrity of the models covering, I think you will agree when you see the finished result, it is well worth doing, giving the model a more realistic look once completed.
With the wing covered the first thing that we need to do is work out the scale width and length of the tapes required.
The next step is to cut them out. If you are lucky like me this can be achieved by imputing in your sizes to a vinyl cutter / Craft Robo and let the machine do all the work for you. Depending on the model being built will depend on whether the edges of the tapes will be serrated or torn. If serrated then you will most definitely need a plotter cutter or find somebody that can supply them for you. Mick Reeves has a variety of scale sizes available ( www.mickreevesmodels.co.uk ) or you can email me and I'll do my best to cater to your needs at a reasonable rate .
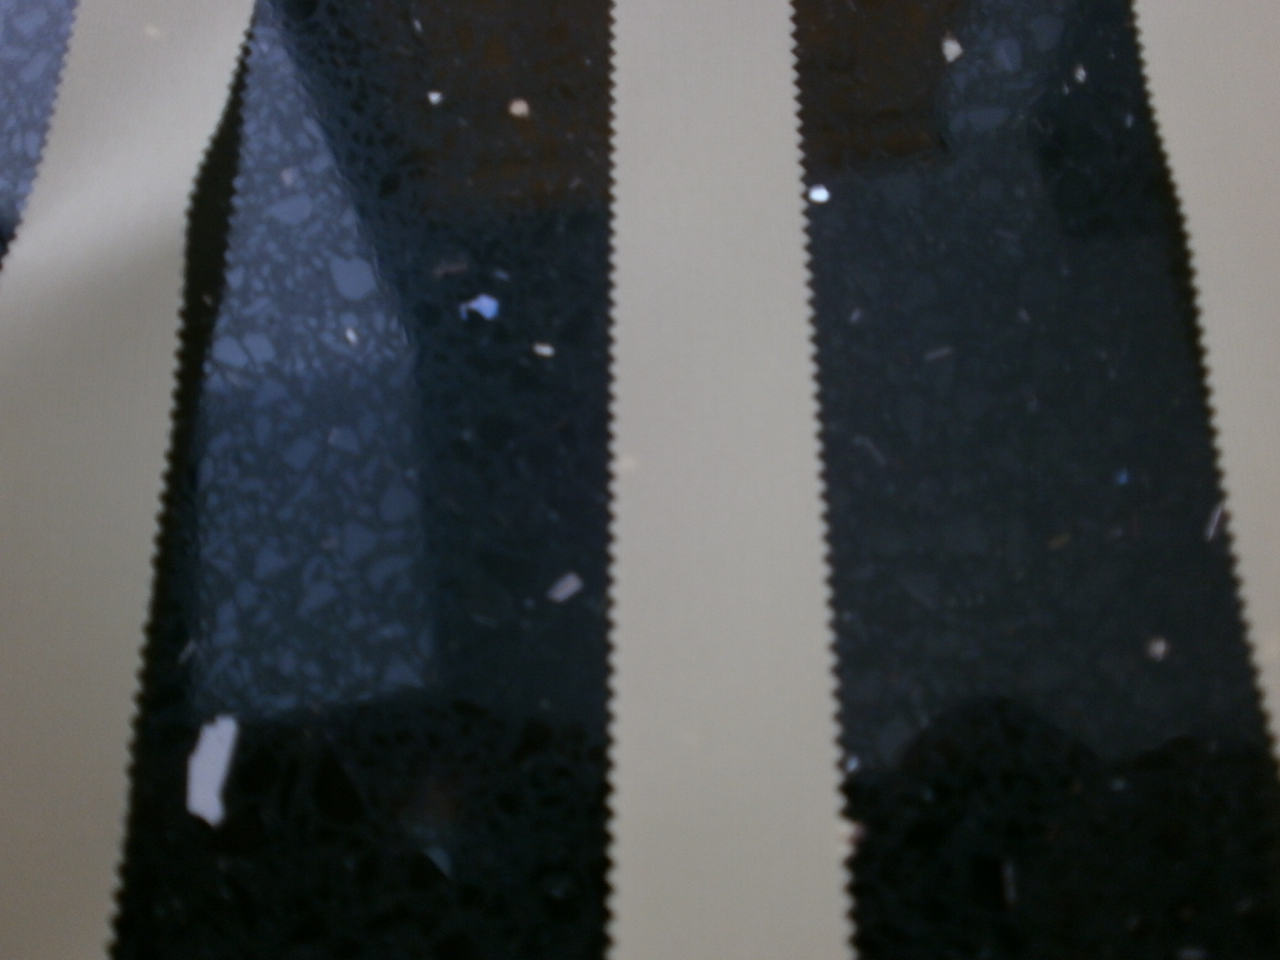
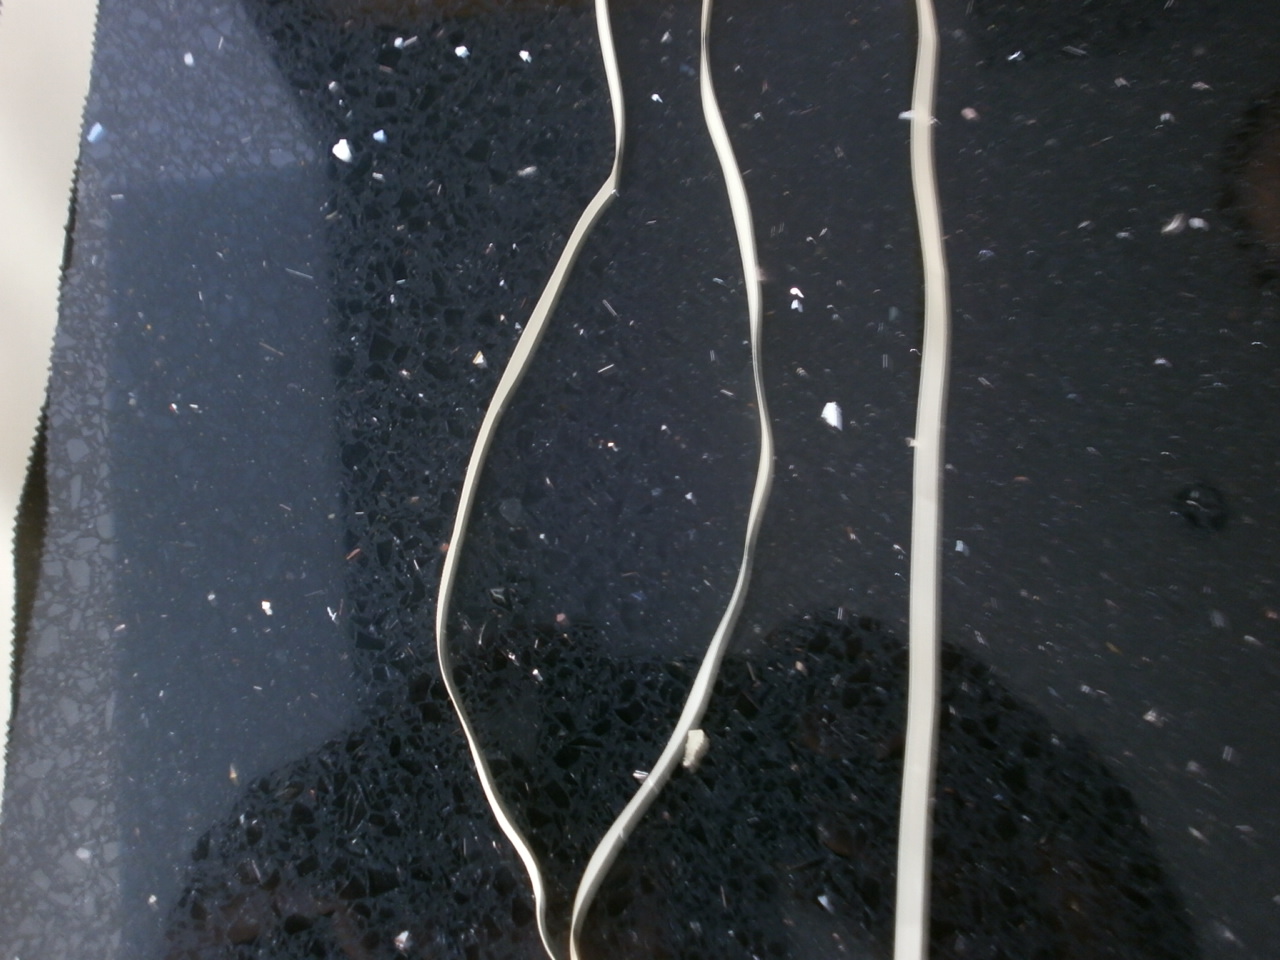
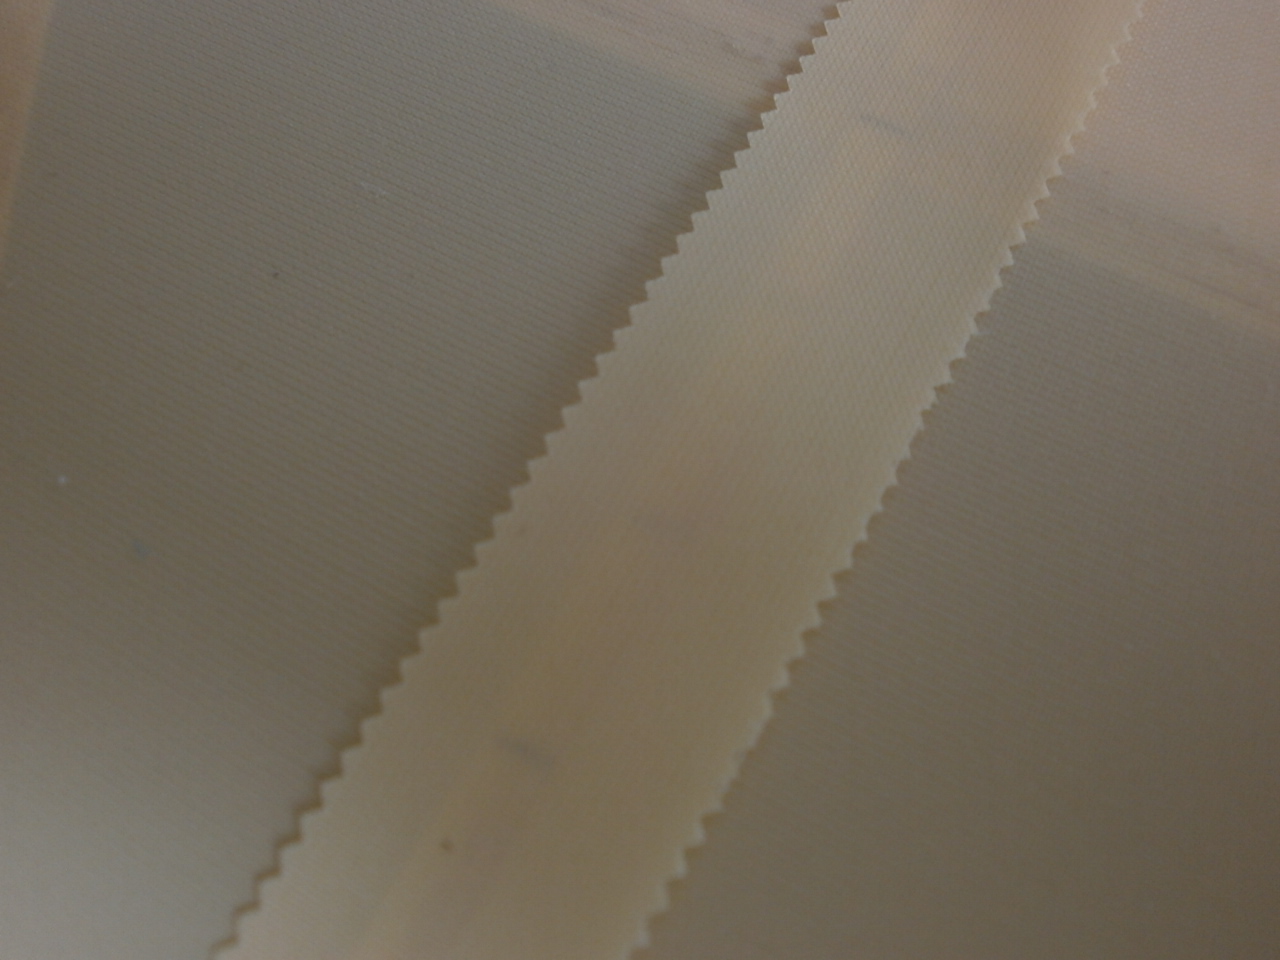
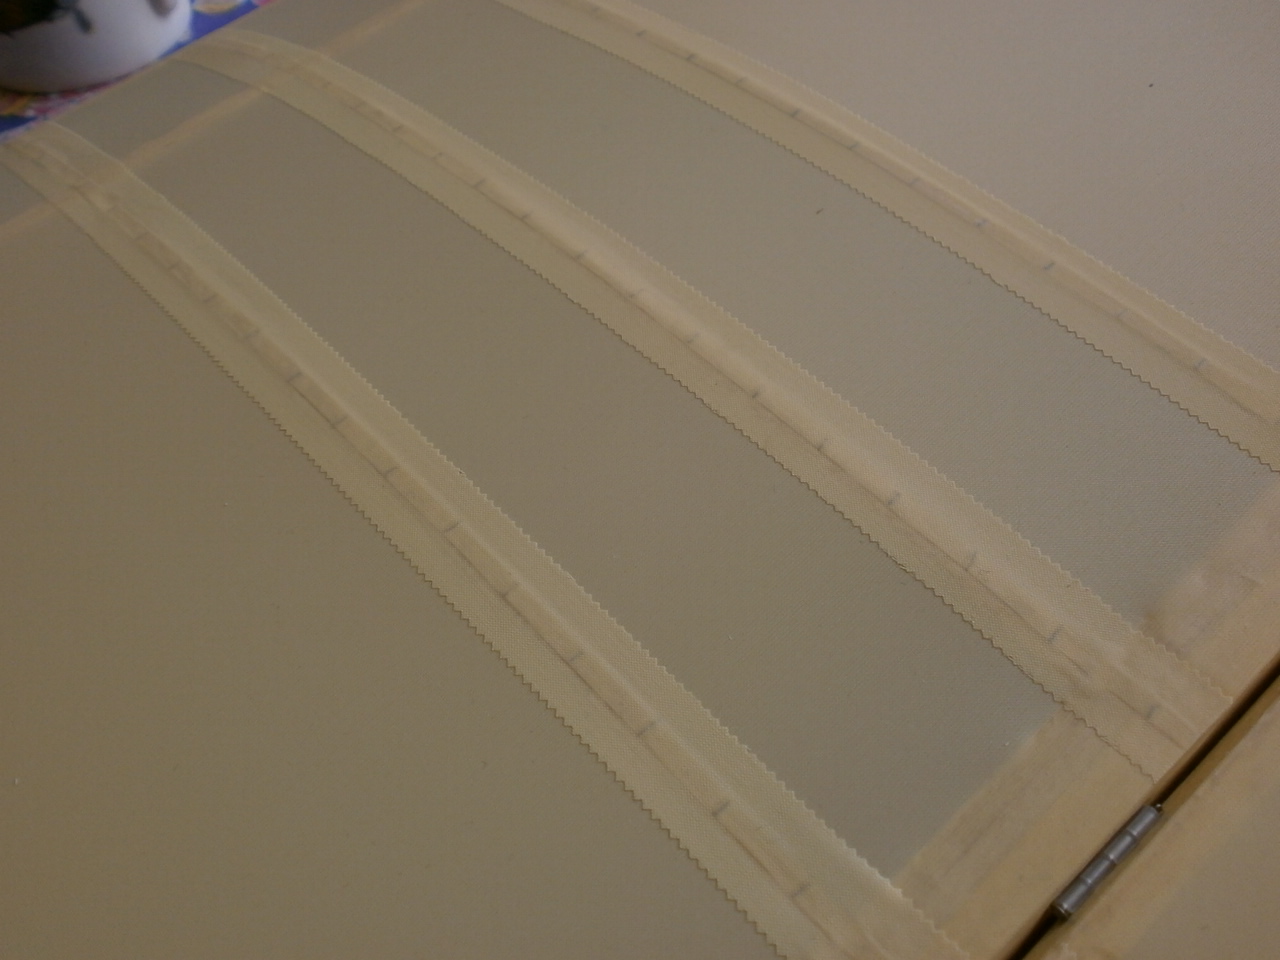
The pictures below show tapes cut by my plotter cutter.
The first picture is the covering tape pinked and the second picture is the actual rib tape all cut to scale
|
|
Method used
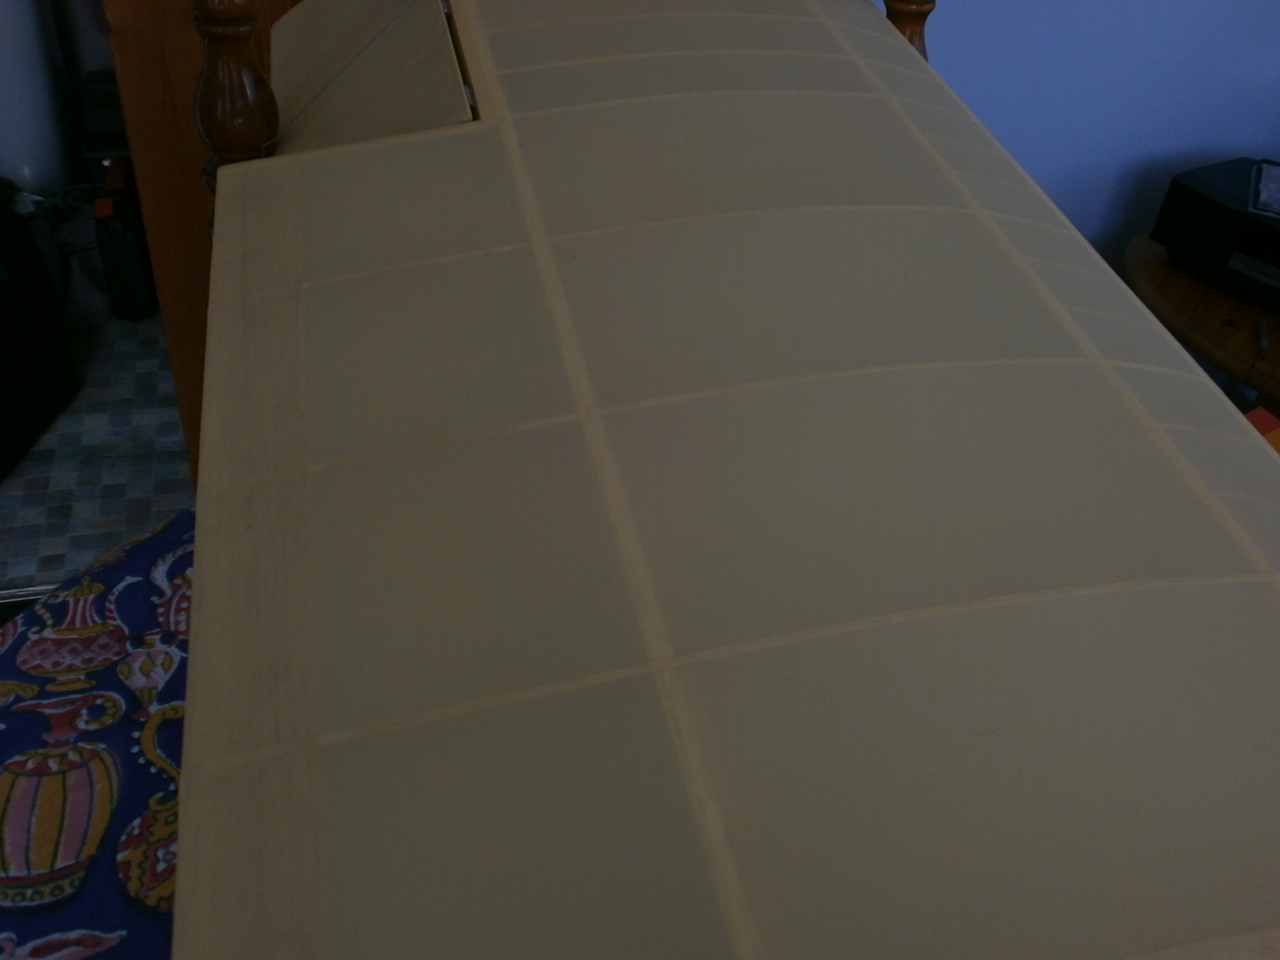
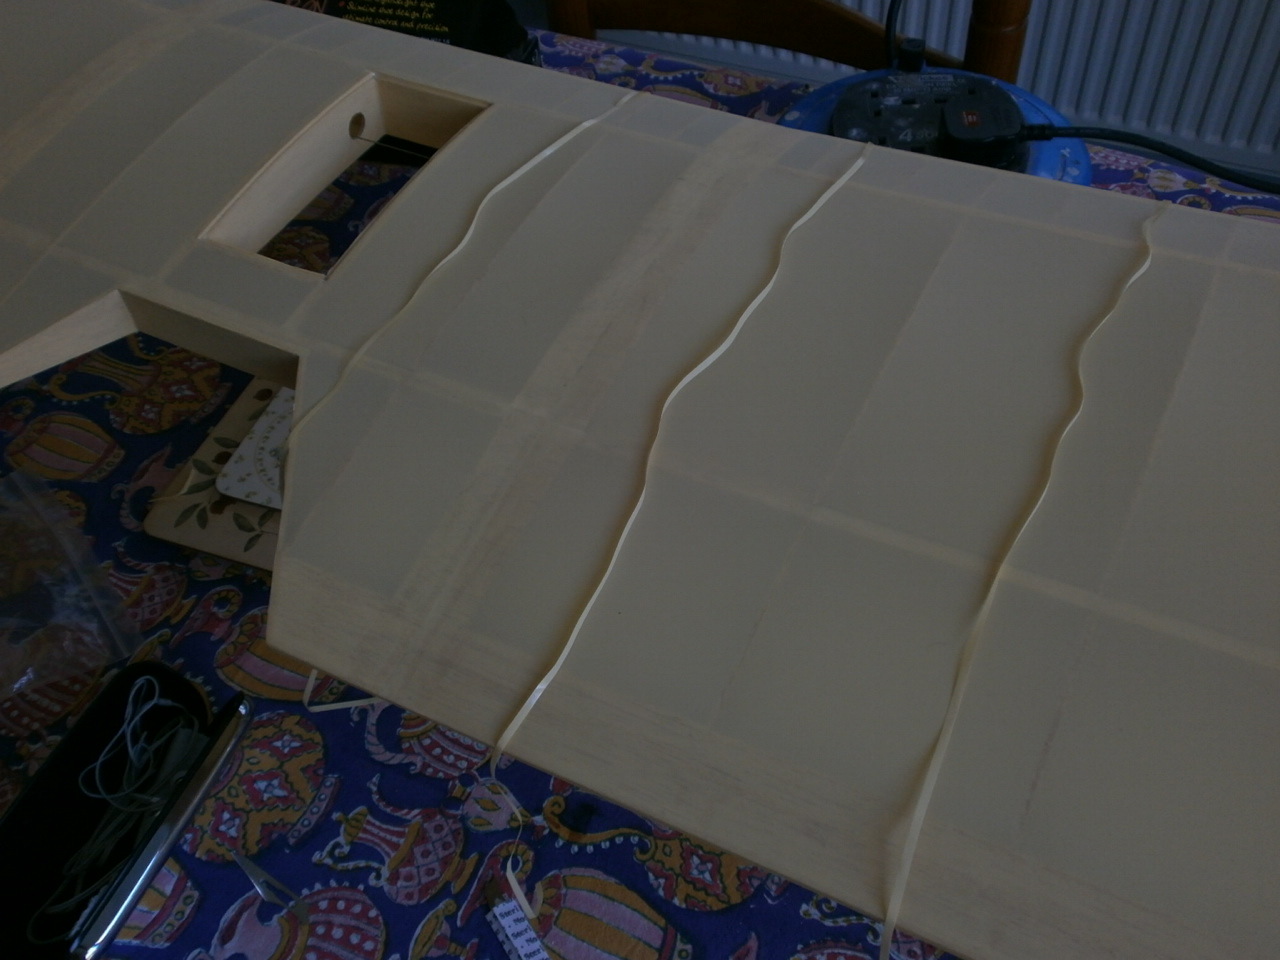
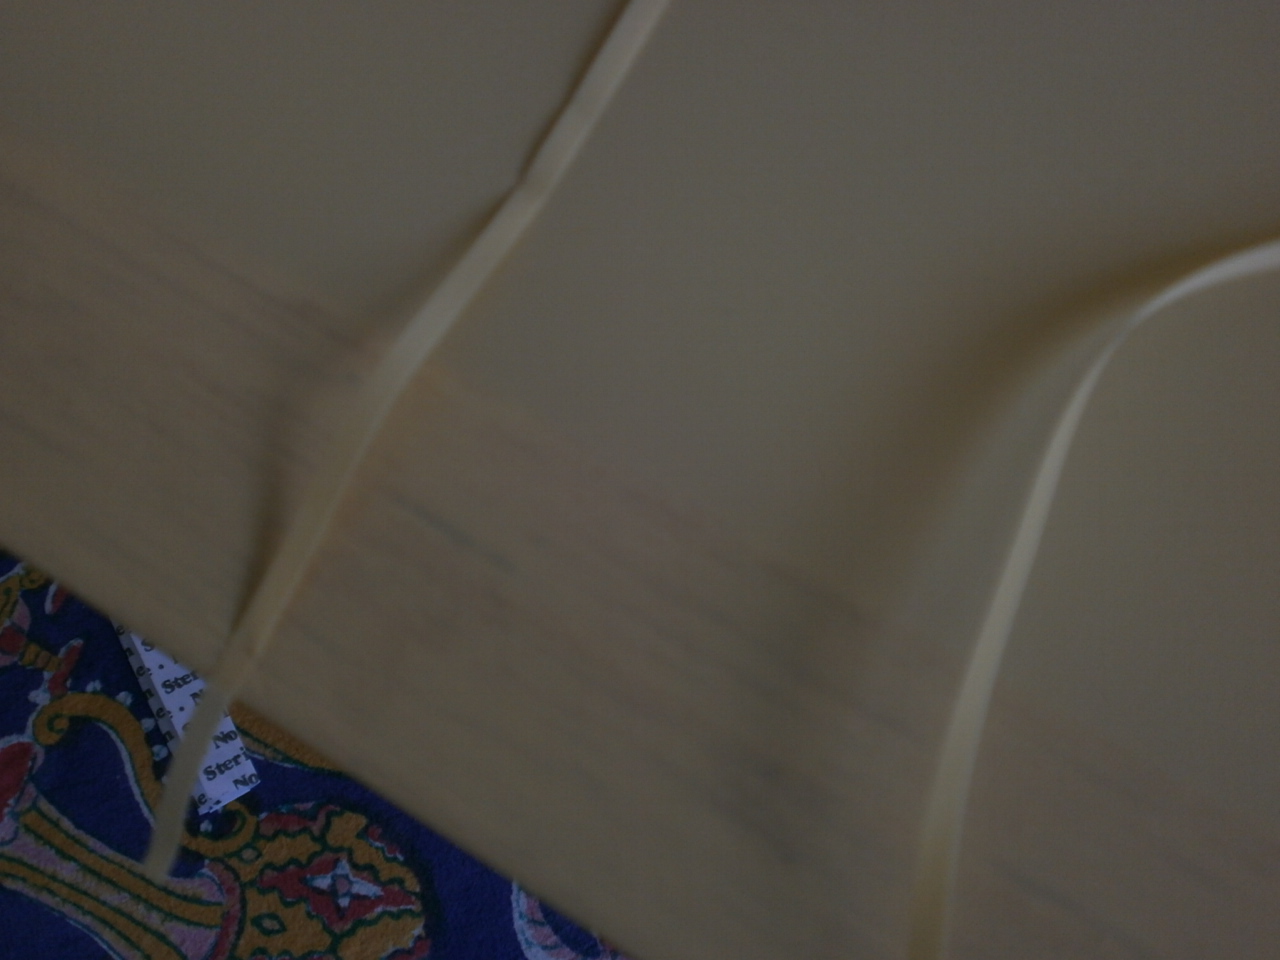
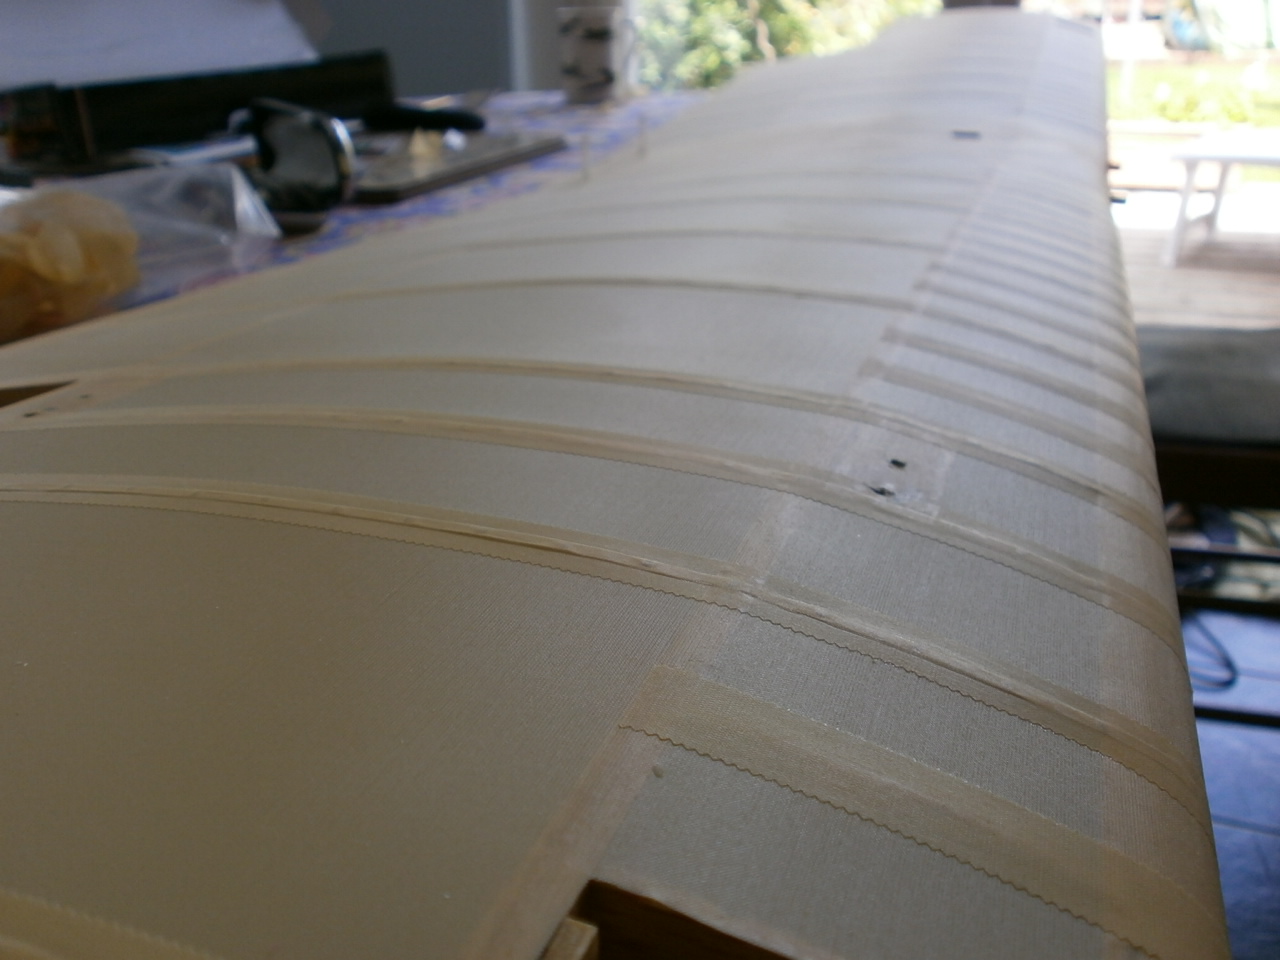
First the tapes are laid out over the wing Picture 1. Next the tapes are placed over each rib to be covered and with the covering iron tacked to the trailing edge strip on a low heat about 200 F. Then the tape is pulled across to the leading edge and again tacked into place here making sure that the tape is covering the rib. Pic 2, 3 and 4 below
 |
 |
picture showing tape pulled to one side of the rib to be covered |
 Tape now in place over rib |
Once all tapes have been tacked as described, then carefully seal the who tape to the wing being careful not to move the tape of centre of the rib pic below
|
Wing with all tapes below |
Once all rib tapes are in place the stitching effect can be placed onto the tapes. As mentioned above there are a number of ways of achieving this, but the one I'm using on this project is to use PVA glue fined down by about 30%
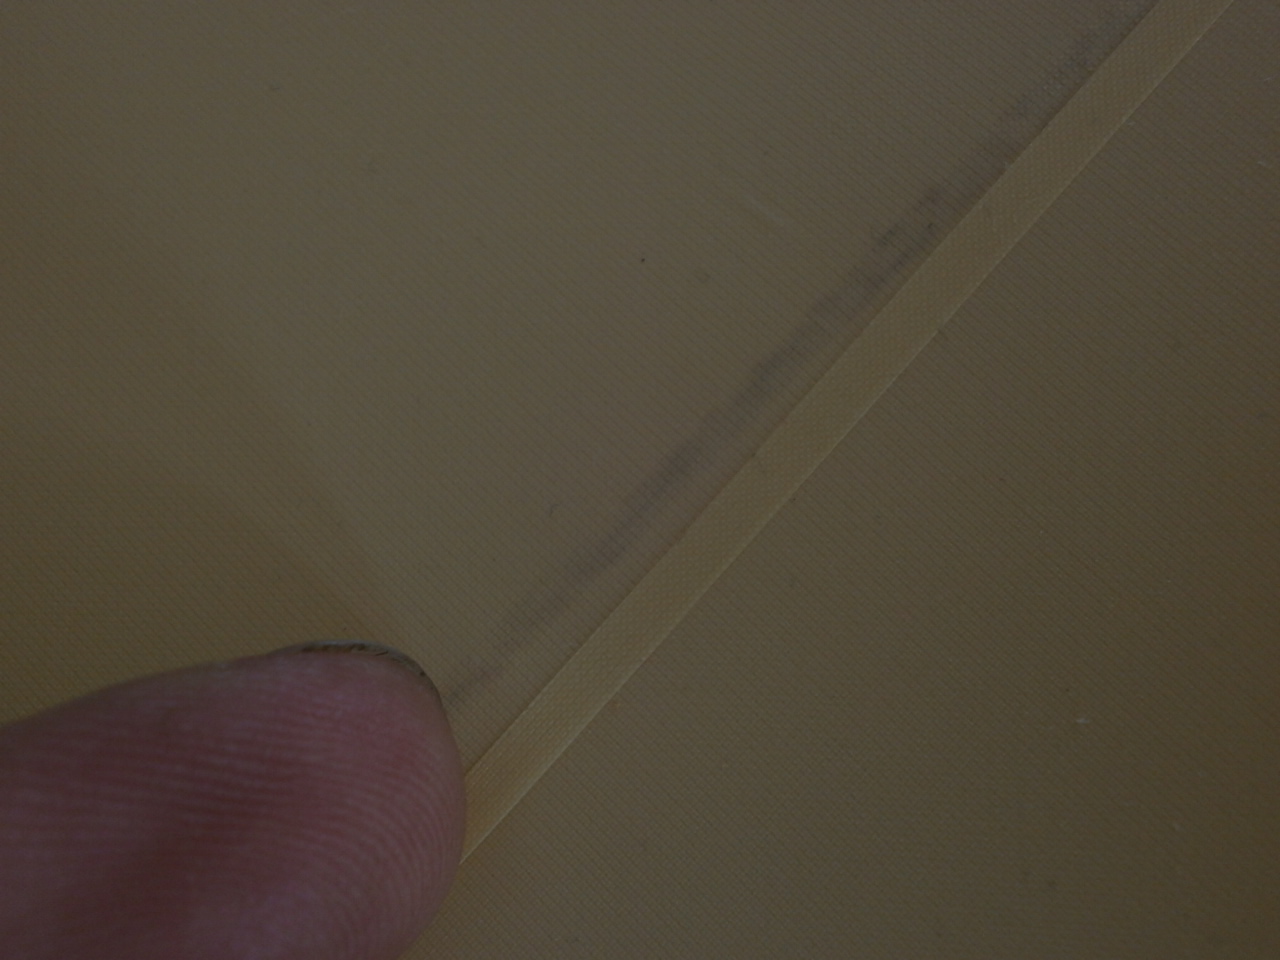
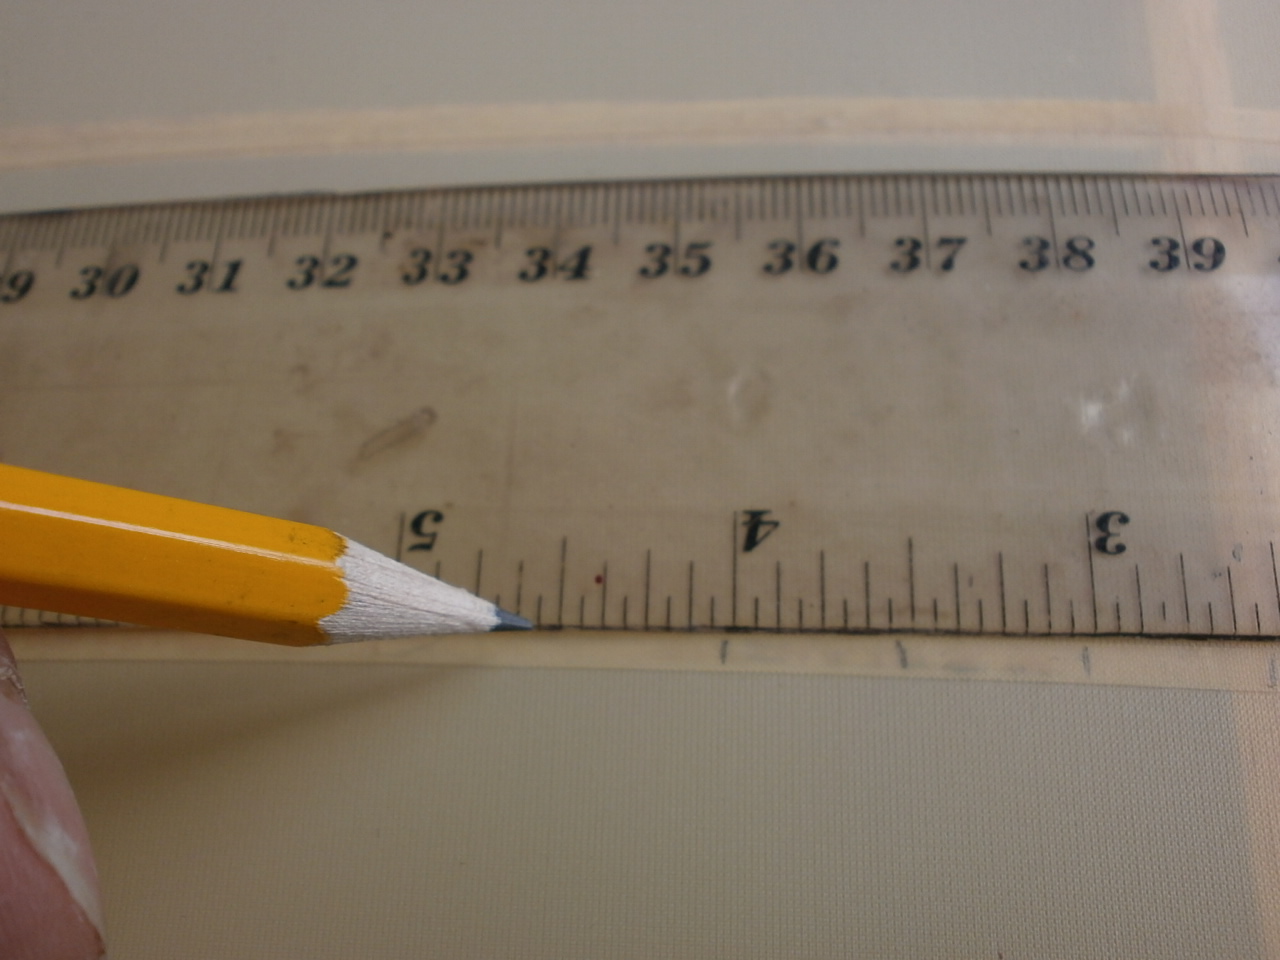
Once the glue has been fined down, you then need to mark the scale spacing of the stitches onto the tapes. On this model every 1/2 inch see picture 2 below.
 |
 |
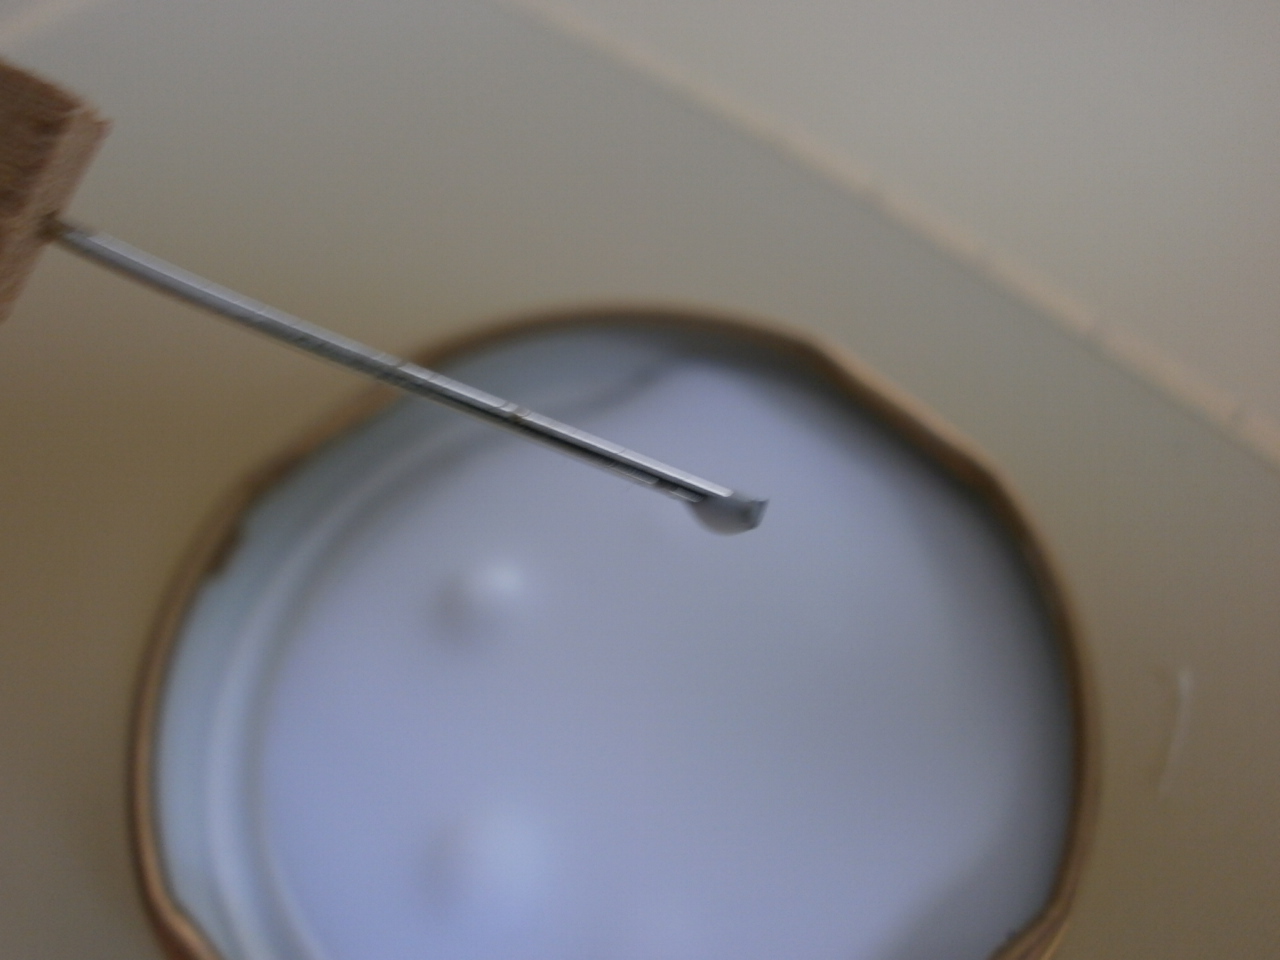
Once all marked out then I can start adding the stitching effect to the tapes. To do this I very carefully take a small amount of glue using a cocktail stick or similar and apply to tape as if drawing a horizontal line. It is better to practice on a piece of scrap covering material first to get a feel for the medium being used.
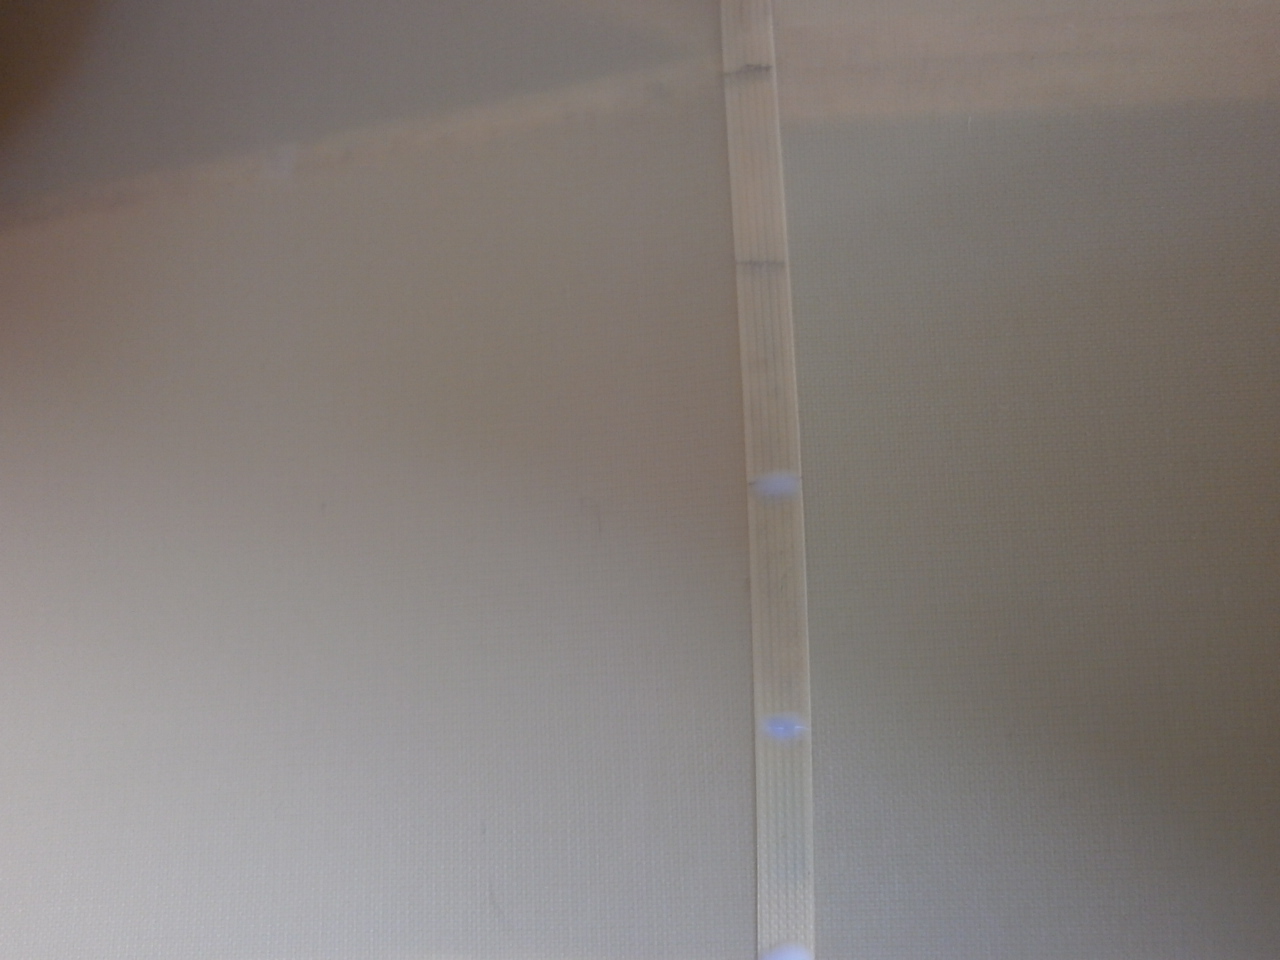
The following two pictures below showing the PVA applied to tapes in pre-marked stitching locations.
 |
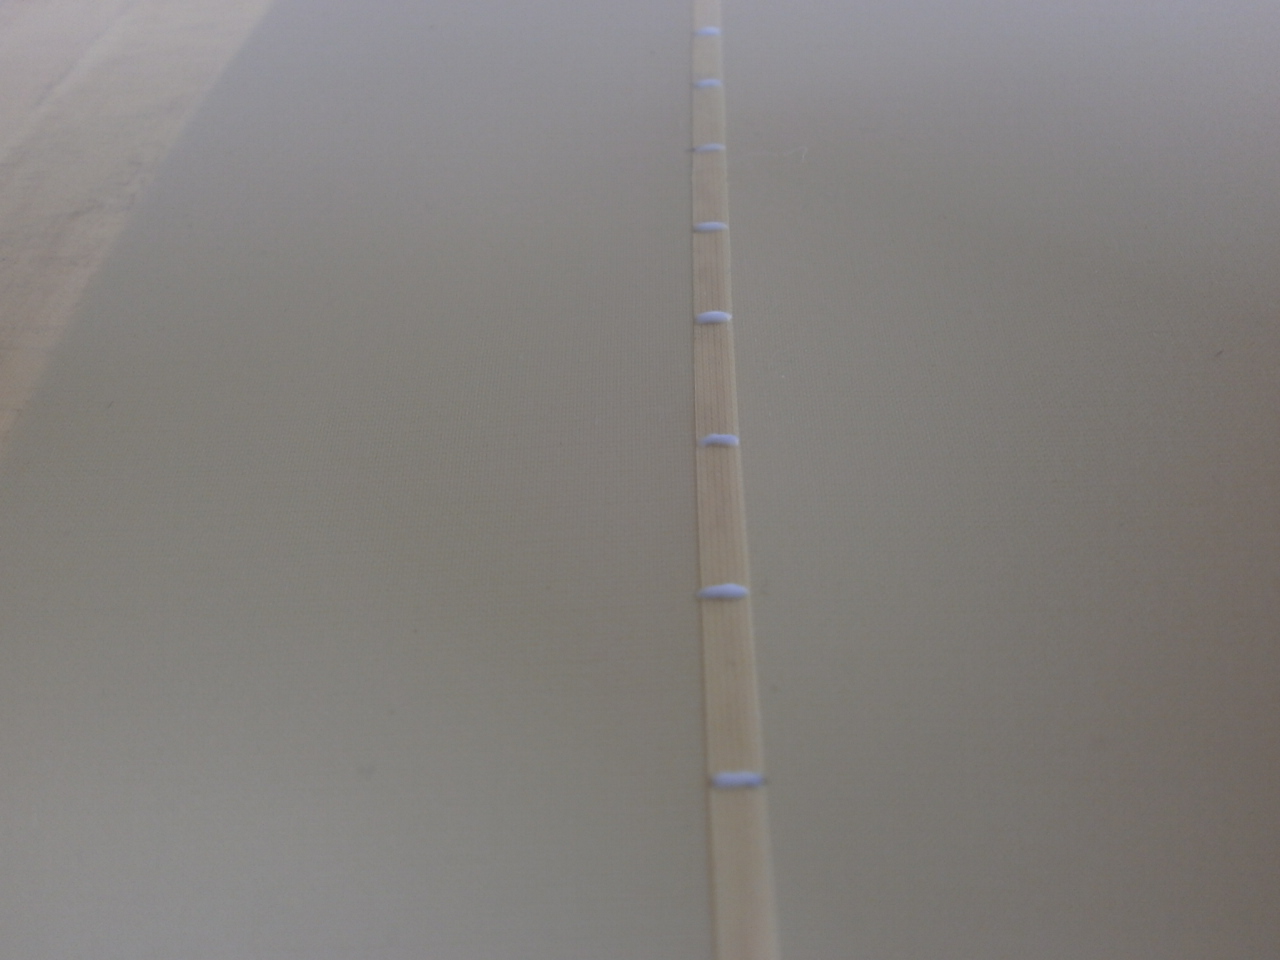 |
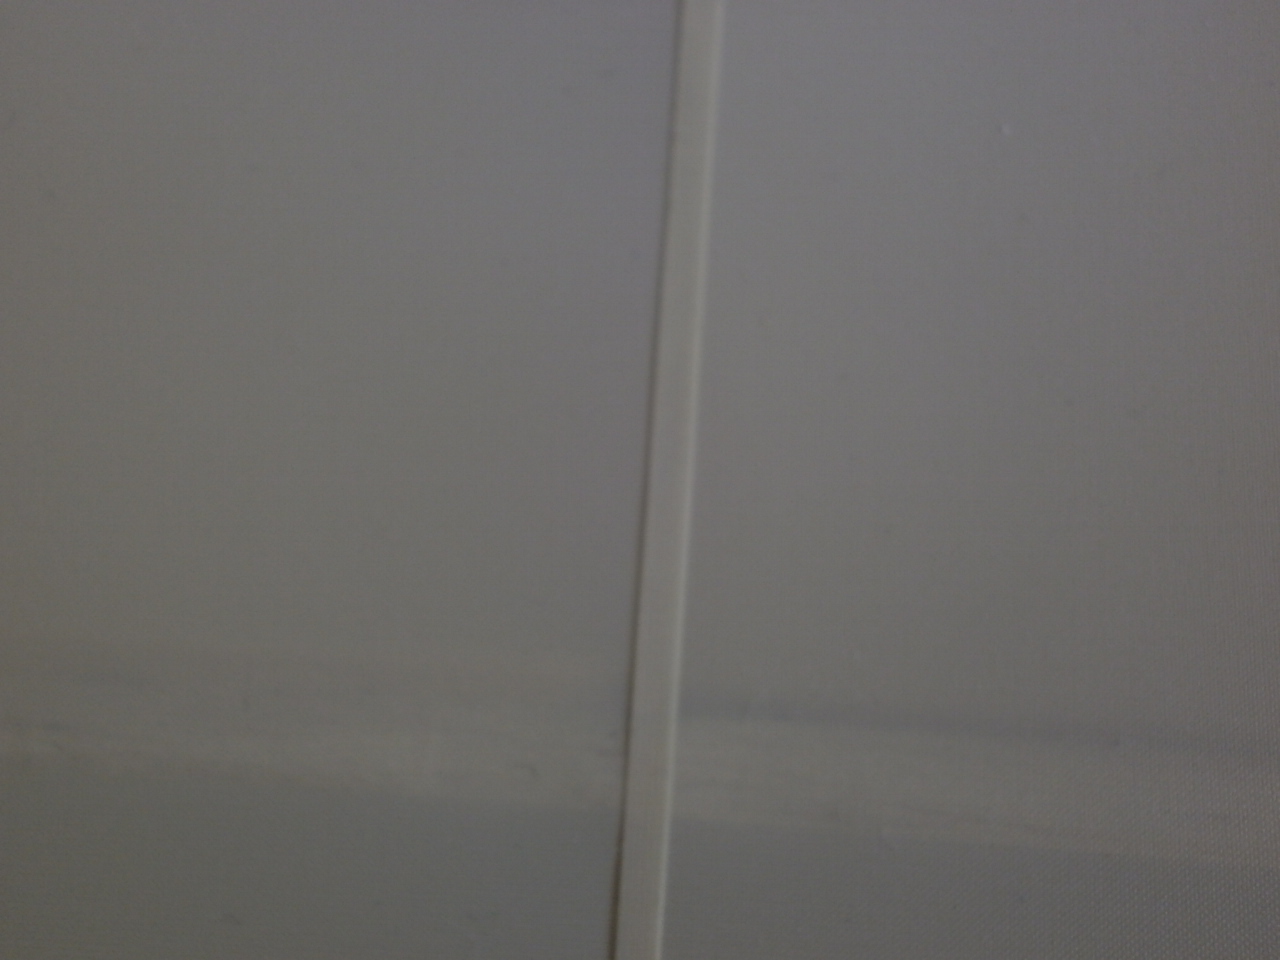
The glue is now left to dry leaving a slightly raised ridge that once covered with the covering tape simulates the effect of stitching. To achieve this the covering tape is placed over the rib tape centrally and then ironed into place by first ironing on side of the tape into place and then moving onto the other. Take your time when carrying out this operation making sure you get the definition of the rib tape and stitching. See pics below.
 |
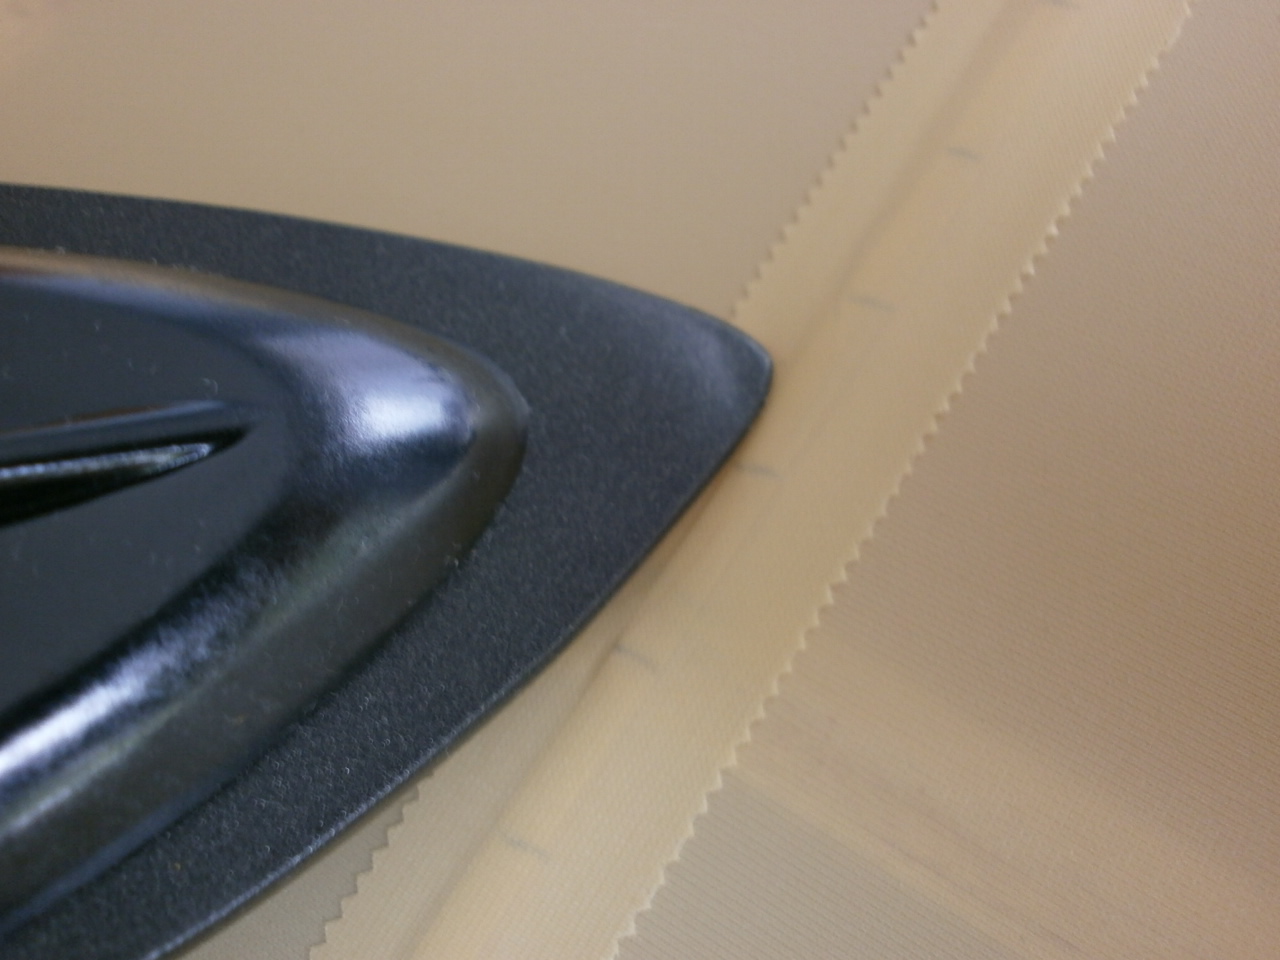 |
These last two pictures showing the final result.
 |
 |