SE5A Fin & Rudder
Having completed the stabiliser and elevator structures, it was decided to move onto the Fin & Rudder.
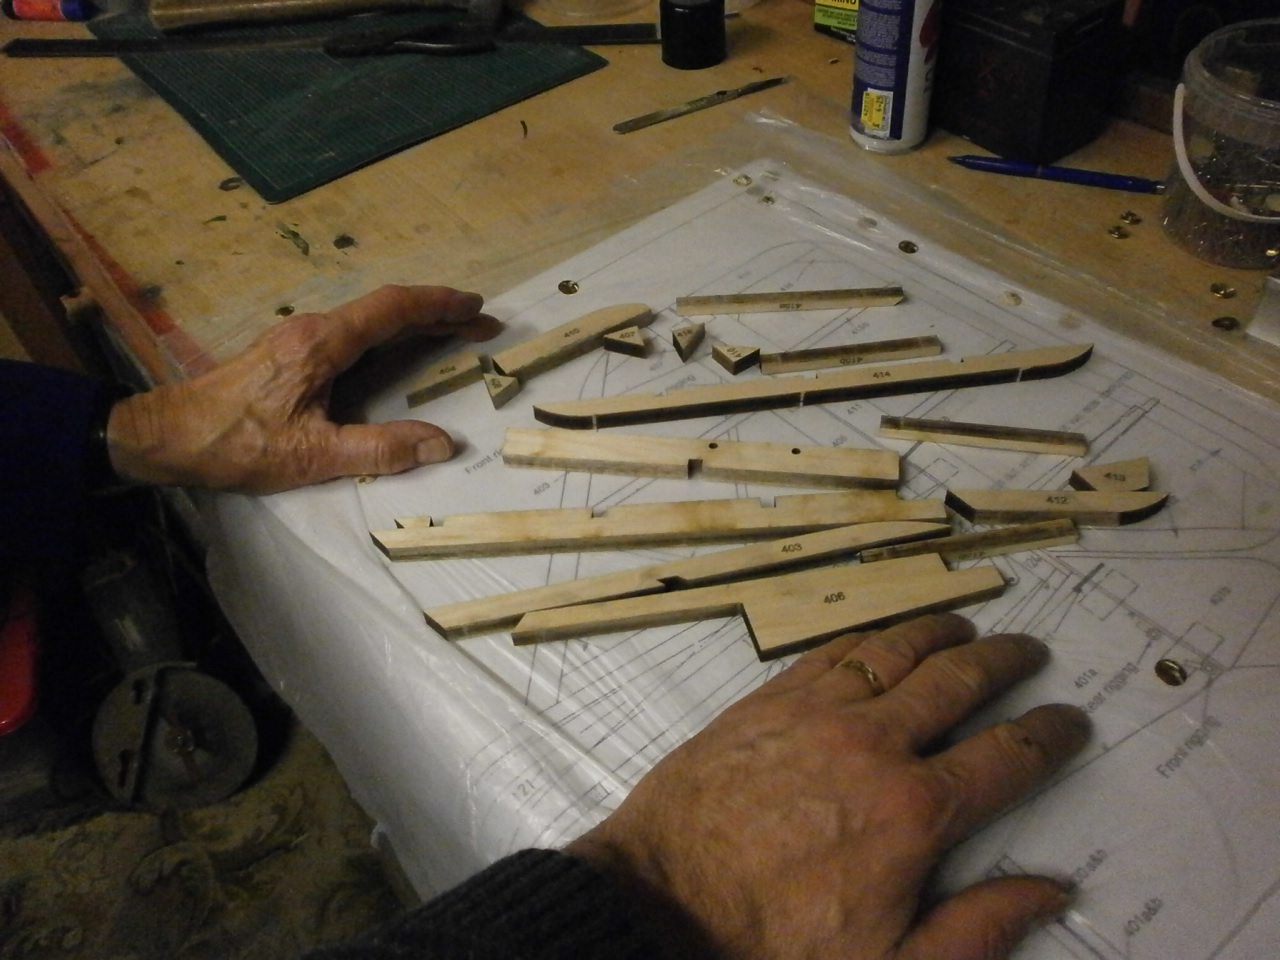
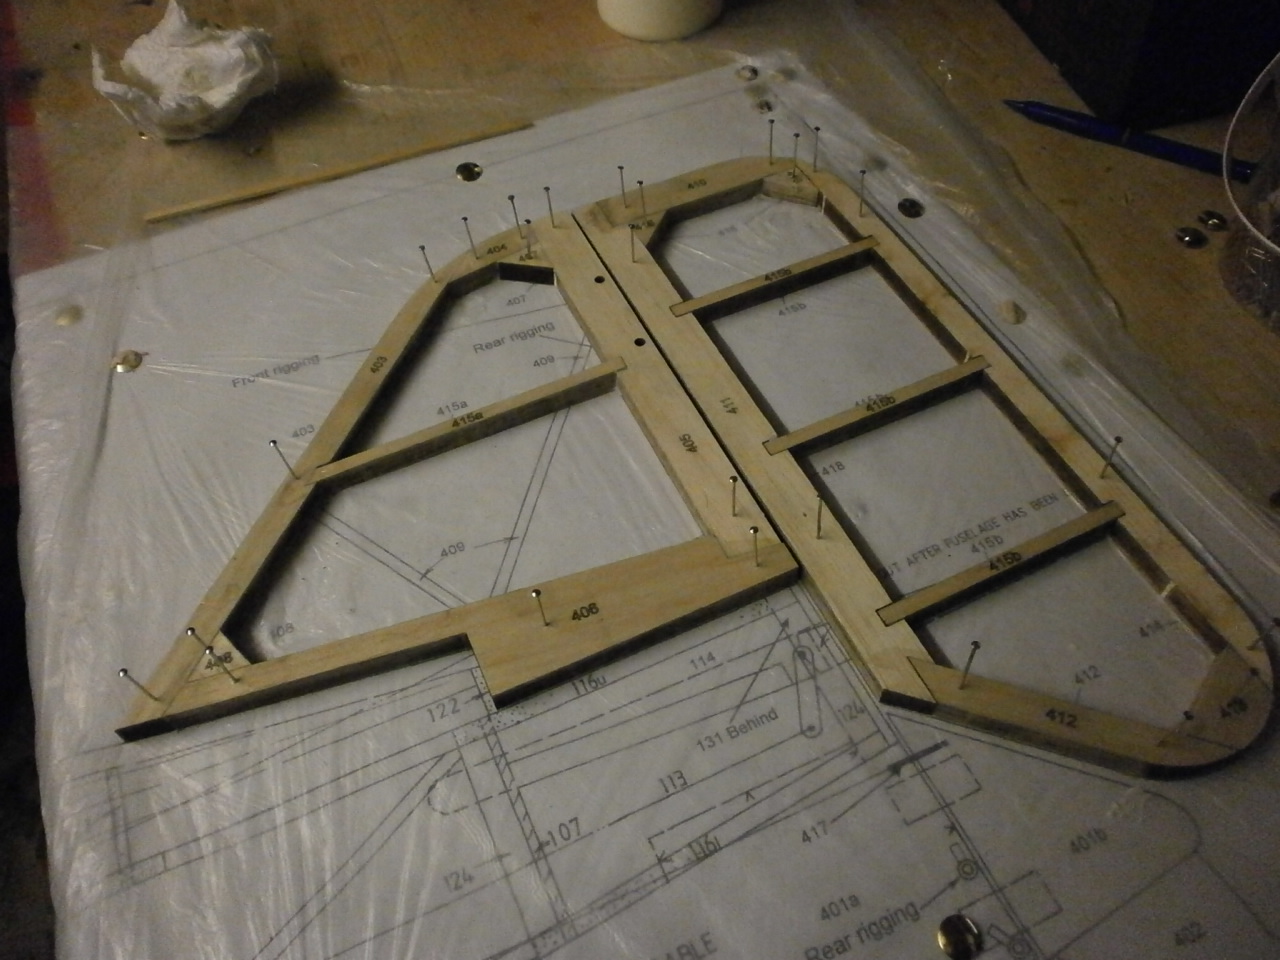
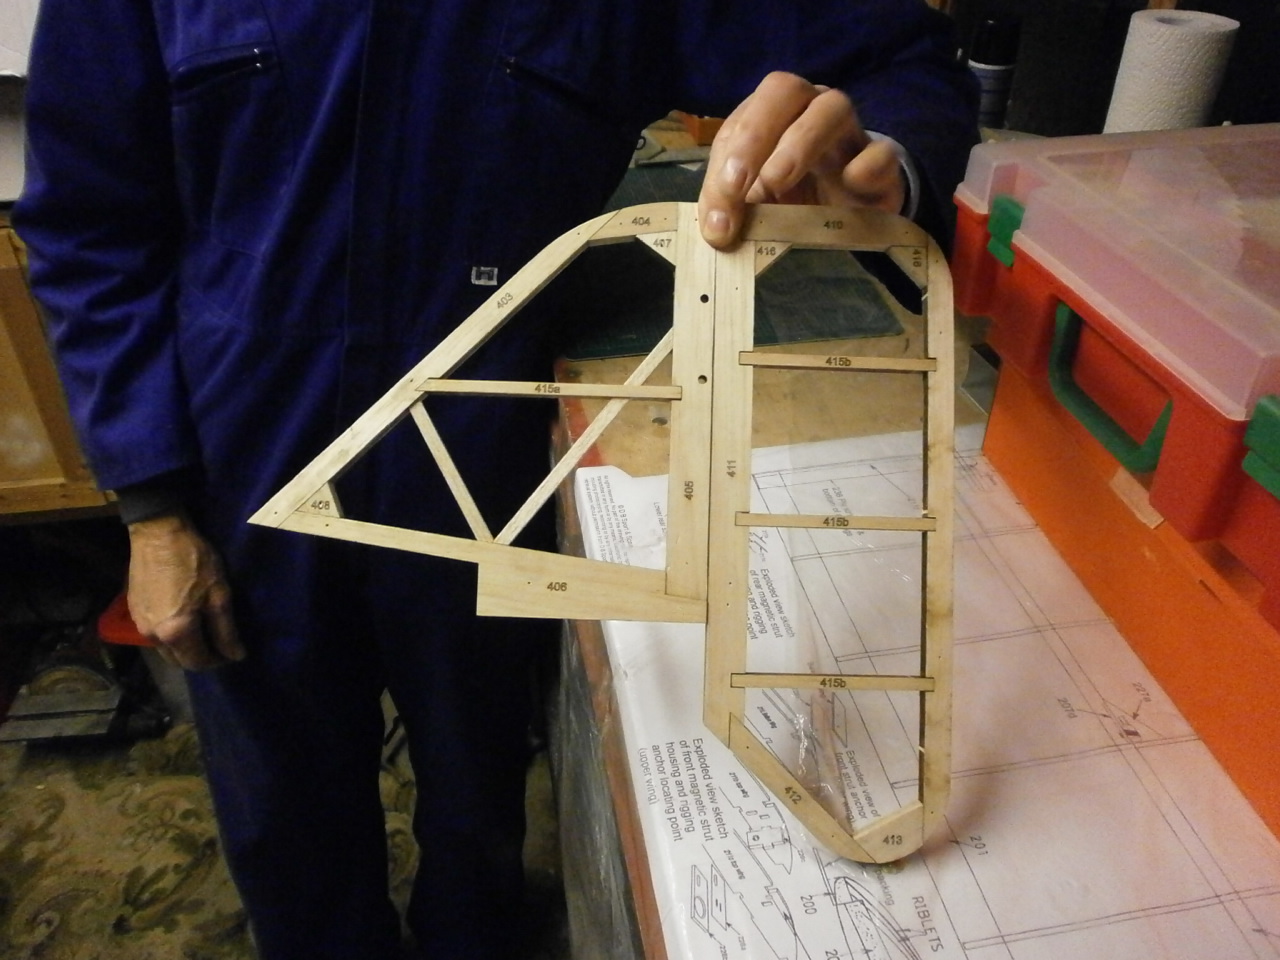
Again we gathered all the laser cut parts and laid them out on the plans checking that we had everything. Picture 1 below
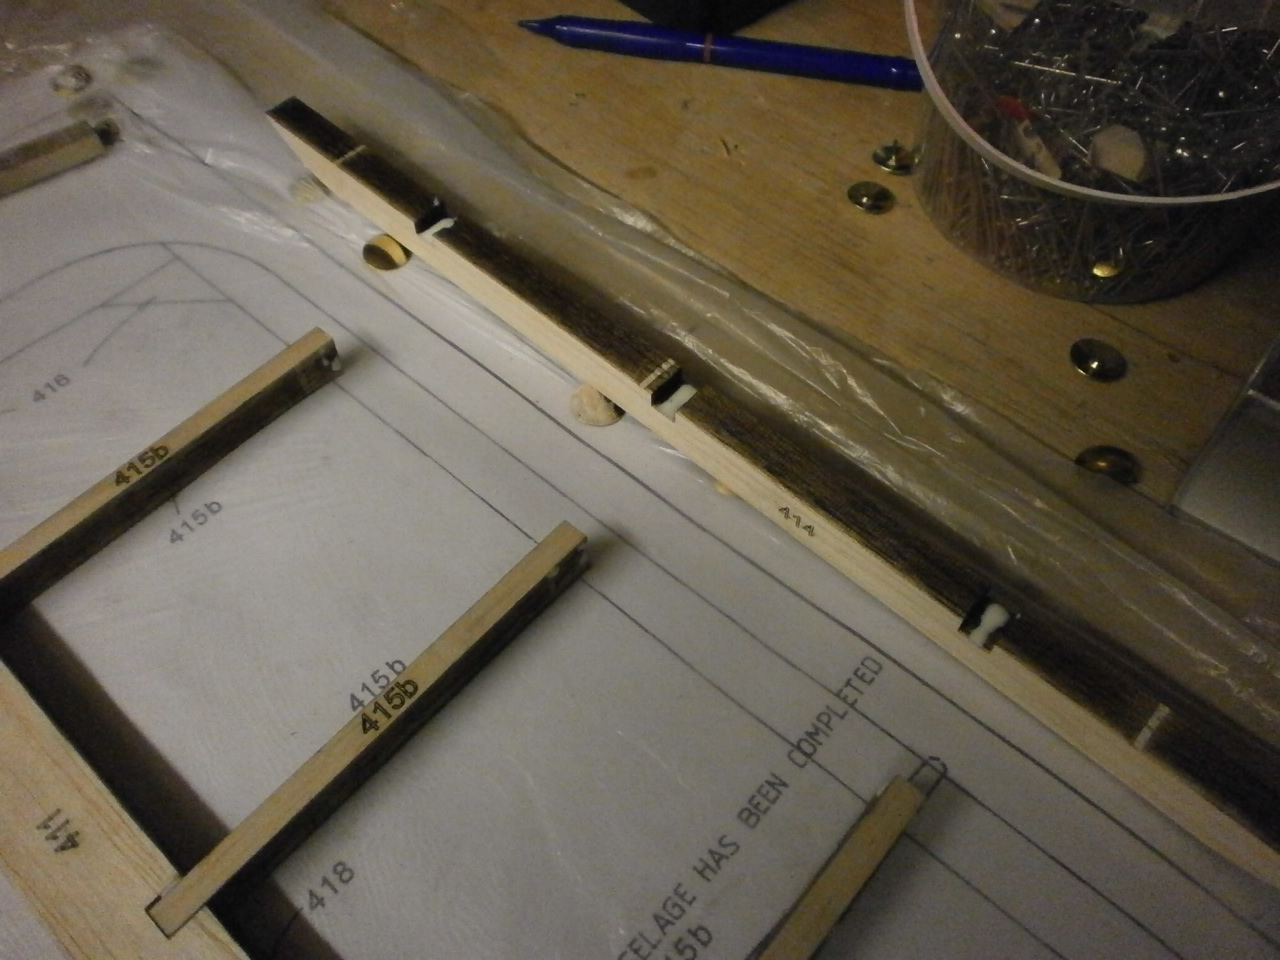
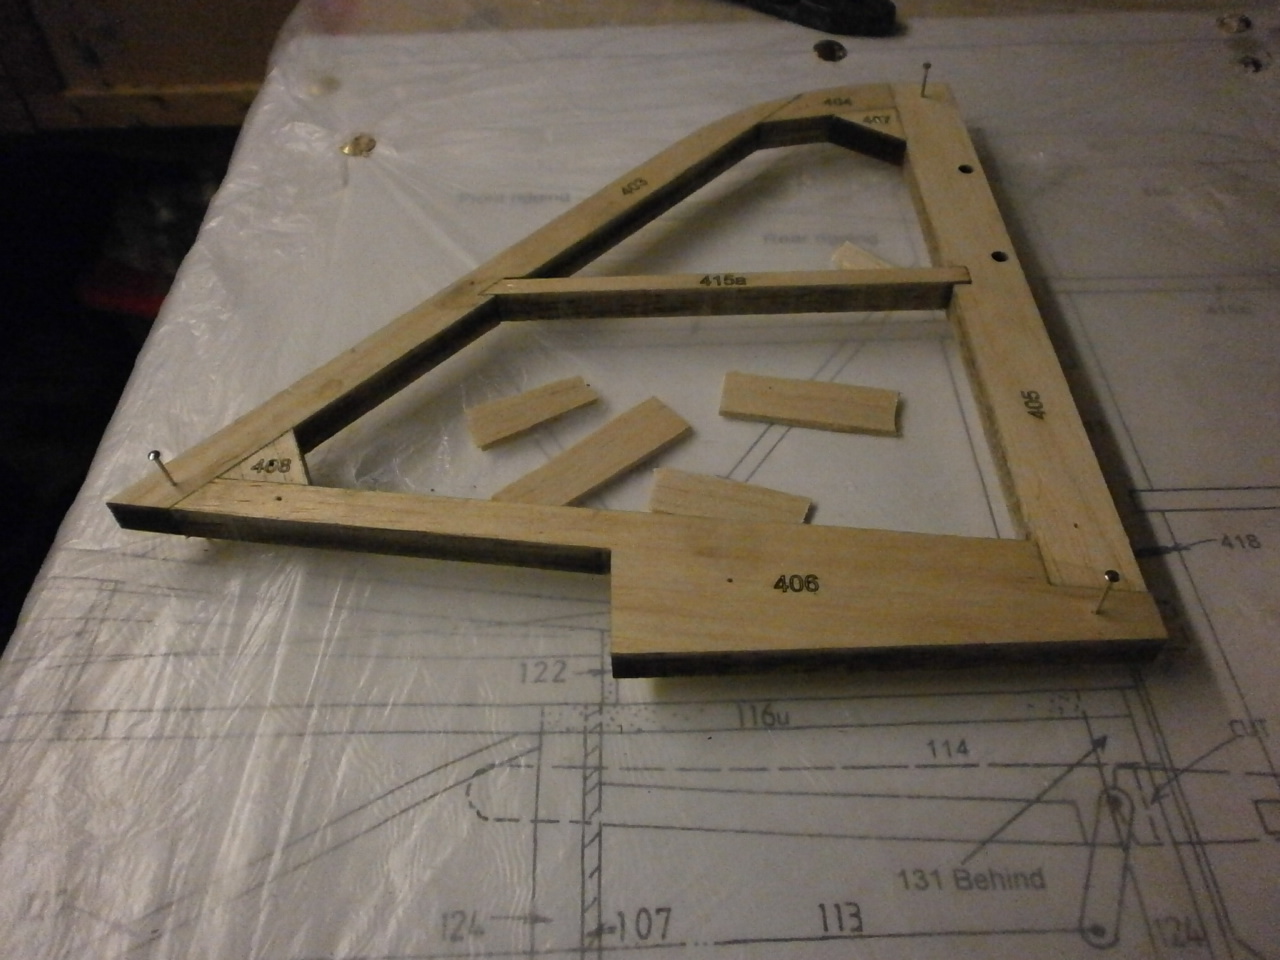
This is a very simple structure to piece together and we started by pinning the rudder leading edge into place. Next the horizontal braces are located into position. Even these are laser cut although essentially these are just flat 3/8 by 1/4 strips. Picture 2 & 3 below.
 |
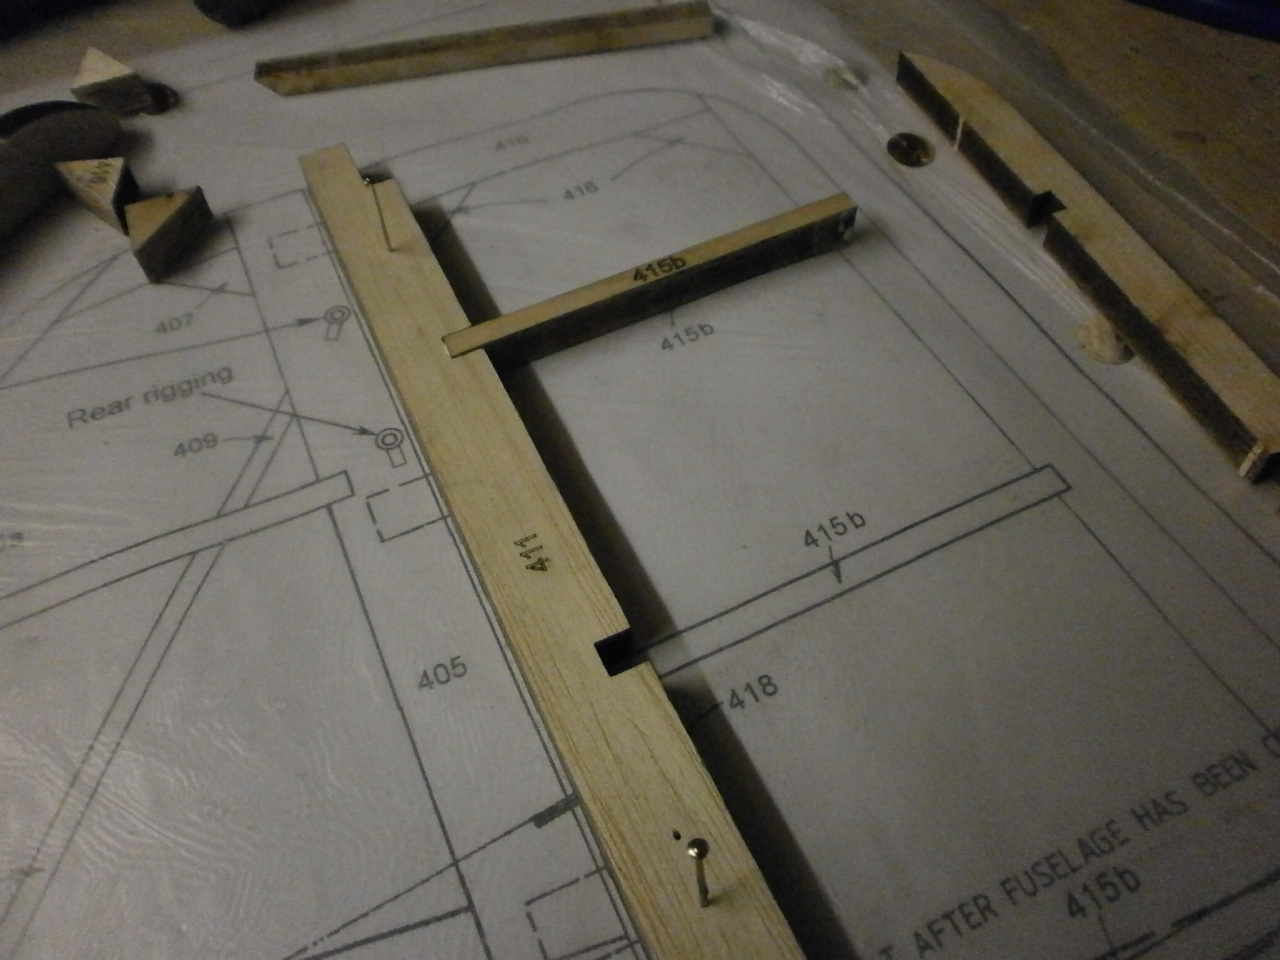 |
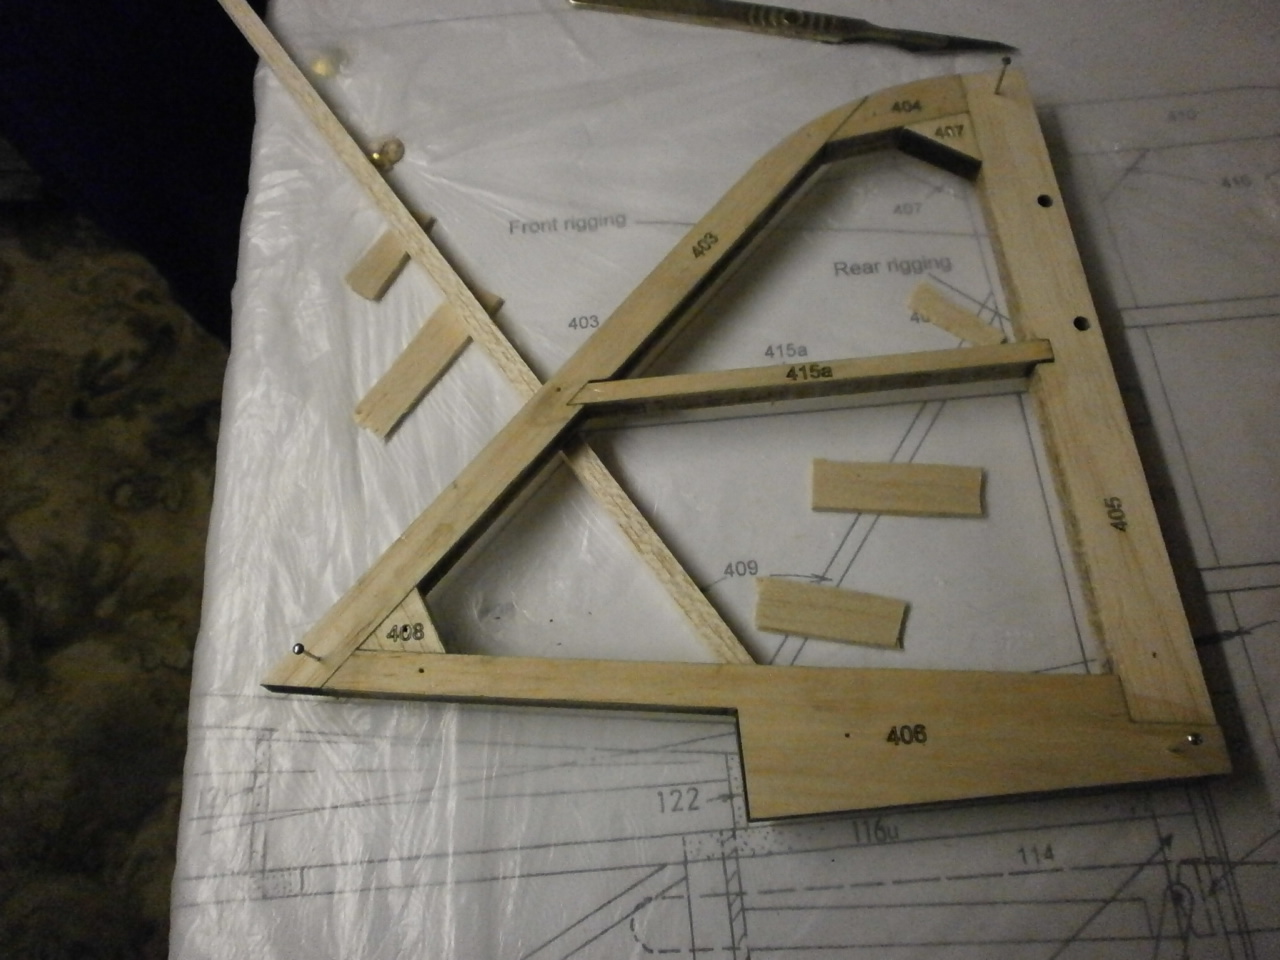
Next the trailing edge piece is located and placed into position along with the top rudder section. Note, also the triangular infill sections, again all laser cut. (this kit is just such a joy to build and the accuracy of the parts and their fit is a credit to the manufacture)
Picture 2 & 3 below showing the nearly and completed rudder.
 |
 |
Next with the rudder completed we moved onto the fin using the same methods employed as the rudder. Once cured (we have been using aliphatic glue for this) the fin structure is lifted clear of the plans allowing just enough space to slide the 1/4 square balsa stock required for the diagonal braces. Picture 3 below
 |
 |
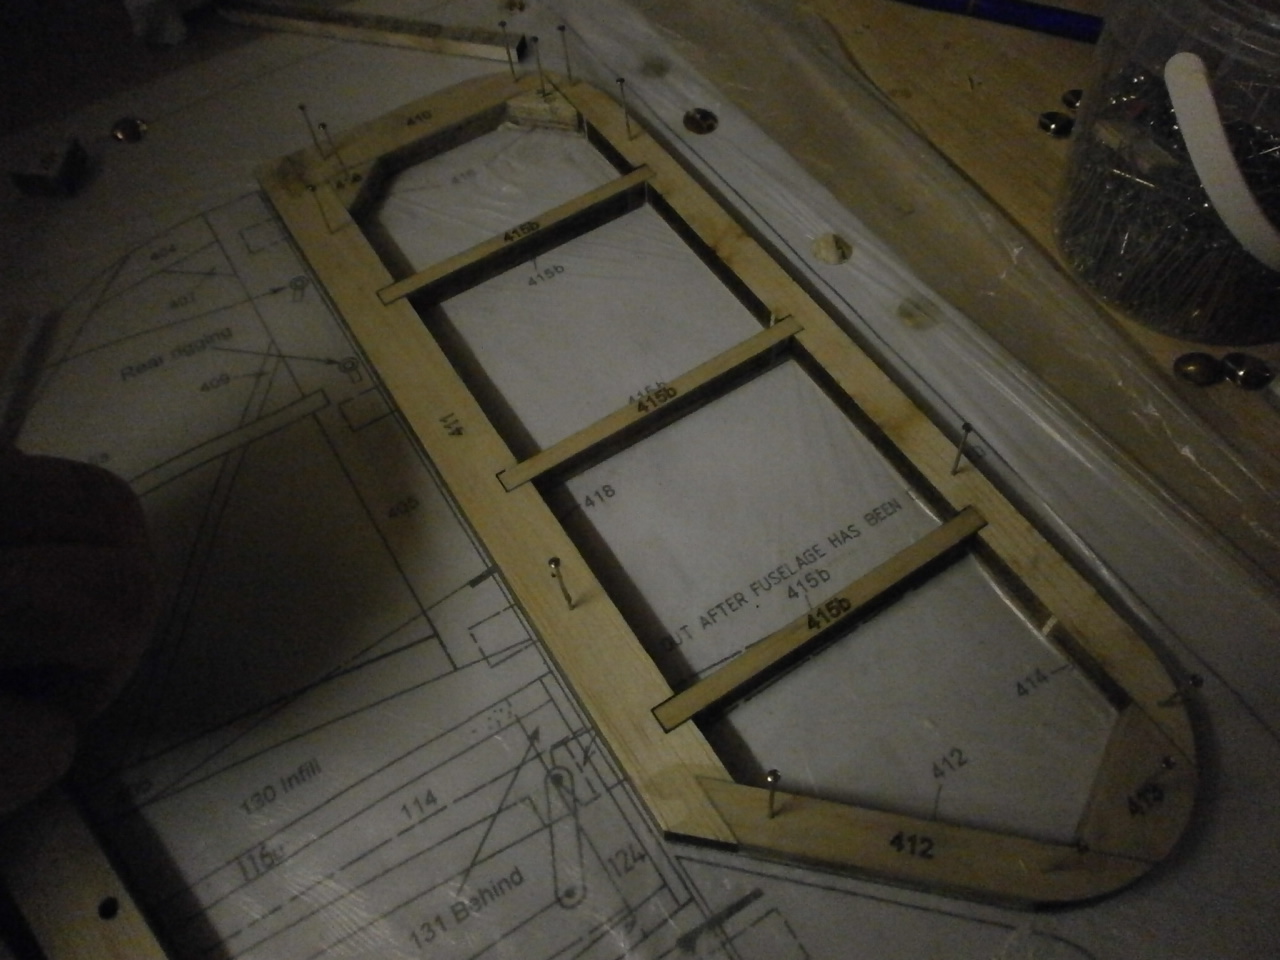
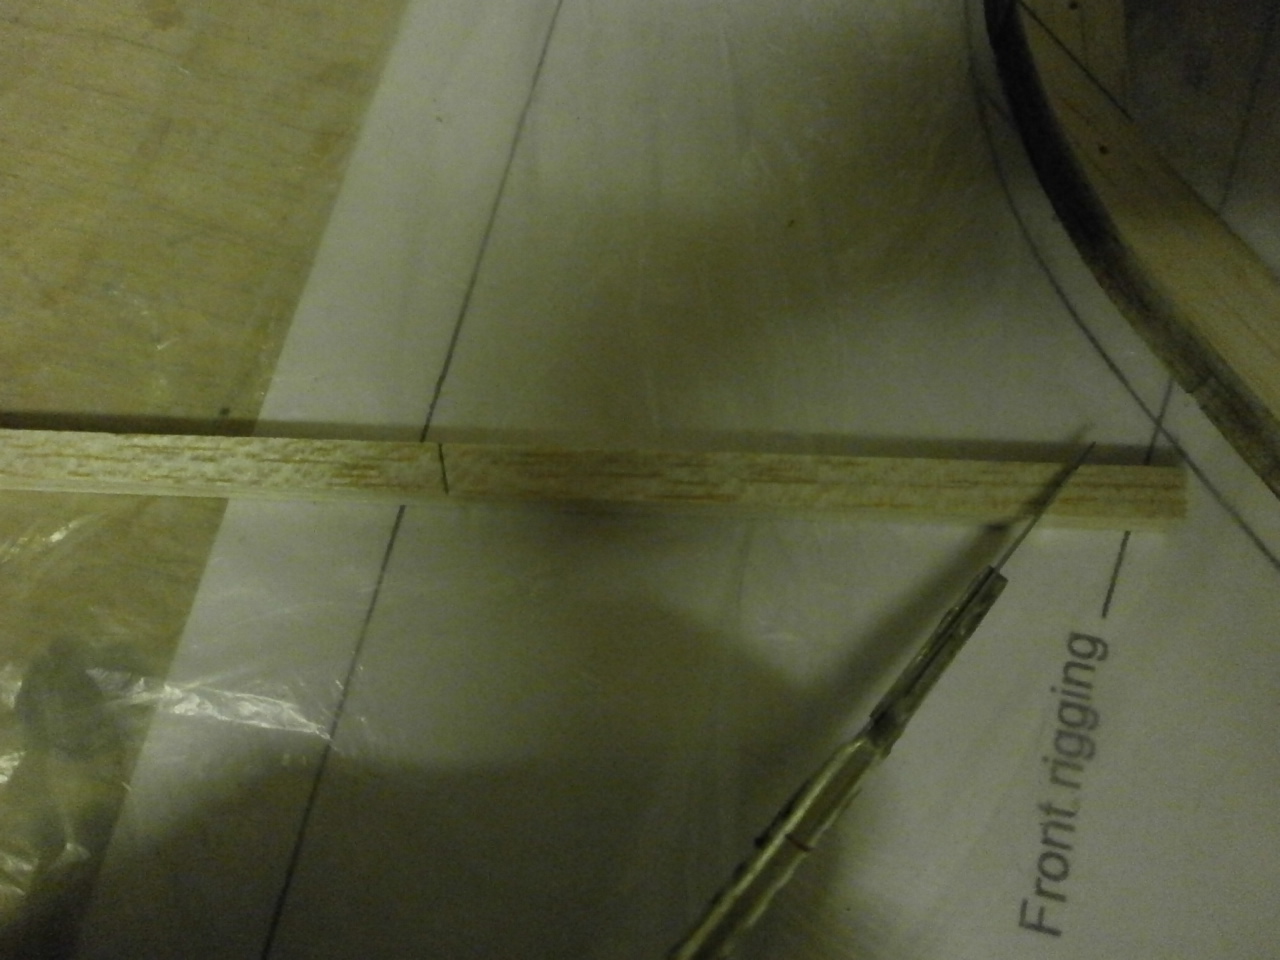
Once raised the 1/4 square is located into position over the plan and then the fin pushed into place. We can then mark the stock where it comes into contact with the fin giving us an accurate cutting guide ensuring a perfect fit. Note also the 1/16 packing strips. These are required as the braces sit in the middle of the 3/8 frame. Pictures 1, 2 & 3 below.
 |
 |
The last picture below showing the Fin and Rudder complete just awaiting profiling.
 |
 |