|
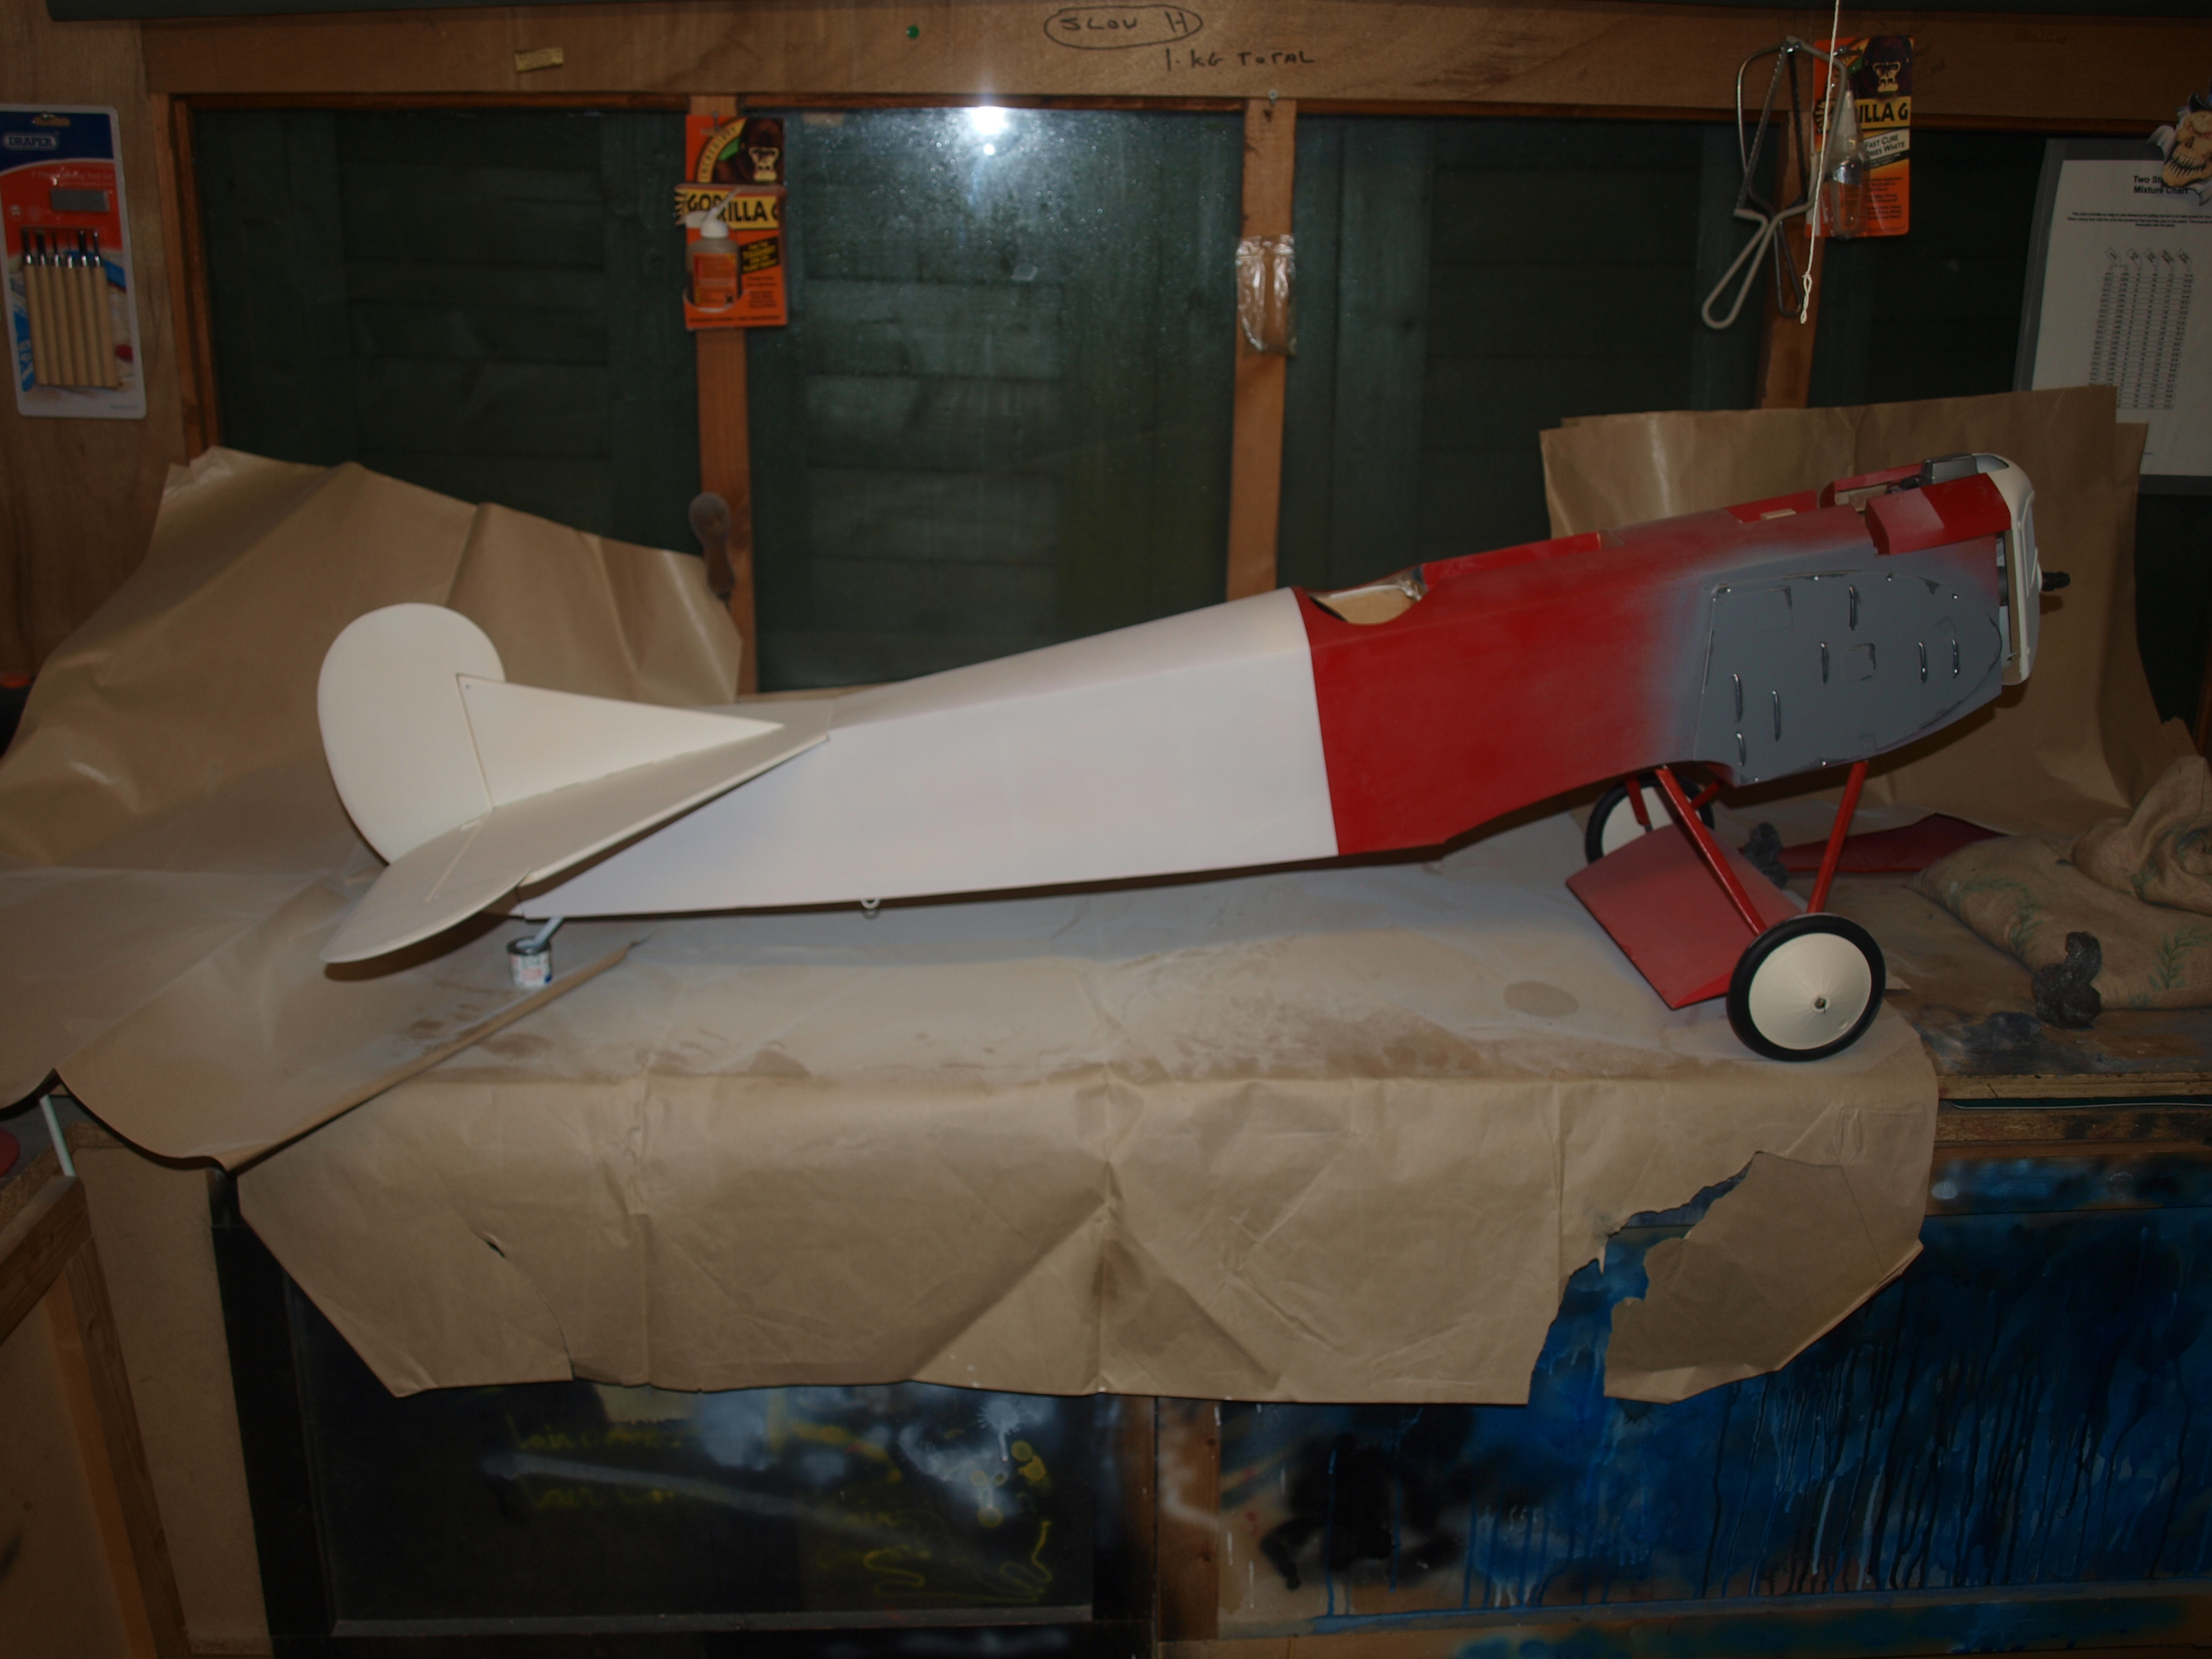
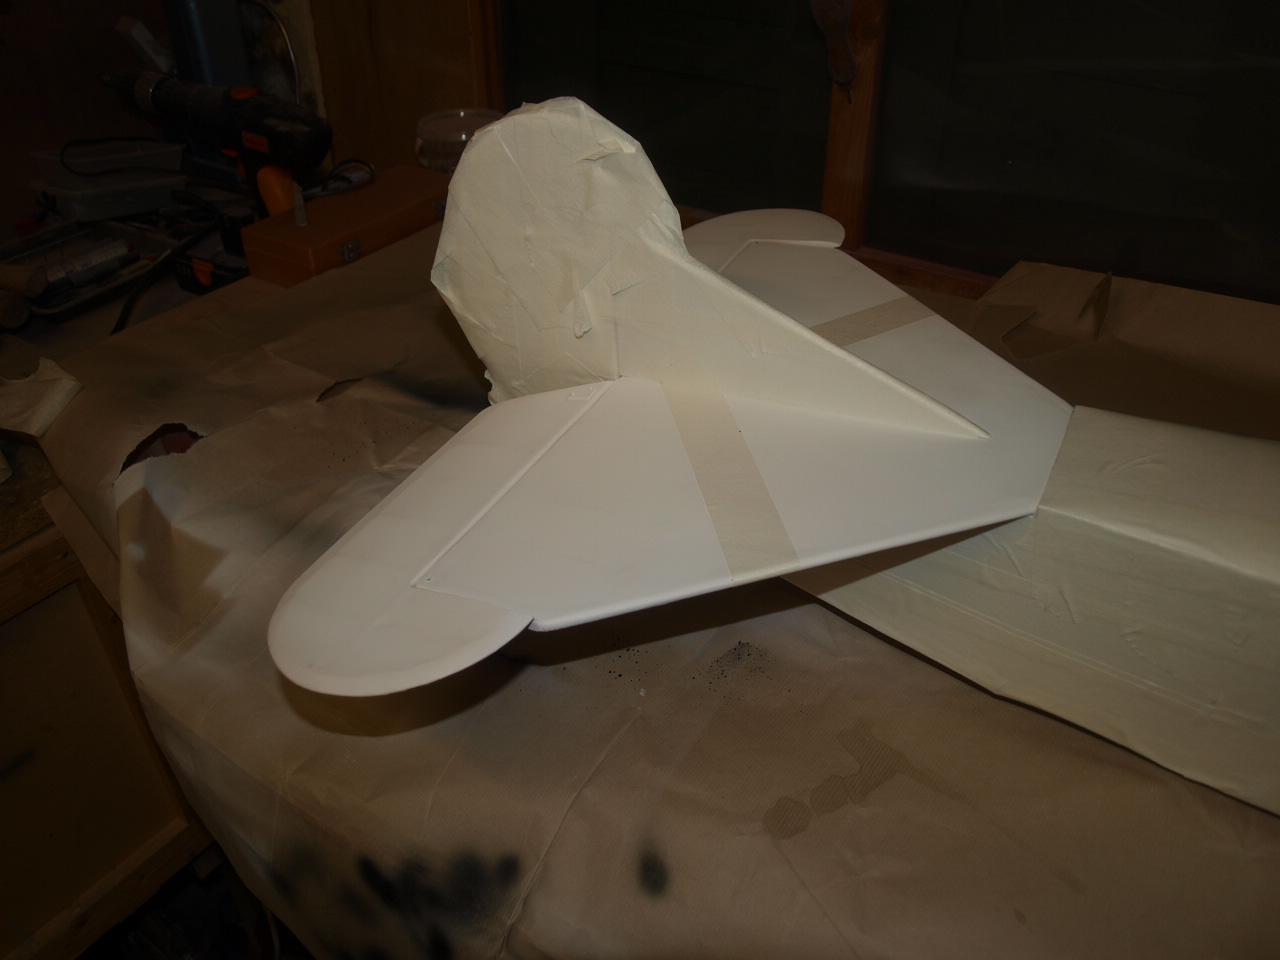
Model Covering and Detailing Page This page will show a range of coverings finishes used to detail models The pictures below are of a Flair D7. This model has been covered using solatex an iron on covering that when heated shrinks providing a strong durable finish. SORRY some of these picture may take a little while to down load
Once the model is covered using this material it is then doped with cellulous dope. This tightens up the covering producing a drum like tension to the covering. Once this process is completed the model is ready for undercoat. See pictures below:
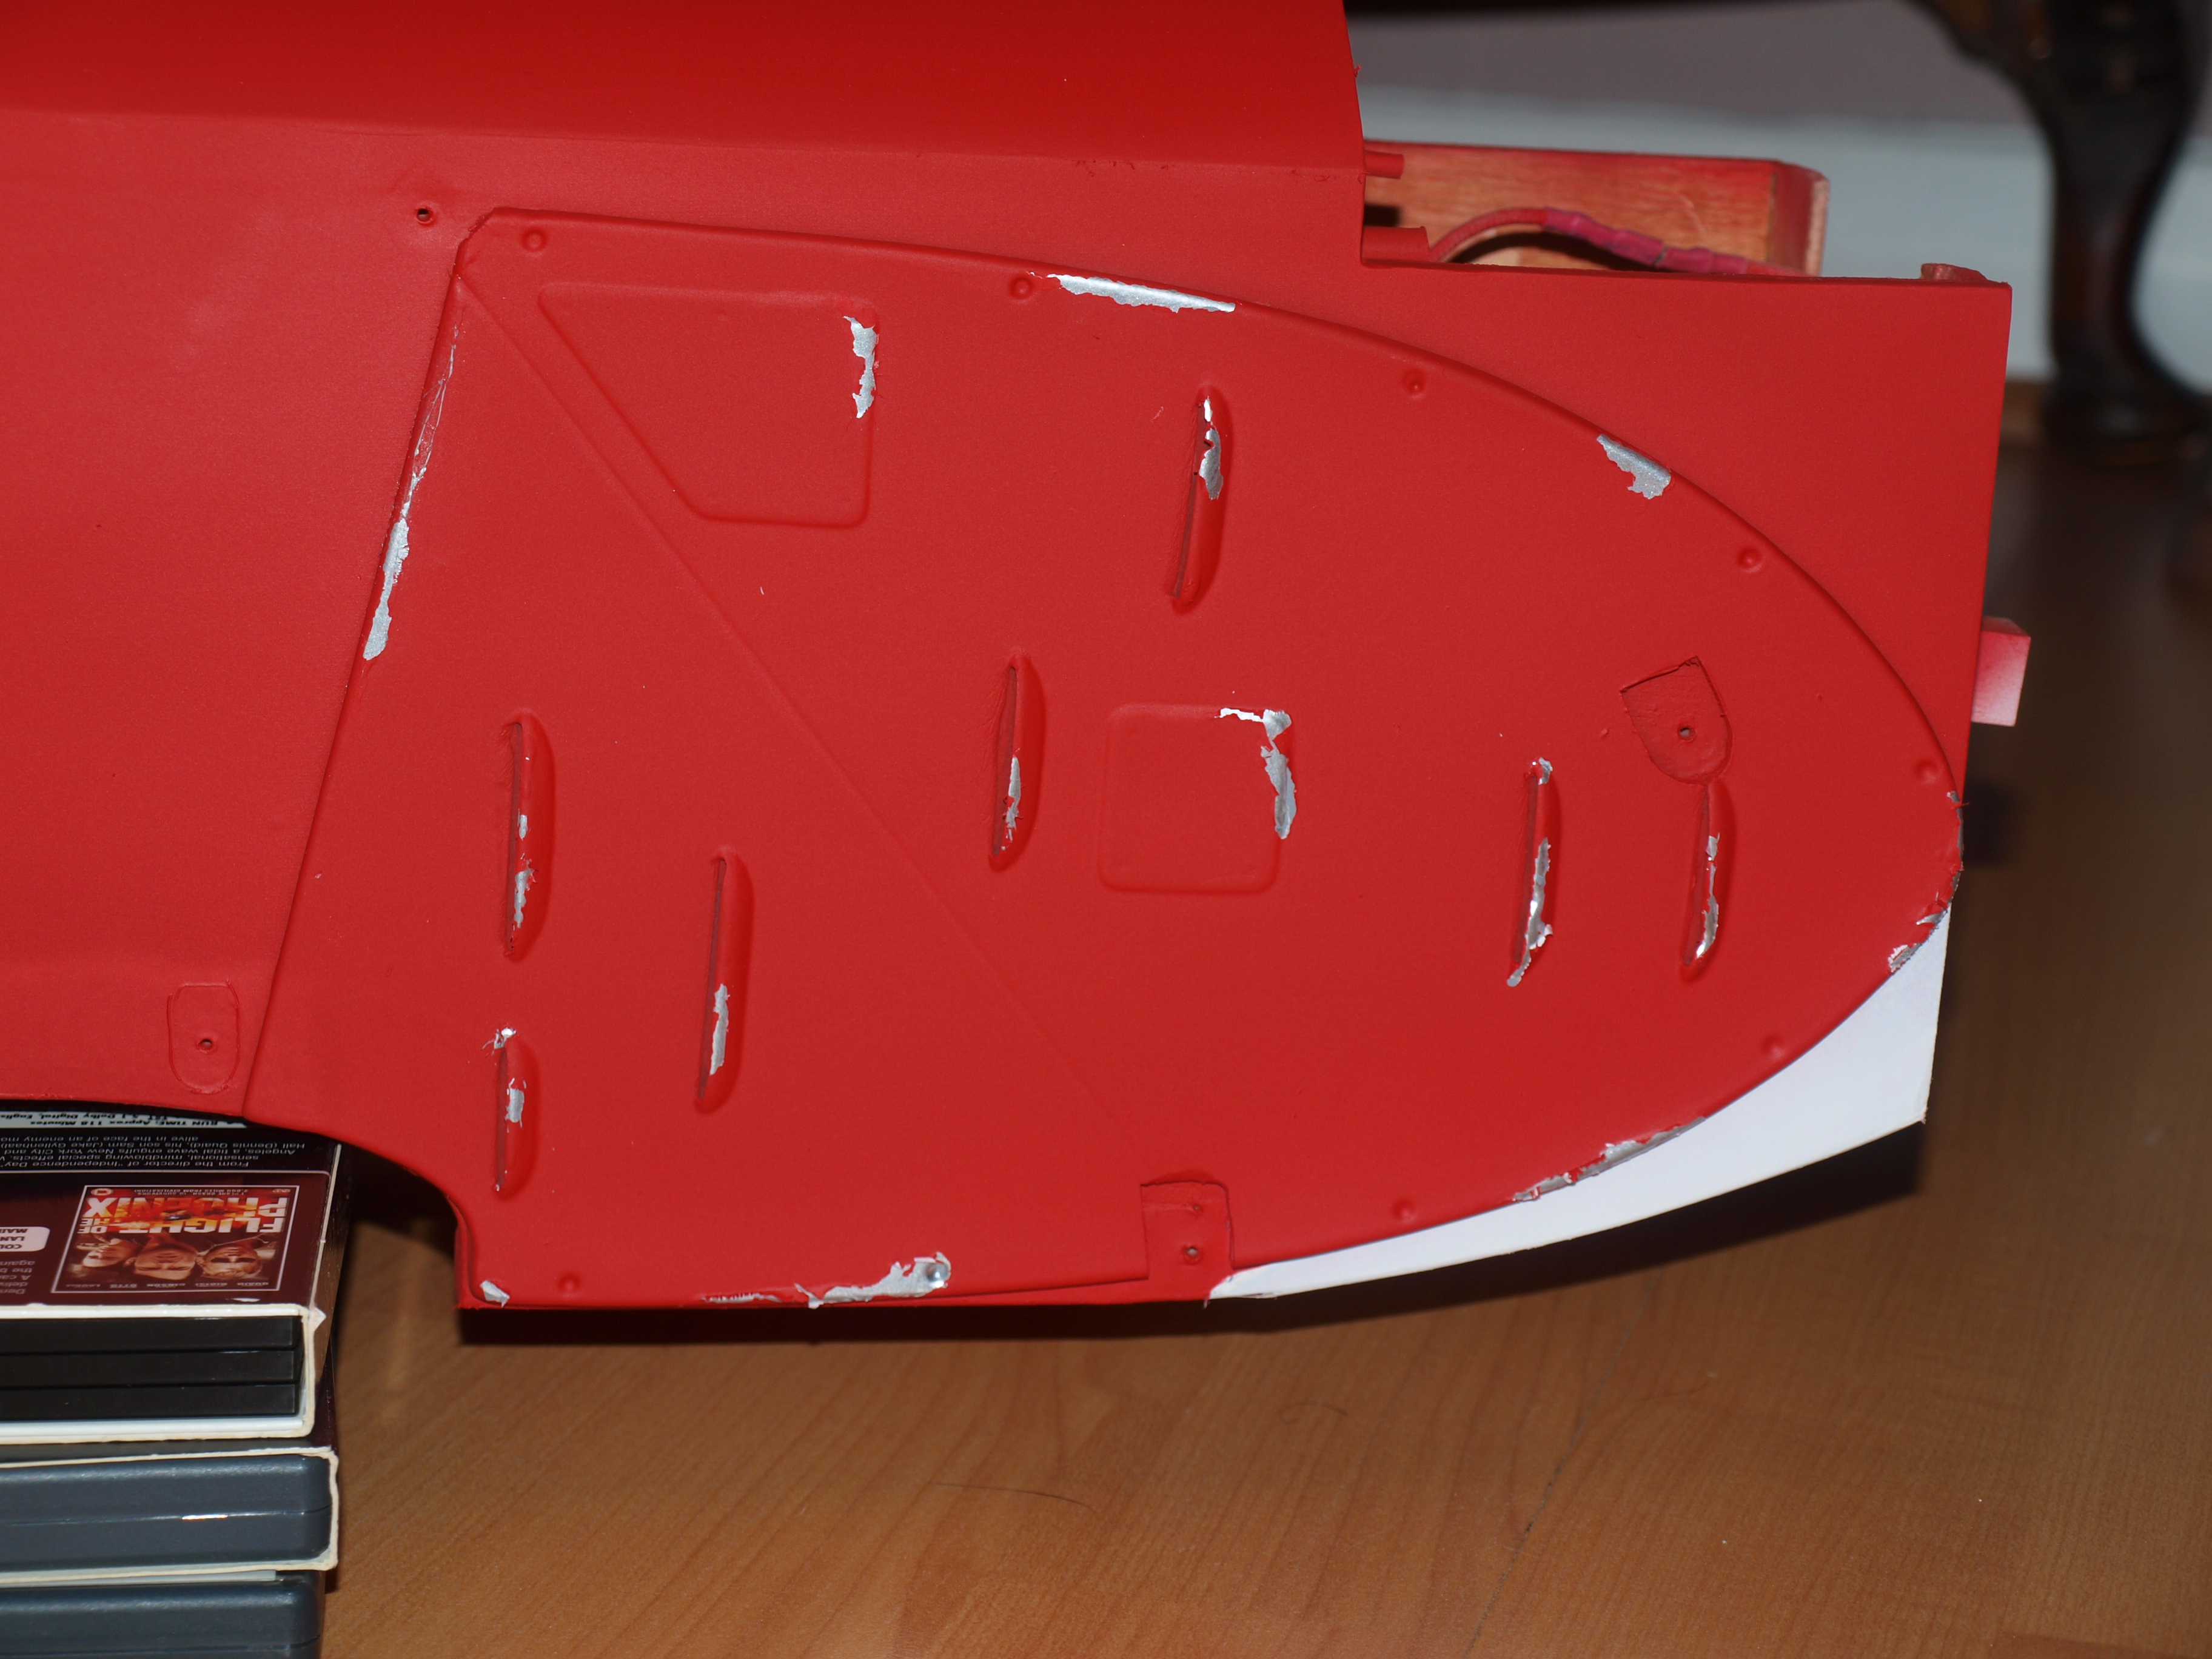
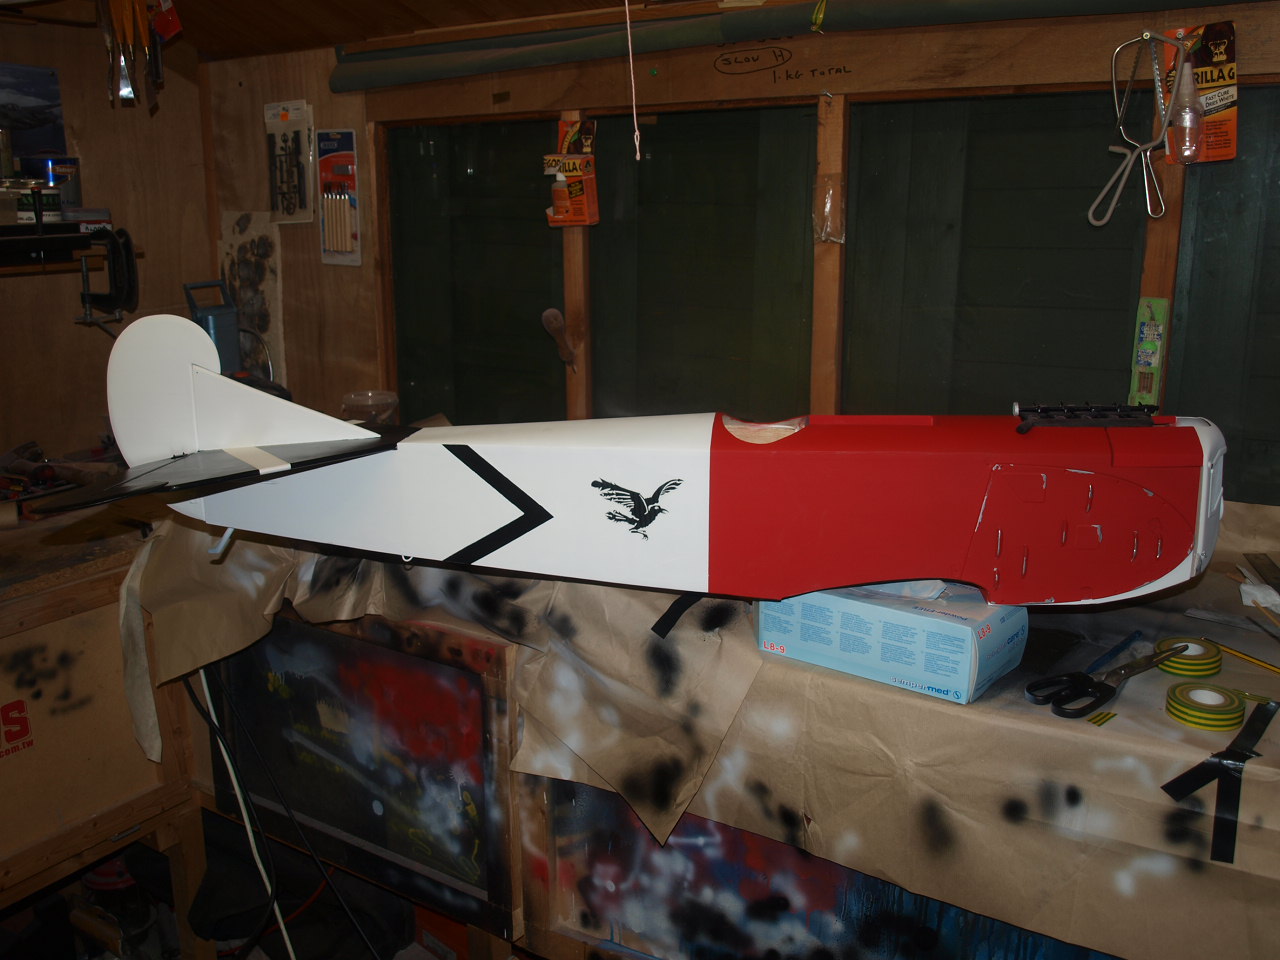
The picture above on the right shows the engine side access panels undercoated, with selected areas painted with silver paint. This will become weathering detail later on. These areas are masked out with latex masking liquid prior to top coating. Once the top coat is touch dry, the masking liquid is removed using a pin to revel the silver paint below. This gives the effect of paint chipping on the edges of the cooling fins and other areas that would become knocked through removal over time. See pictures below:
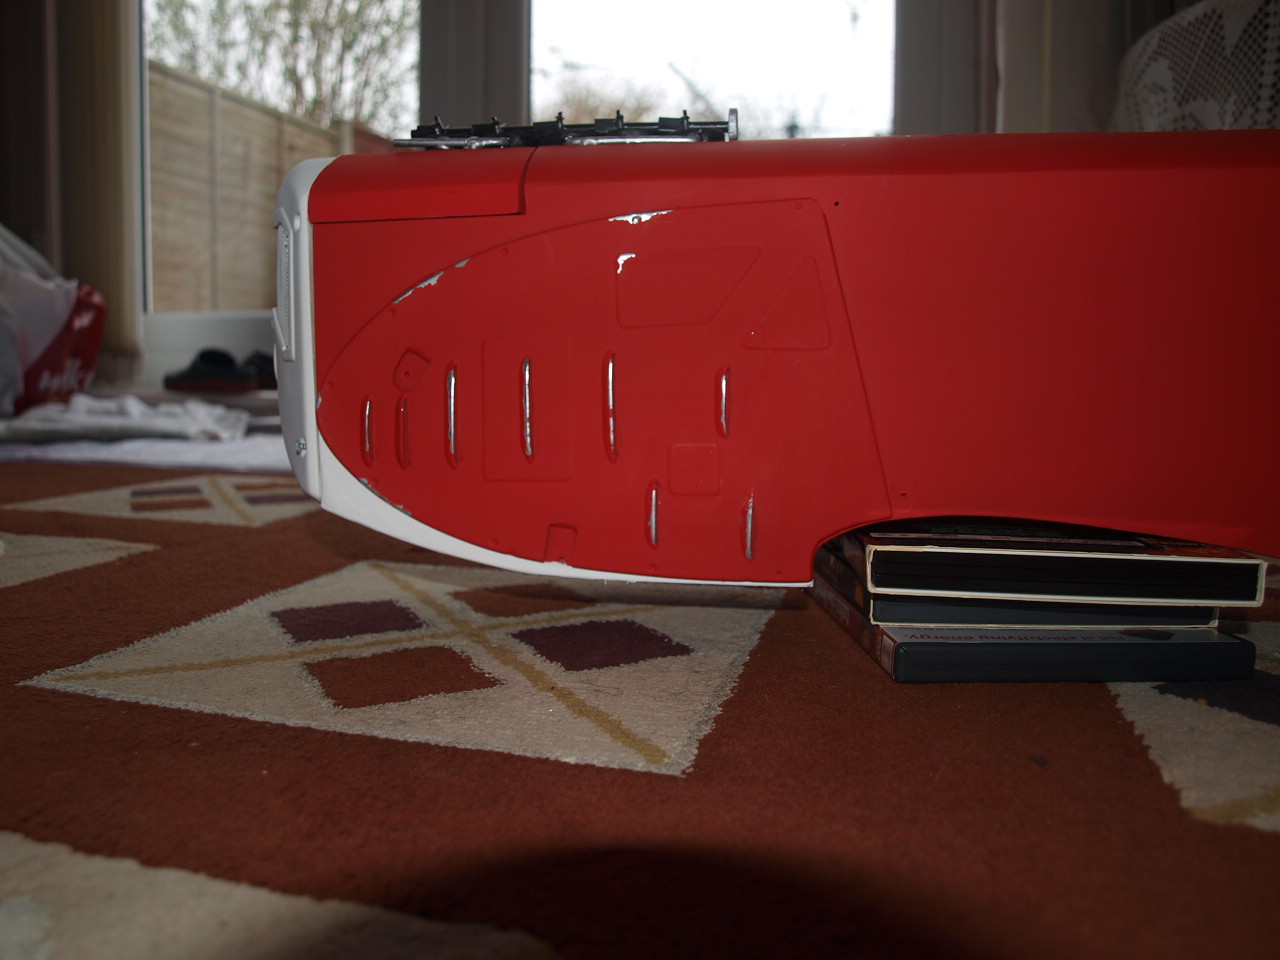
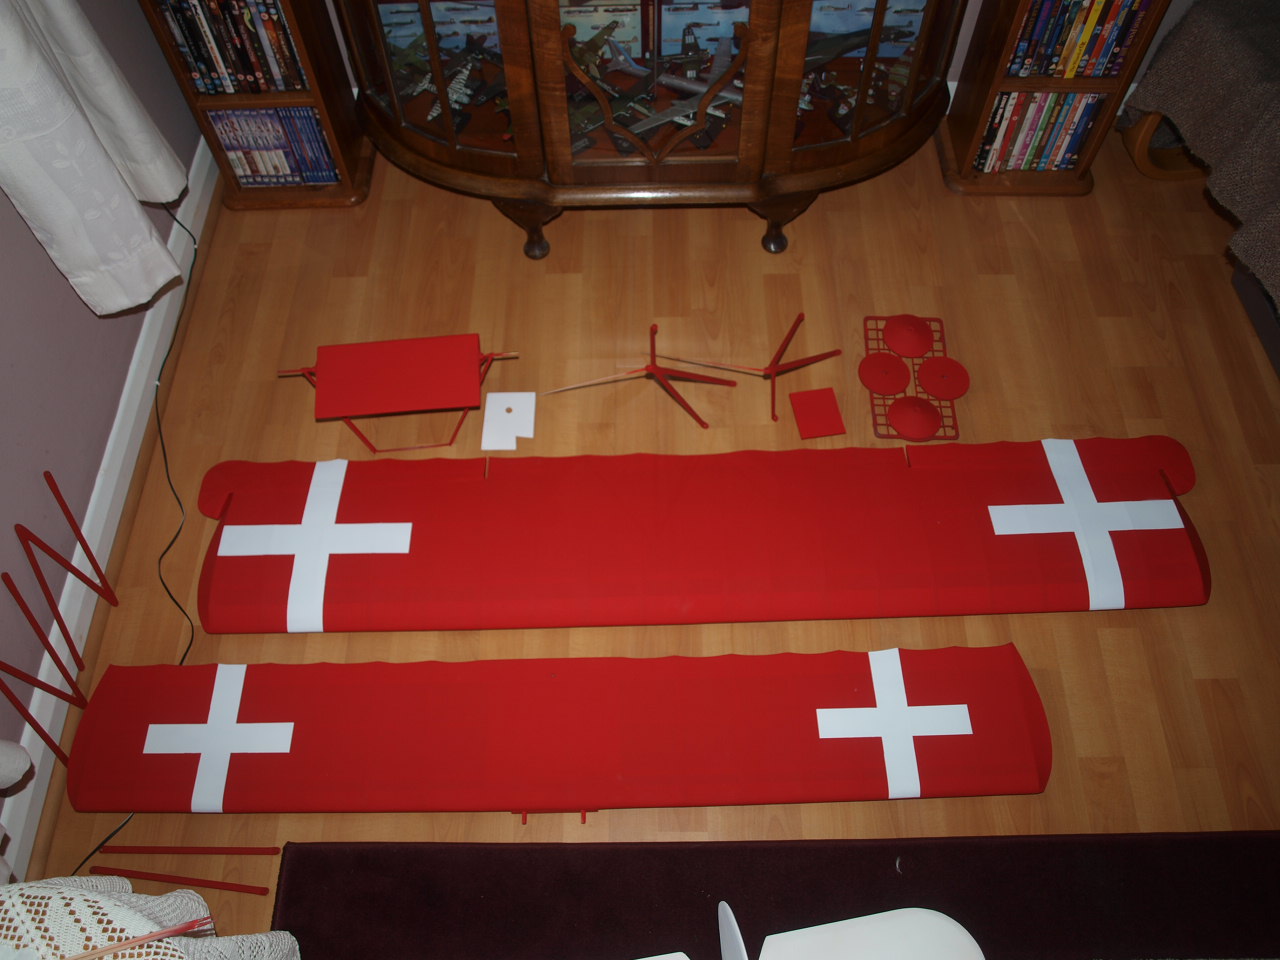
This model has now been sprayed in both red and white Spectrum Paint. This paint is an enamel based paint and was sprayed using an airbrush set at its widest spray Patten about 2 1/2 inches. Three coats where applied to all the surfaces. The pictures below show all parts now painted. the only other colour that is required is black which is currently on order so this has not been completed yet.
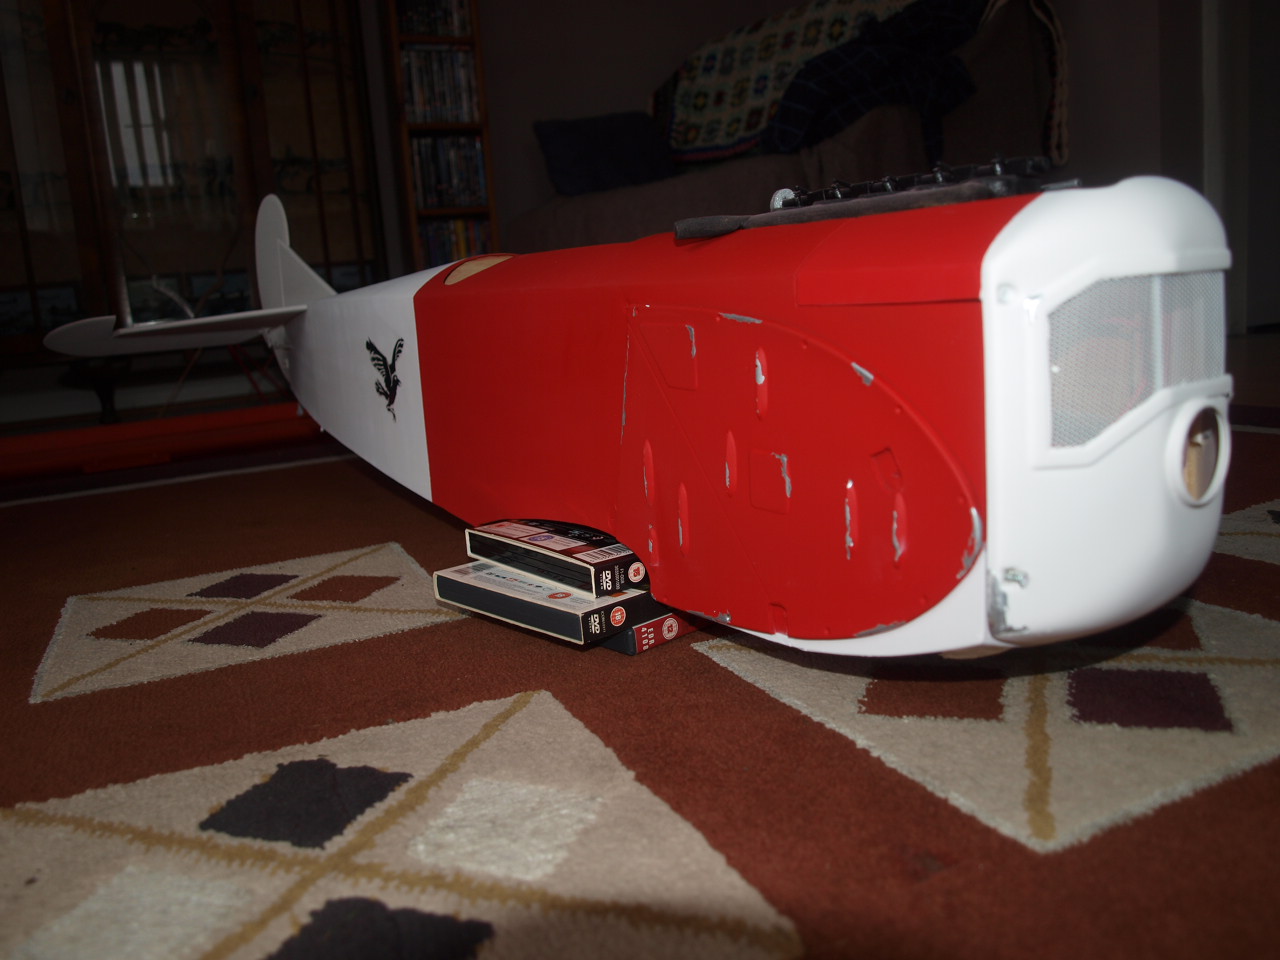
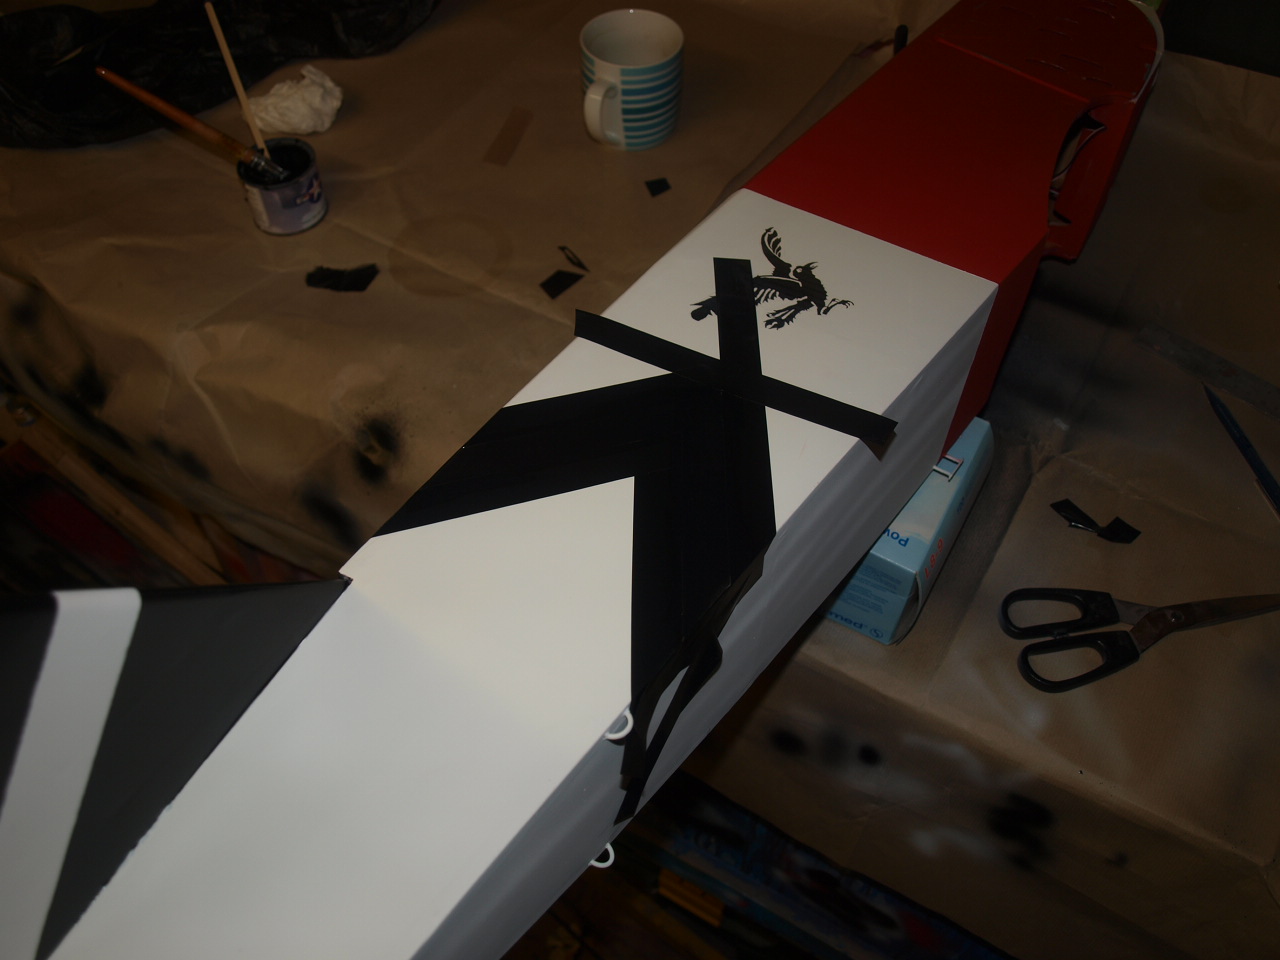
In the left picture you will see a Raven on the side of the model. This was produced by scanning a picture into the PC and then scaling it up to the size I required 1/6. Once this had been done it was just a question of printing it out on water slide paper, which is then coated with clear lacquer and left to dry. Once dried the ravens are cut out and placed in a dish of cold water and left until the slide starts to separate from the backing paper. The slide is then slid onto the model and moved into its correct position. Once in position any access water is remove by gently pressing on the slide with a piece of tissue working from the middle out towards the edges until all excess water is removed along with any air pockets that may have formed. The picture below shows the final result.
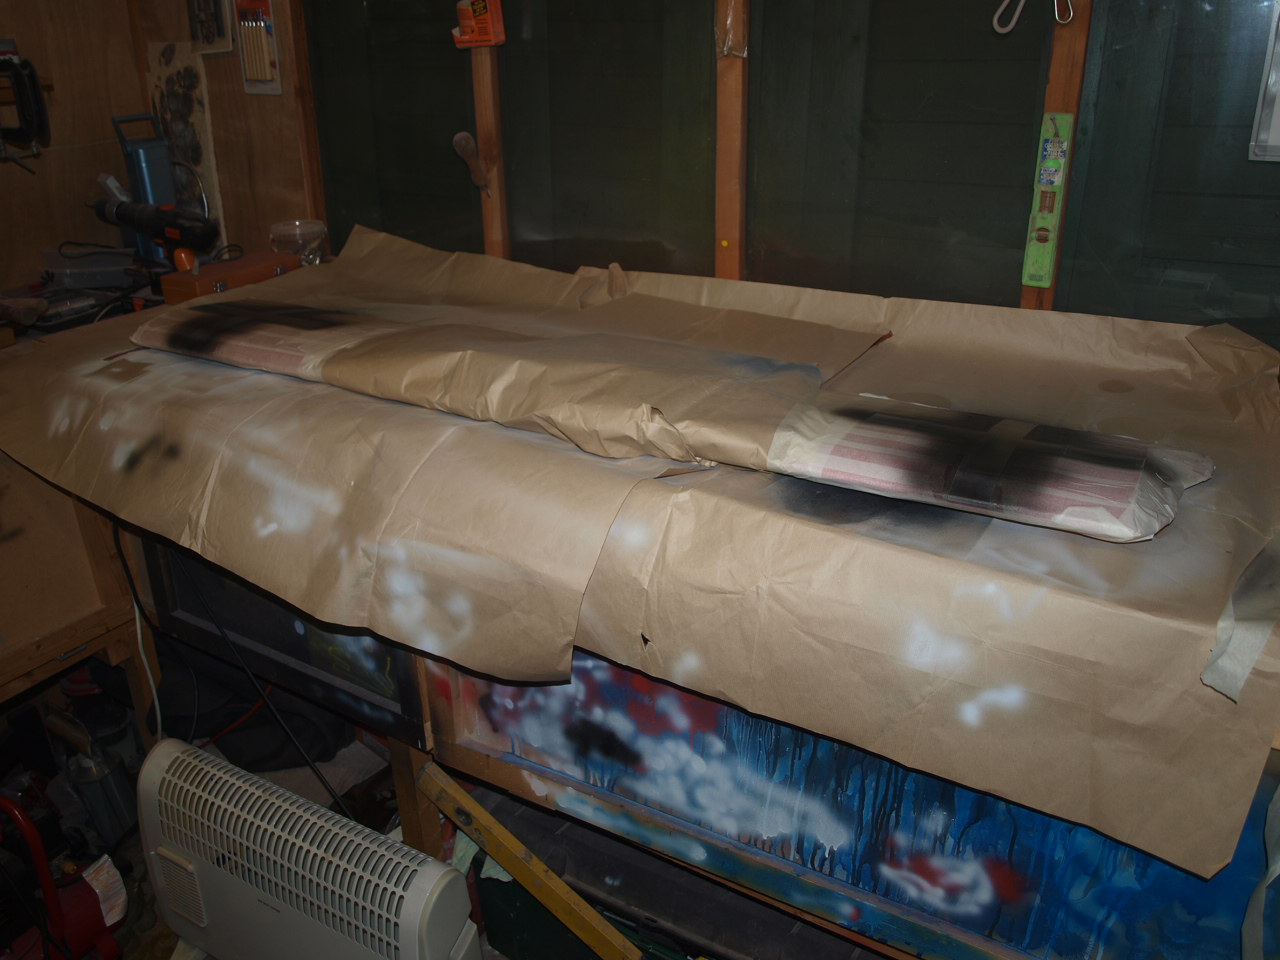
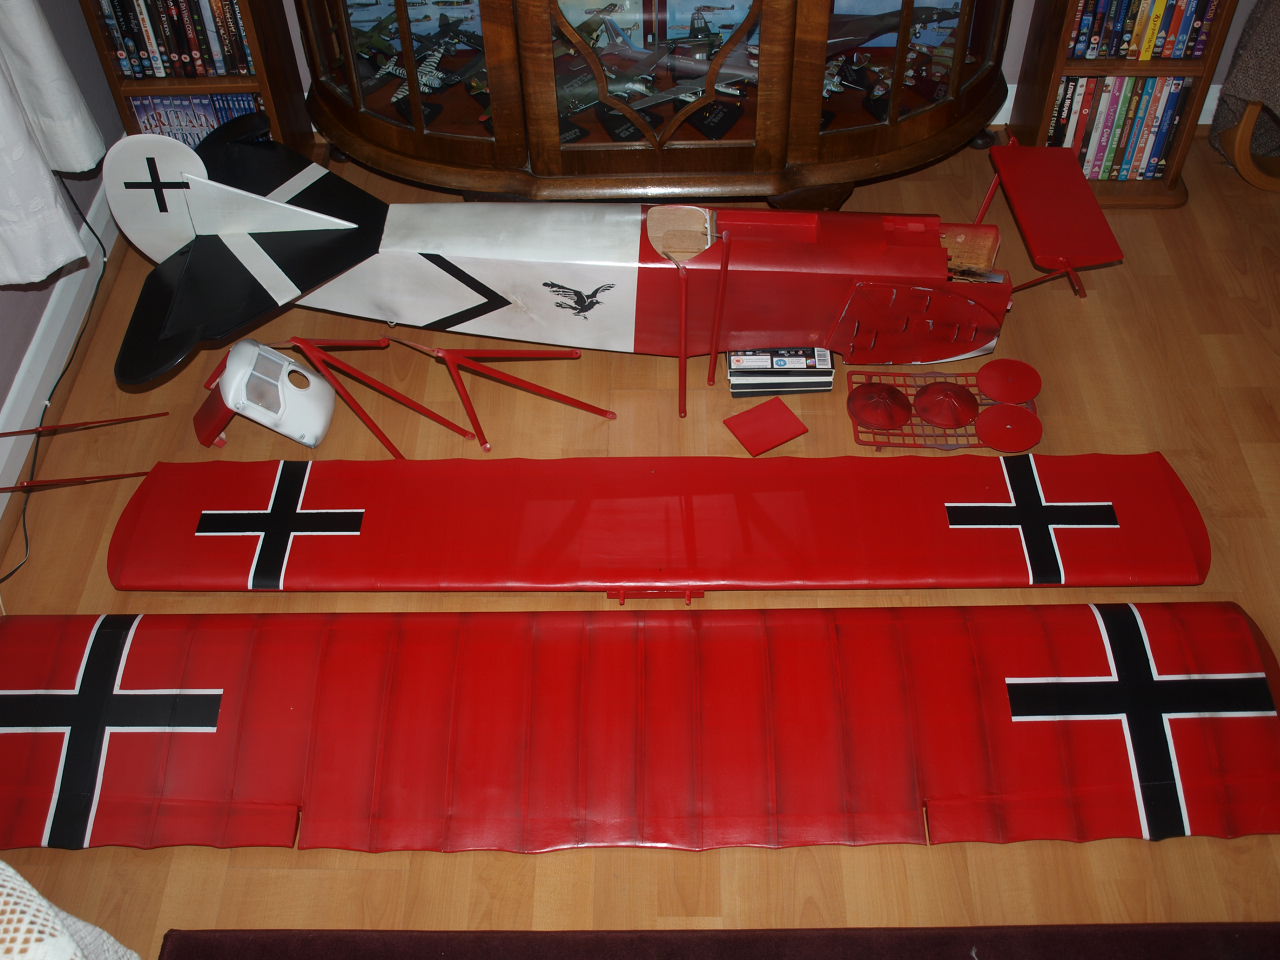
The pictures below show the wing masked out in the same way as it had been to generate the white crosses. The only difference here is that a portion of the white cross has also been covered leaving the rest on show ready to receive the black paint that has now arrived. The black is then applied in several layers until there is no trace of white left.
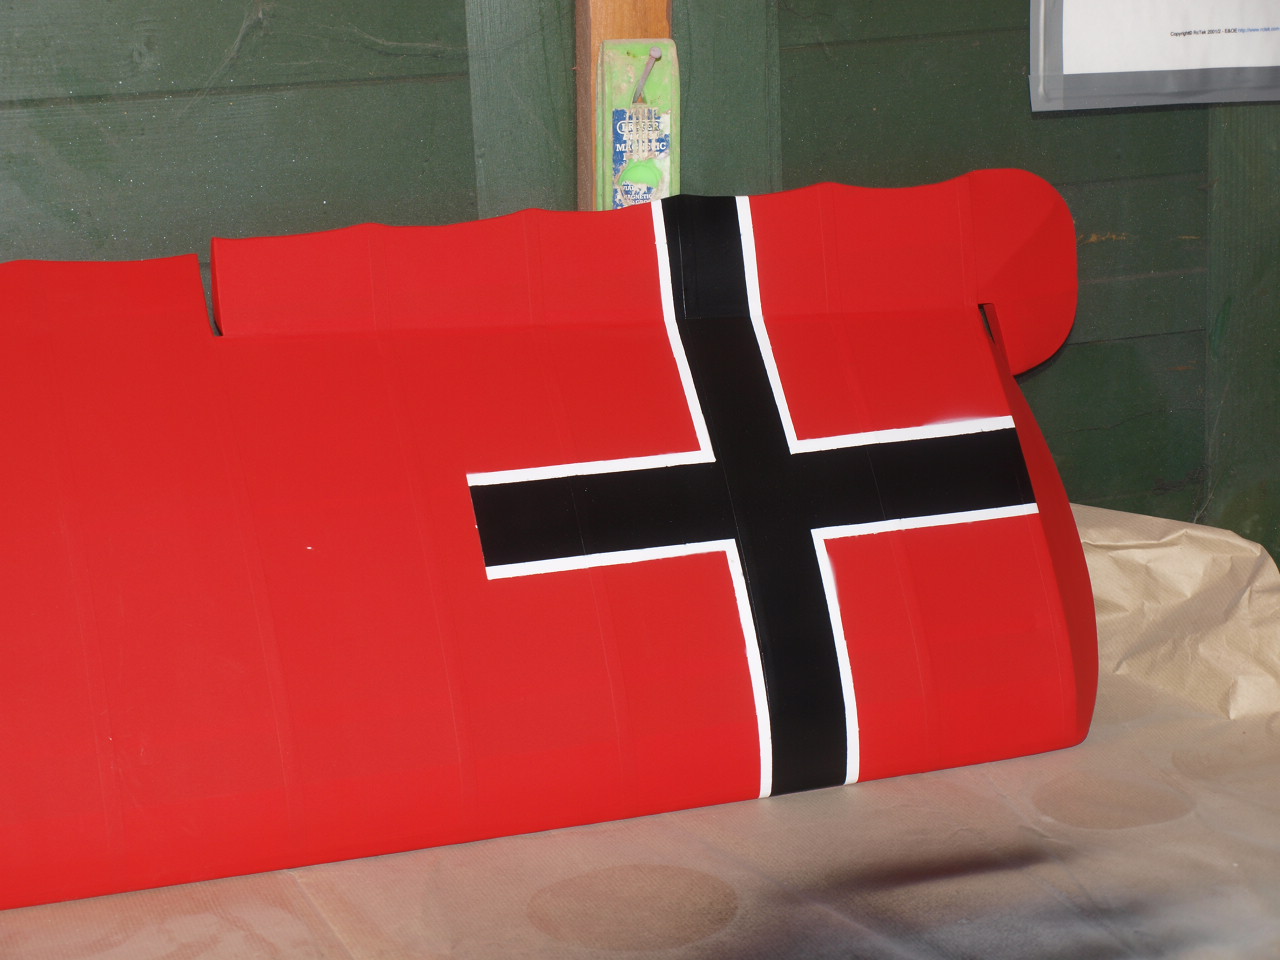
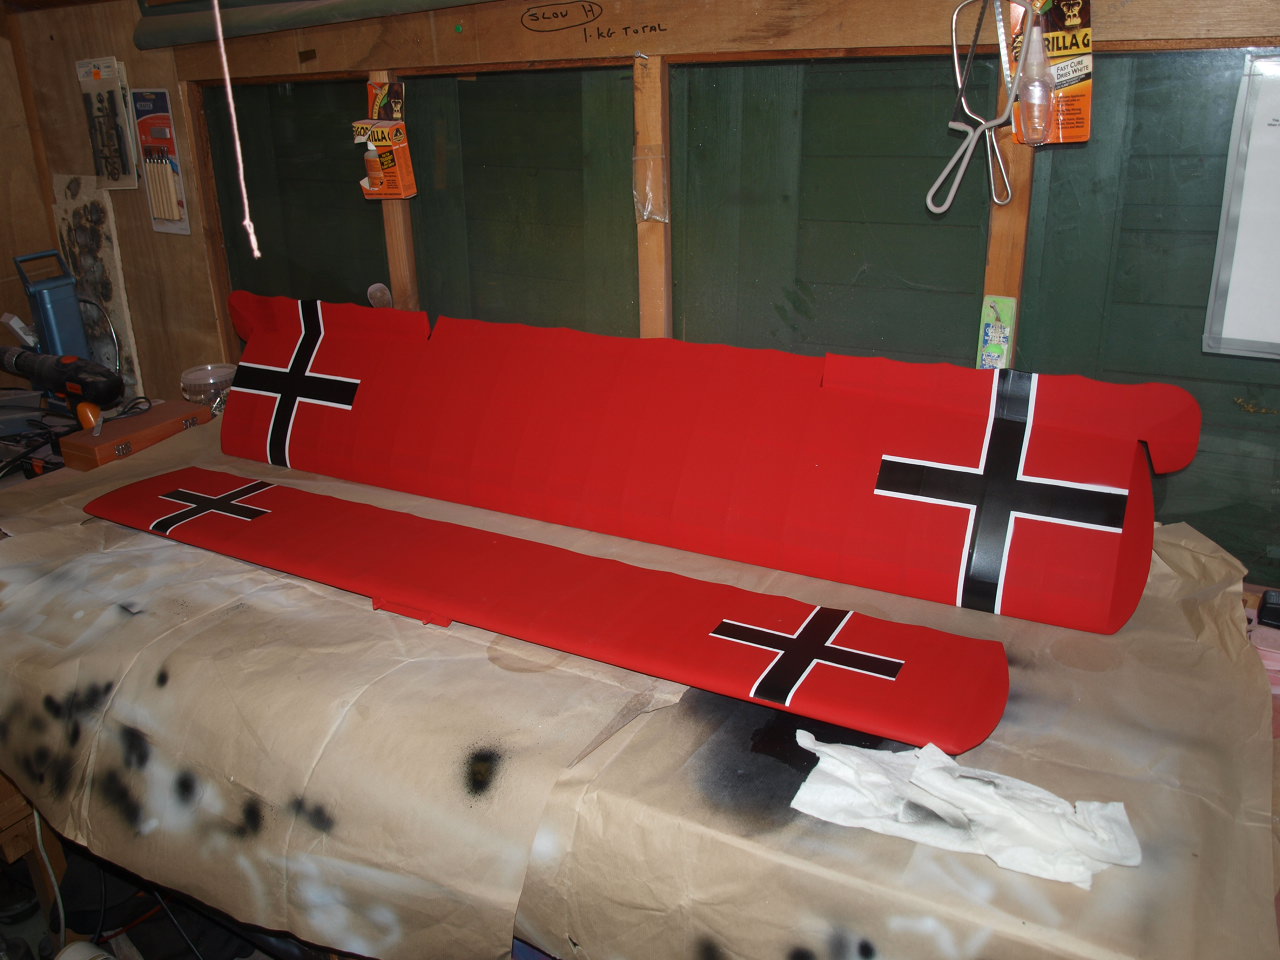
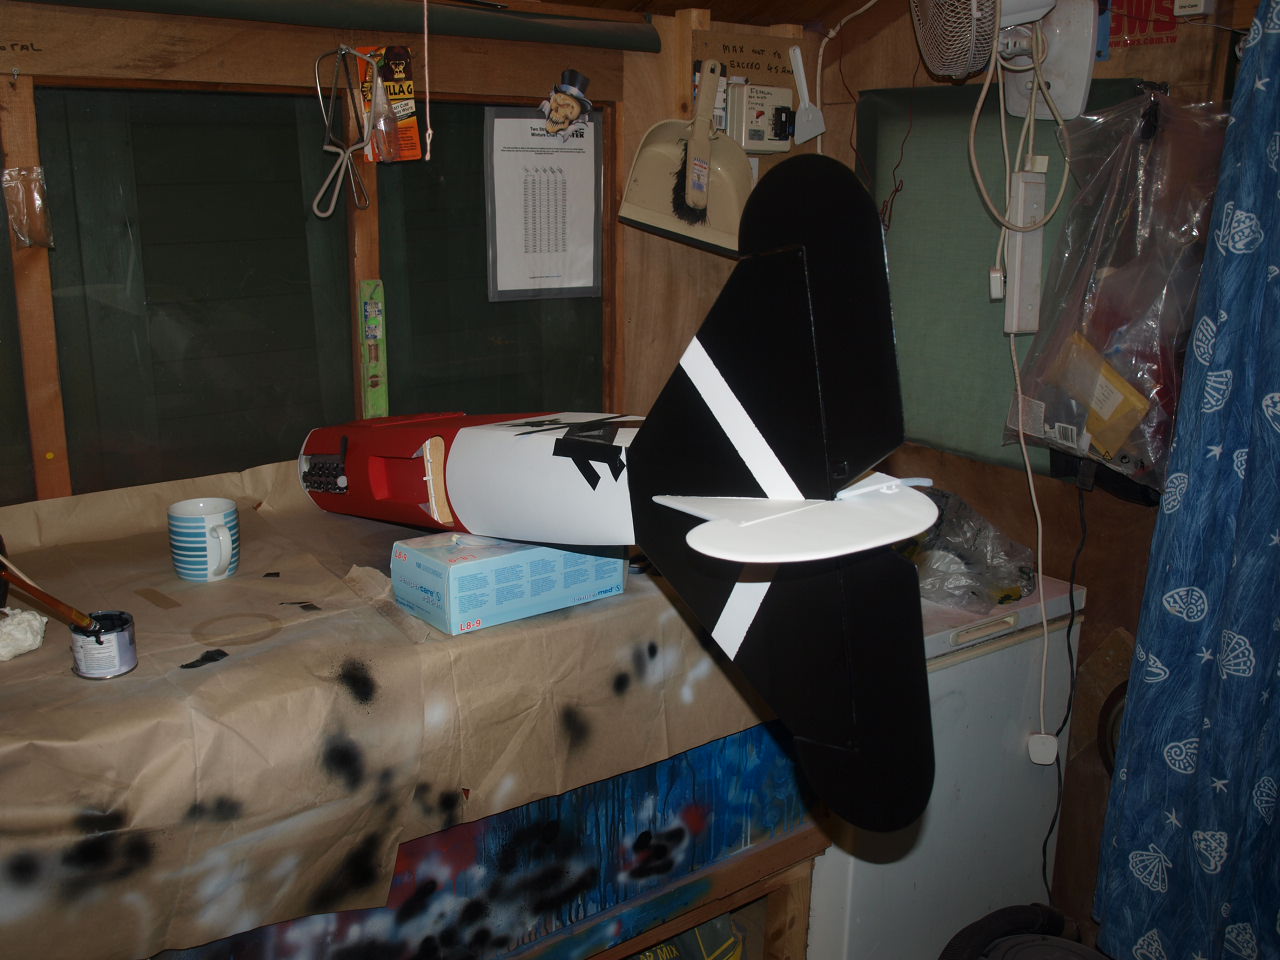
Once the paint has dried then the masking tape is removed to reveal the finished cross. see pictures below.
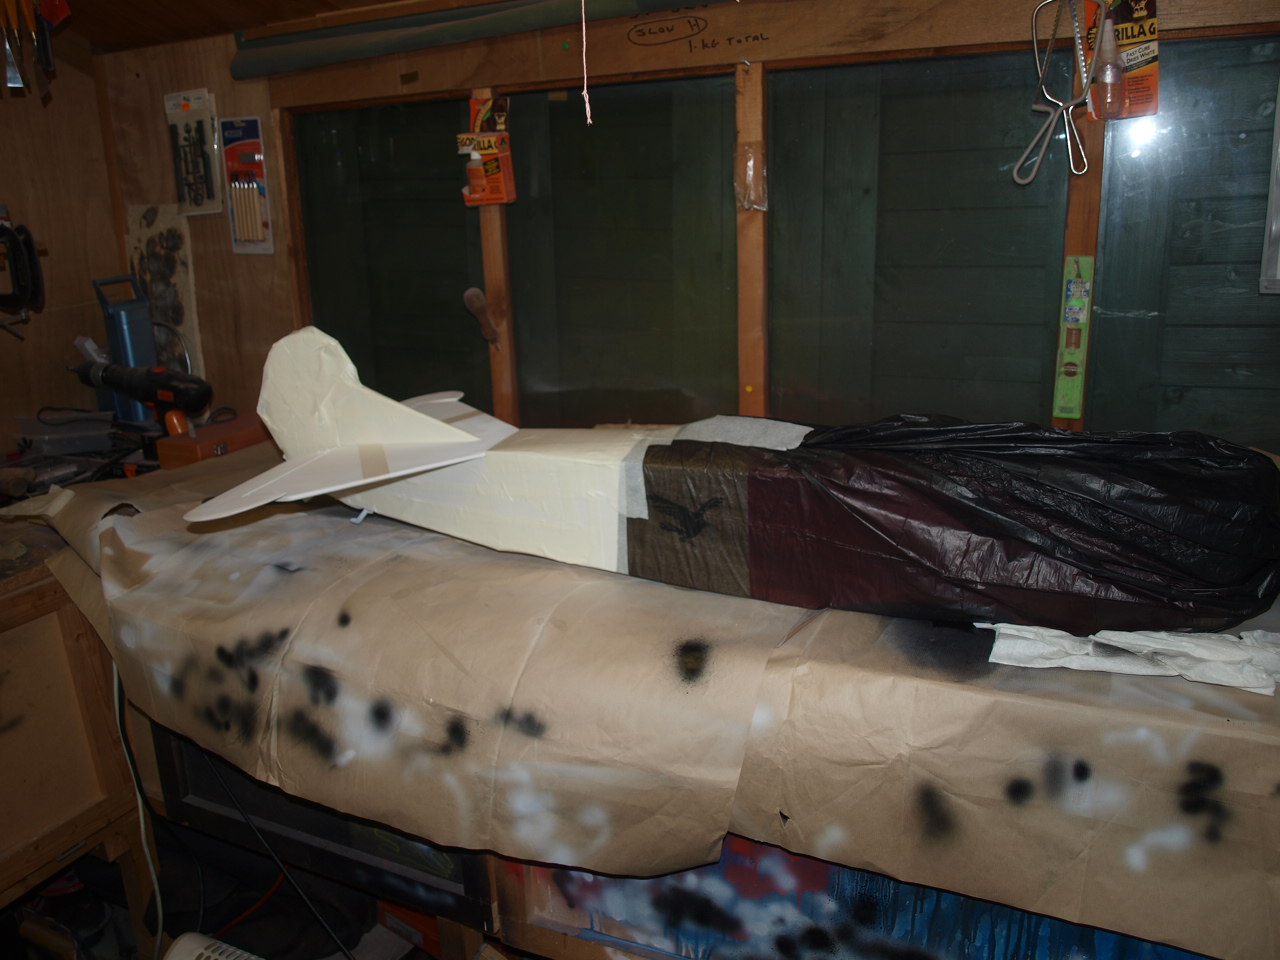
Next the tail is masked up in the same way ready to receive black paint. the tail is mainly black with a white chevron running through it top and bottom. To avoid getting paint on the rest of the fuselage a black dustbin liner was used to cover the bulk of the model and any areas this did not cover masking tape was employed.
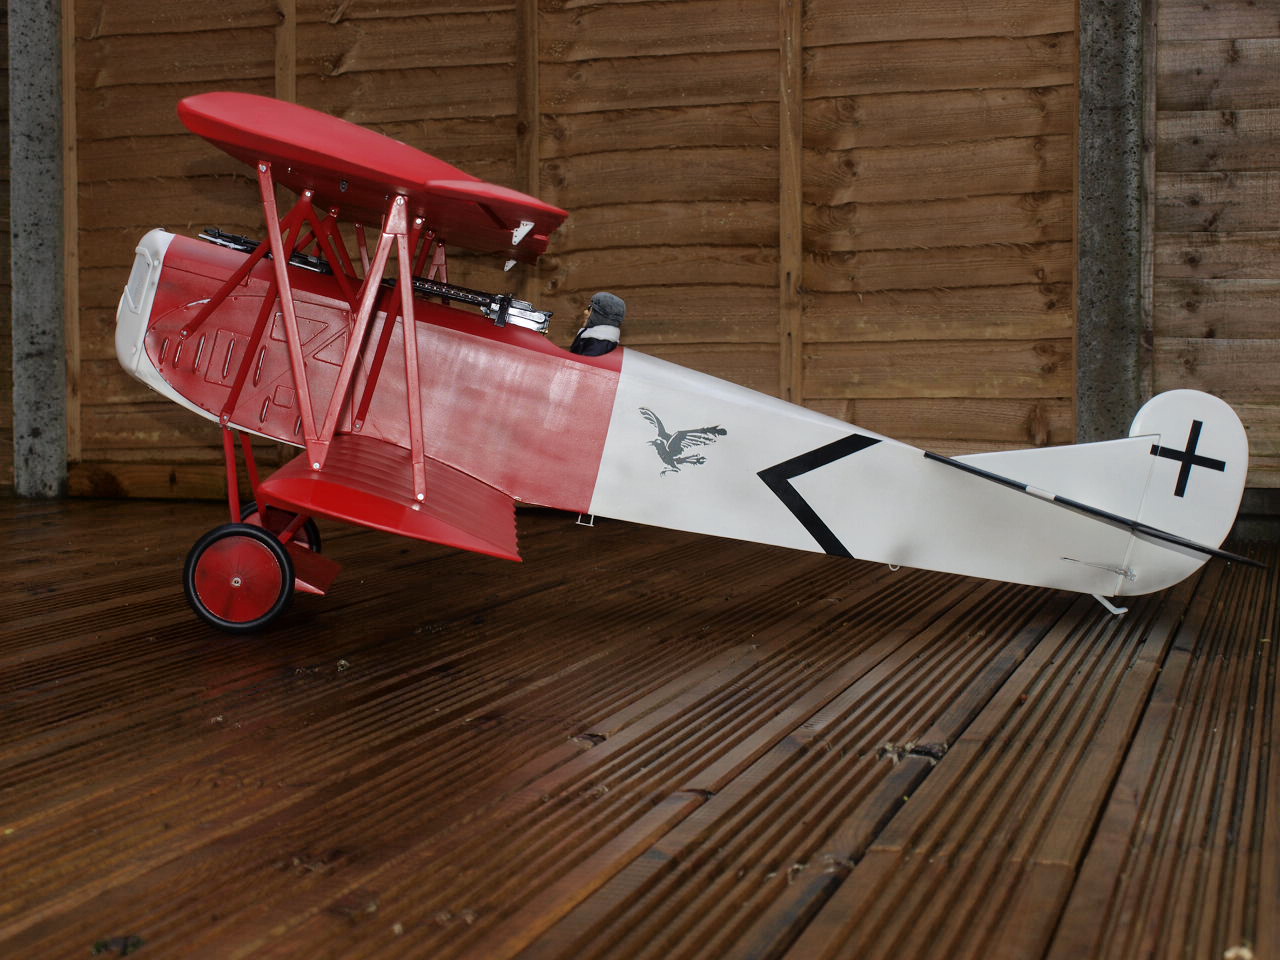
Finished tail.Note that the fuselage chevrons have also been add
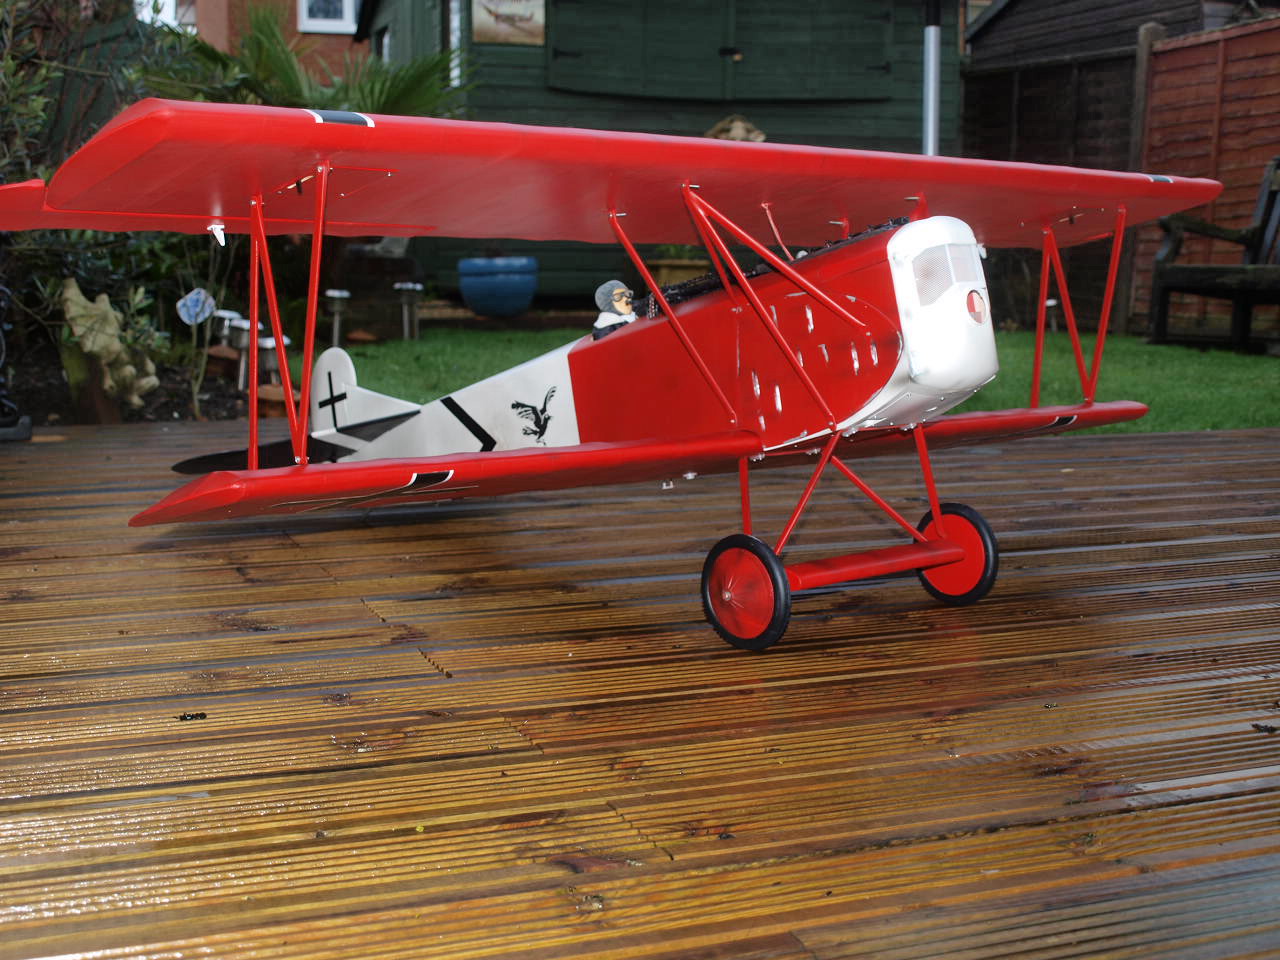
Once the black had dried completely the model was weathered using a detailing air brush. This will be covered in more detail when the stage is reached in the build of the Sopwith Pup
Pictures below showing model nearly completed. Just a few more details to and add and installation of engine.
|
||||||||||||||||||||||||