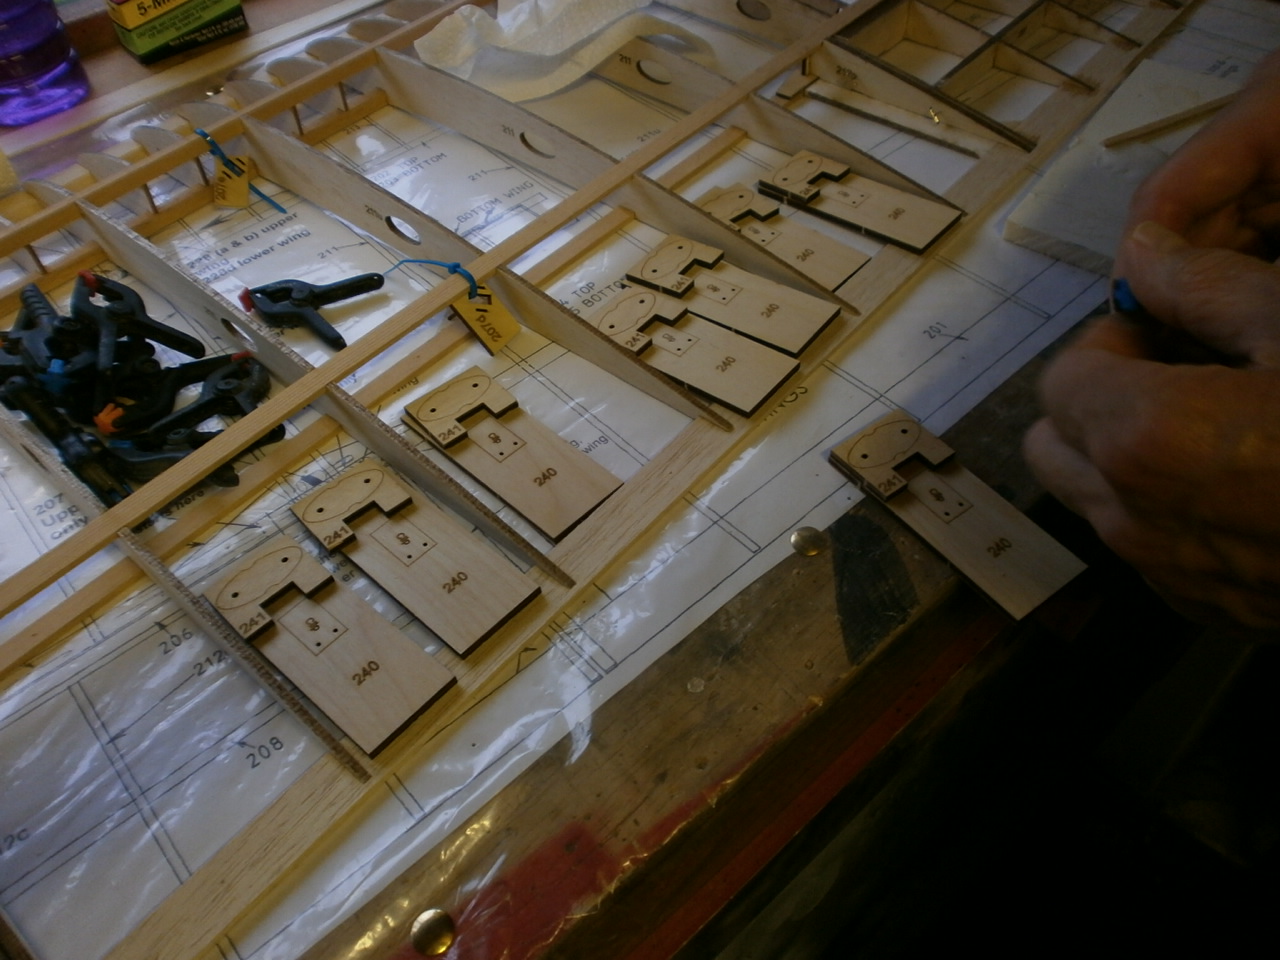
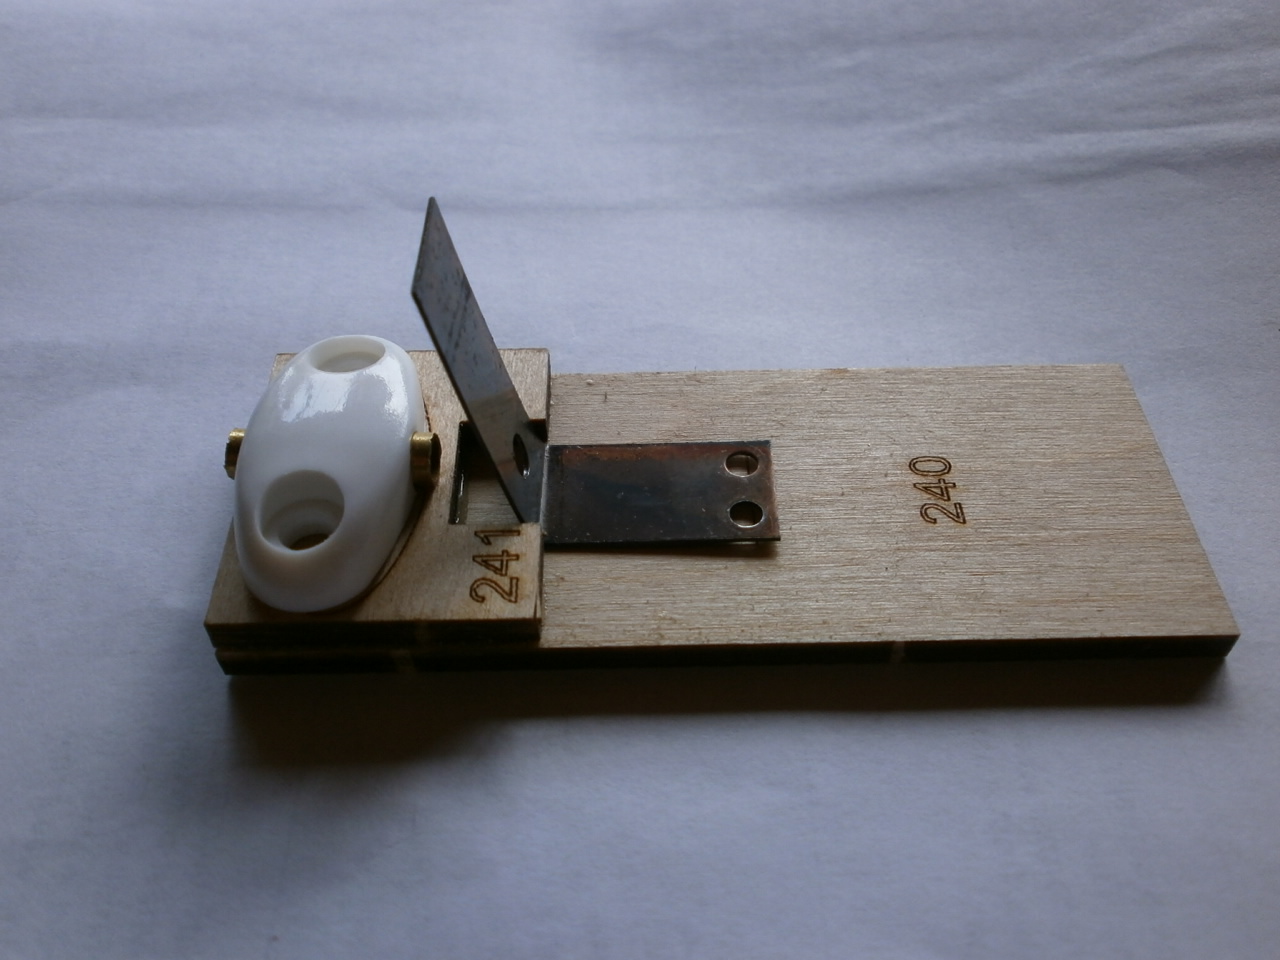
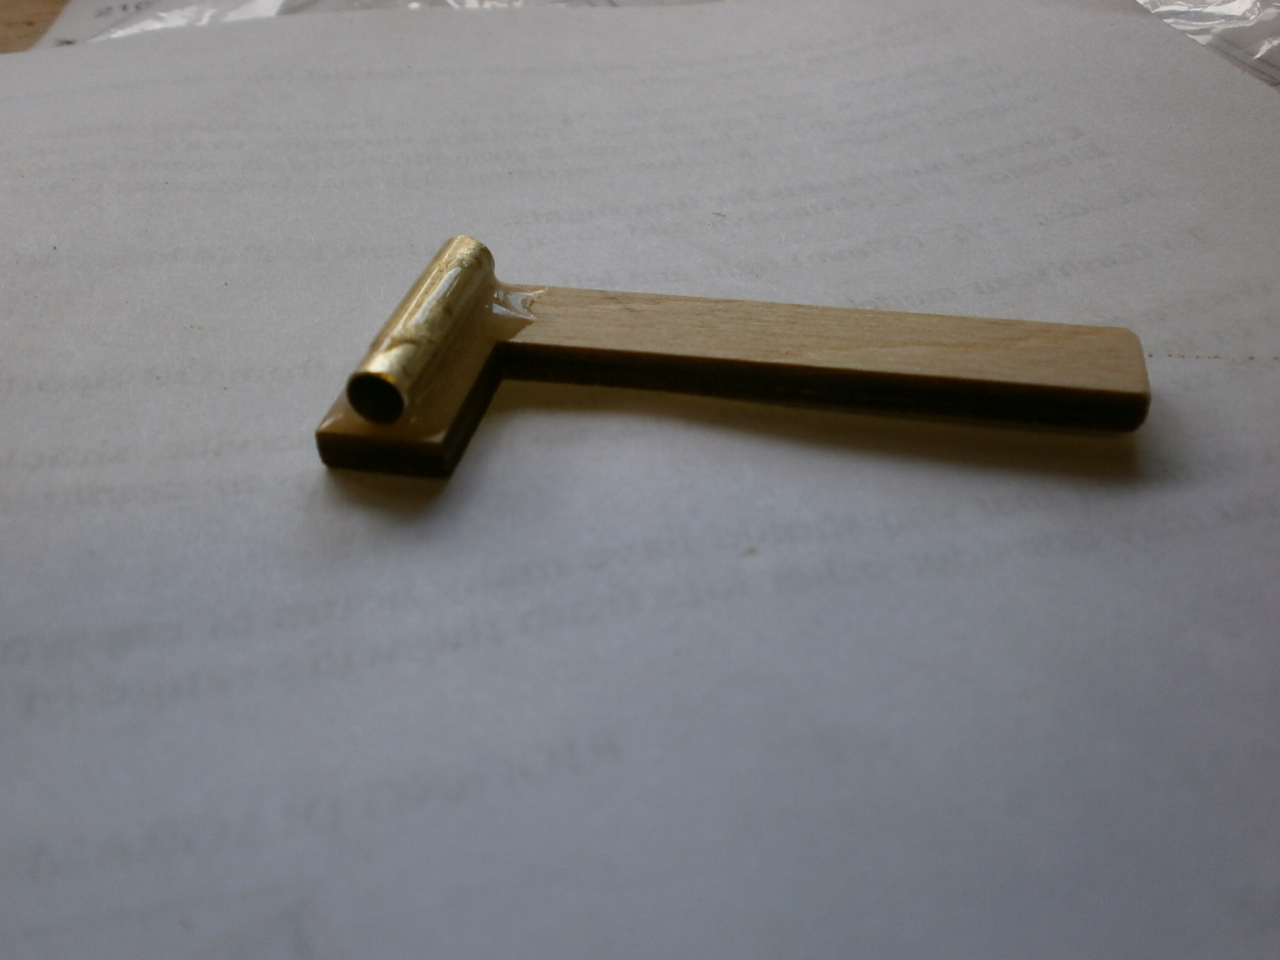
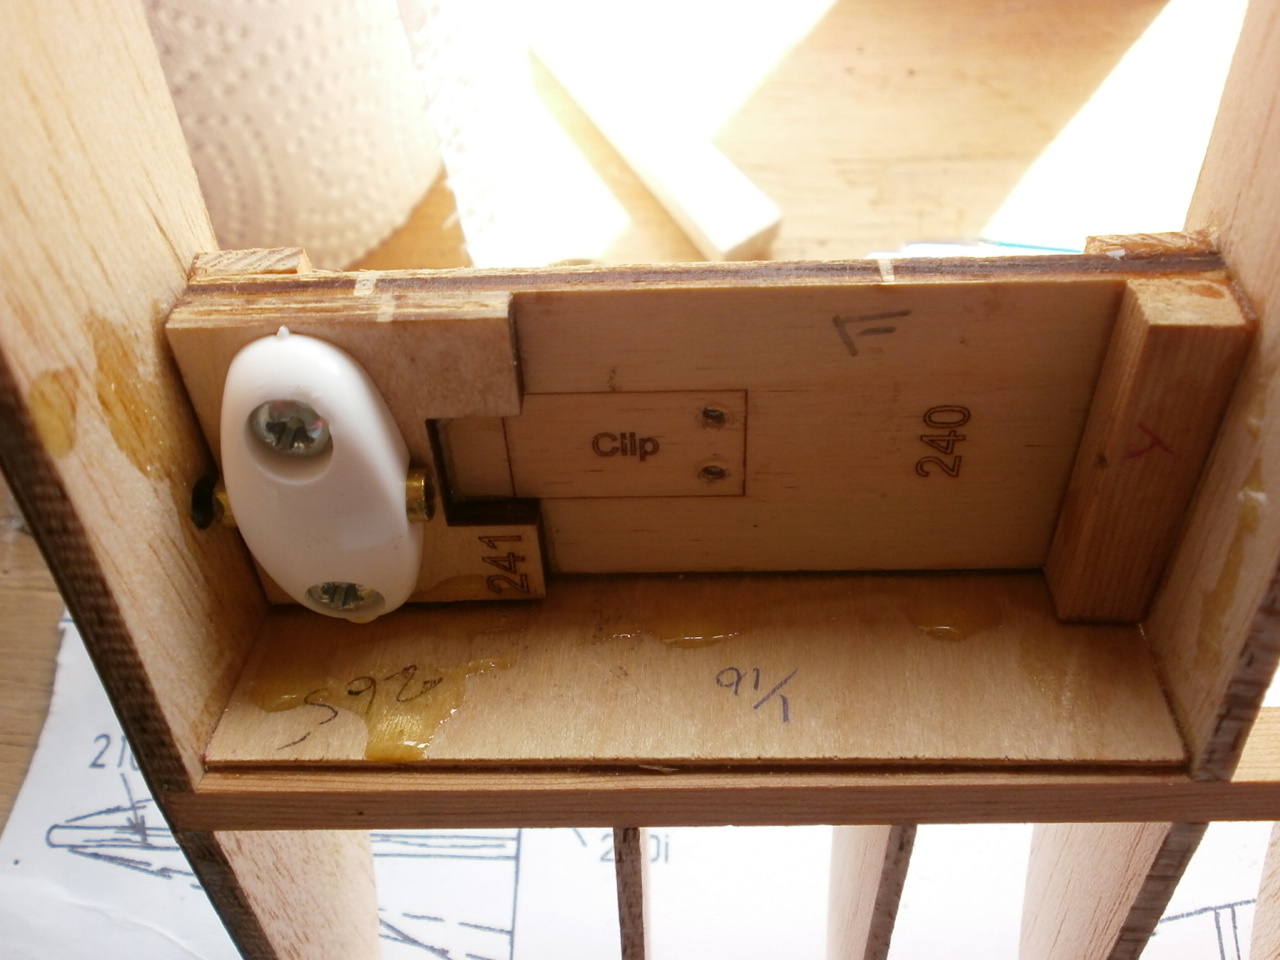
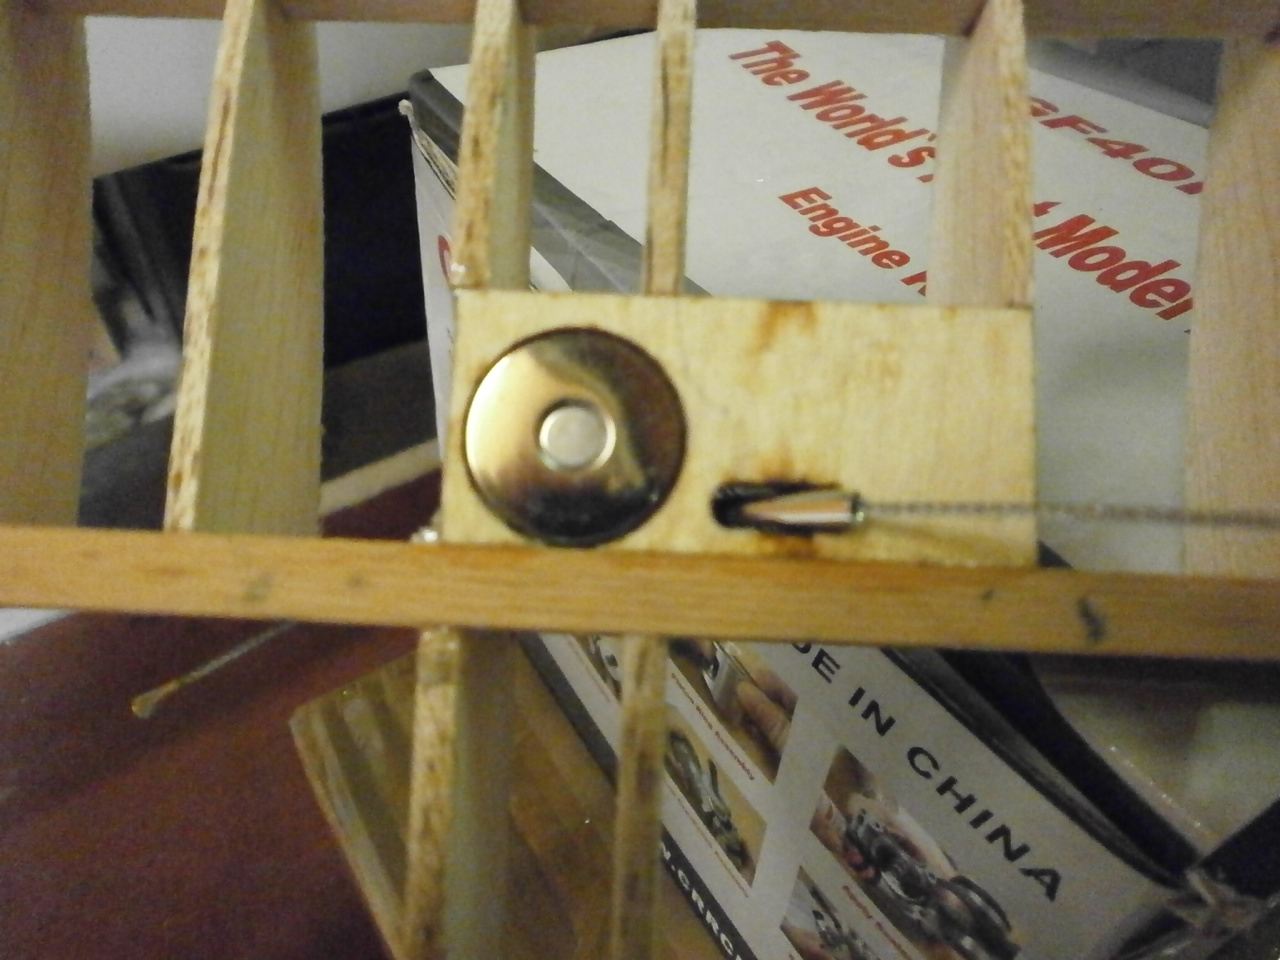
At last with all the wing panels completed our attention turned to installing the wing retaining system. These are made up from 1/8 ply pieces laminated together, see first picture below. To this a saddle clamp and a piece of brass tube are screwed into position picture 2.
Before fitting these individual units into position, the wing
and centre section are placed onto the building board.
It is important that the centre section is pined and firmly held flat
to the board to ensure that when the wing is guided over the guide pins
everything lines up squarely preventing it from moving around when final
gluing and fixing is taking place.
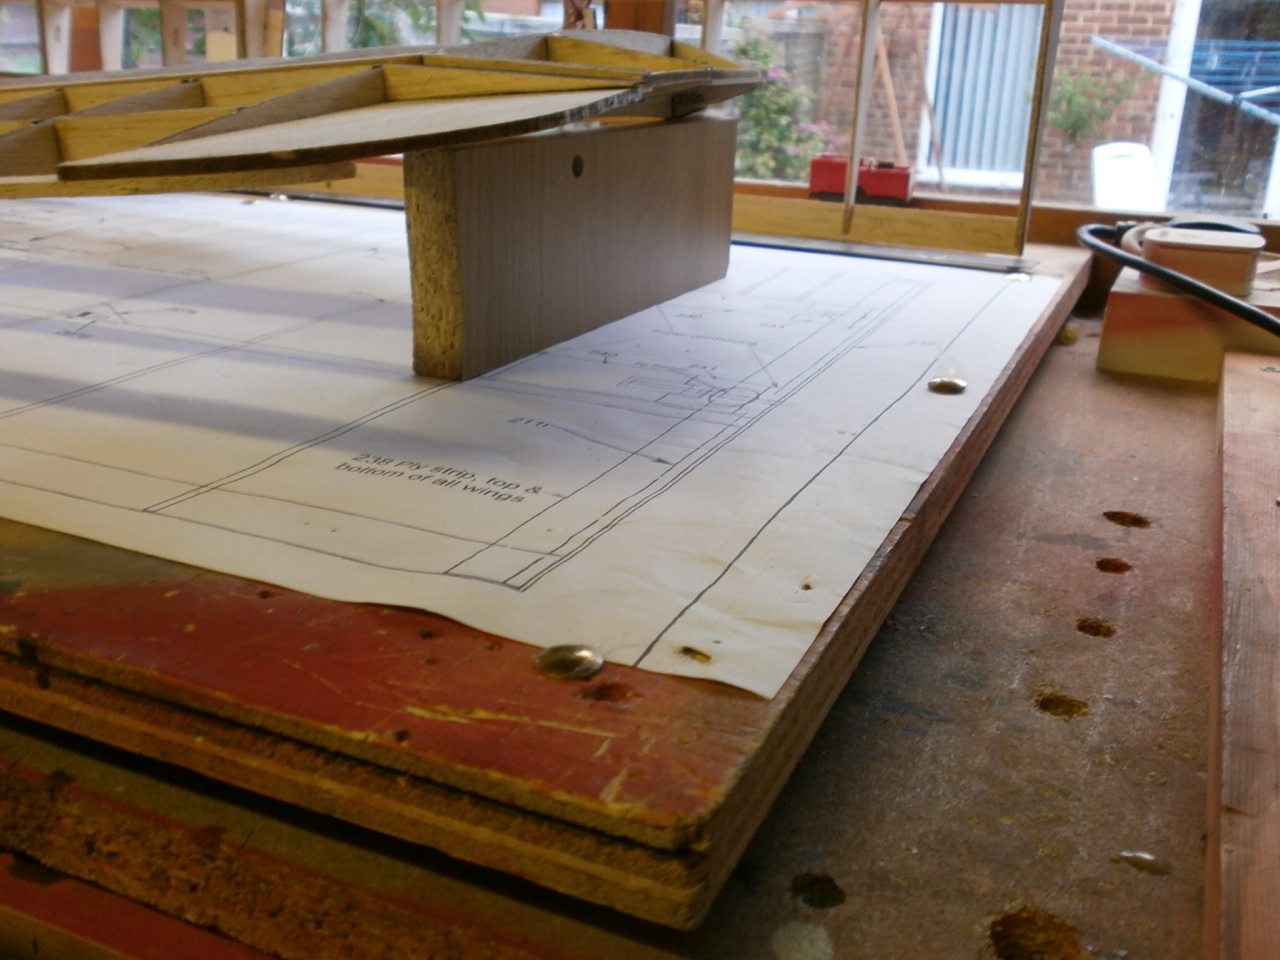
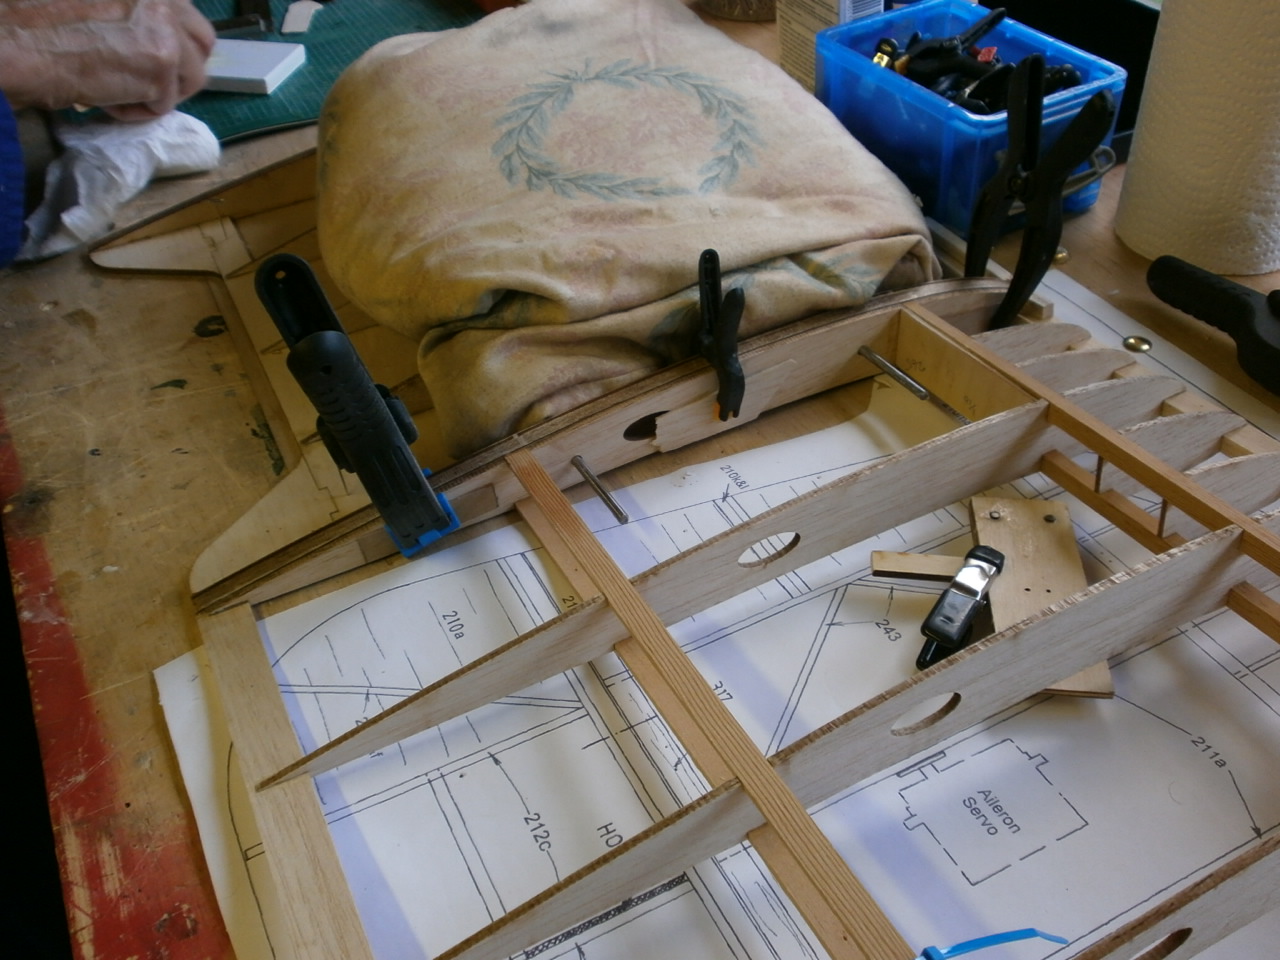
Once the wing panel is aligned with the centre section at the root end, the wing tip needs to
be raised at the last wing tip rib by 2/34 inches giving the correct dihedral as
indicated on the plans, pics 3, 4.
|
|
|
 |
 |
The units once made up as shown above were test fitted into the wing. This test fit identified, that due to the dihedral angle required, the installation of these units would need to be done from the underside of the wing, due to the final location of the retainers being wider than the aperture between the top of the root rib and rib two that the unit will be joined to.
As the wing
and the centre section needs to be set up as described above, the
retainers once glued
will be facing downwards making it very difficult to ensure that everything is
square when located into position on the piano wire guides.
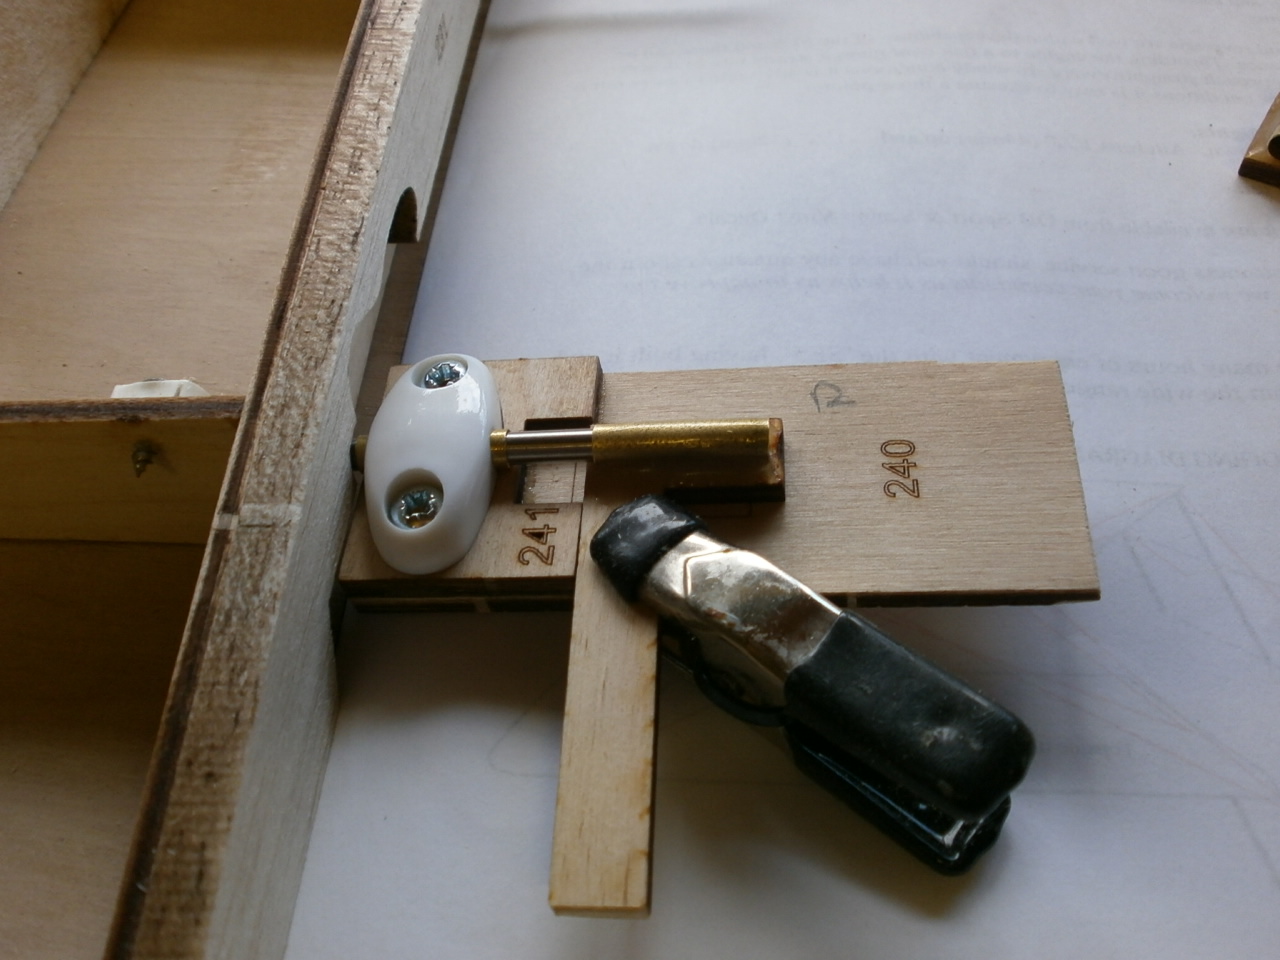
(THESE UNITS AT FIRST SEEMED VERY SIMPLE. DON'T BE FOOLED THEIR
NOT) The following picture shows a simple jig that my partner in
crime came up with to ensure that once everything is glued into its
final resting place everything remains
square and true.
This is as you can see is clamped to the unit once the unit
has been located onto the centre section guide rods. Once in place this
ensures a very square and accurate fit. pic 2 below
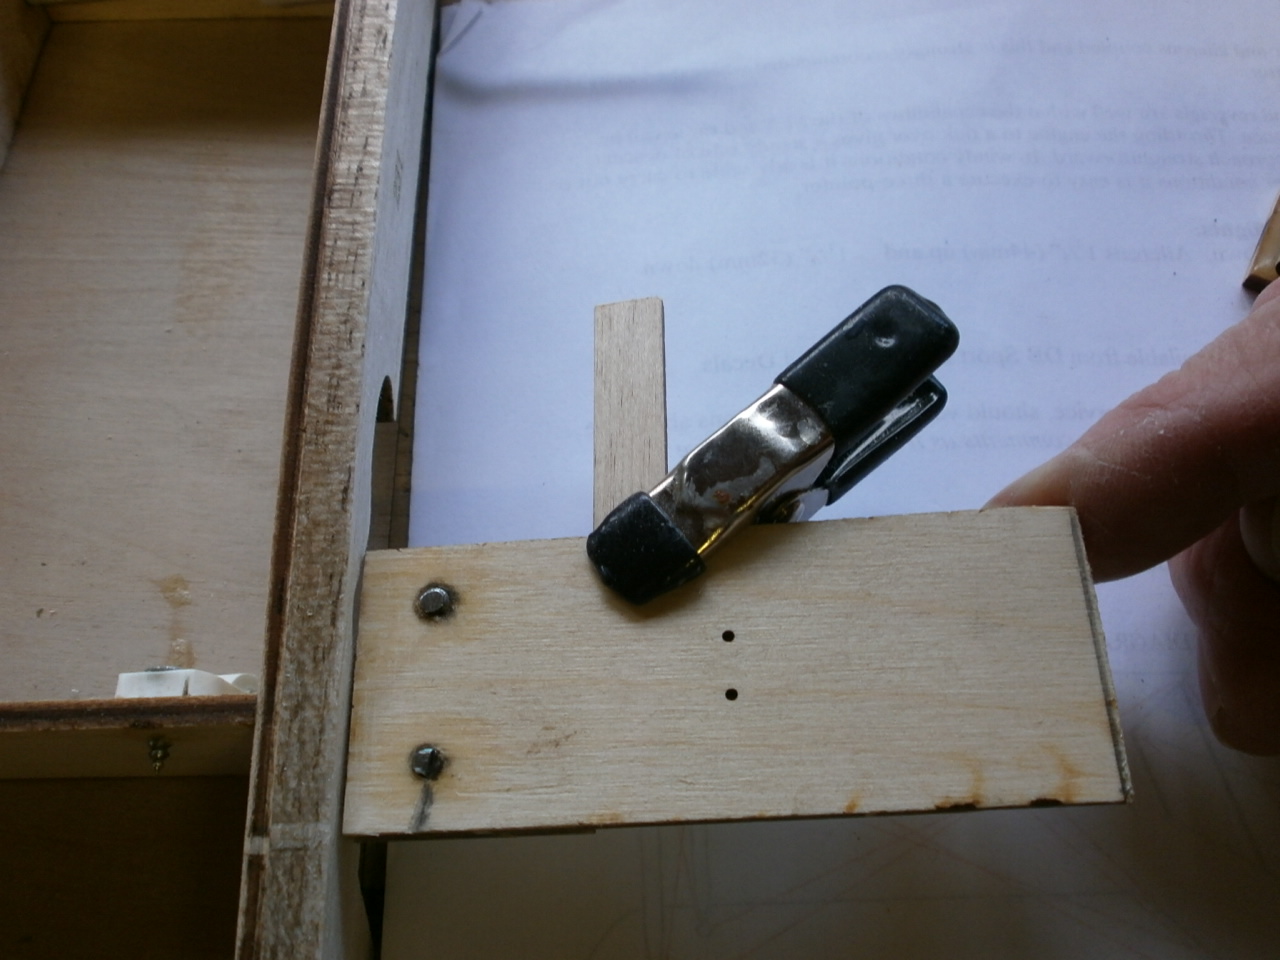
Pic 3 showing the correct way that
this will all be facing once finally glued into position.
Once each unit both front and rear has been set up in this fashion, the wing is reset up to the correct dihedral as mentioned above.
 |
 |
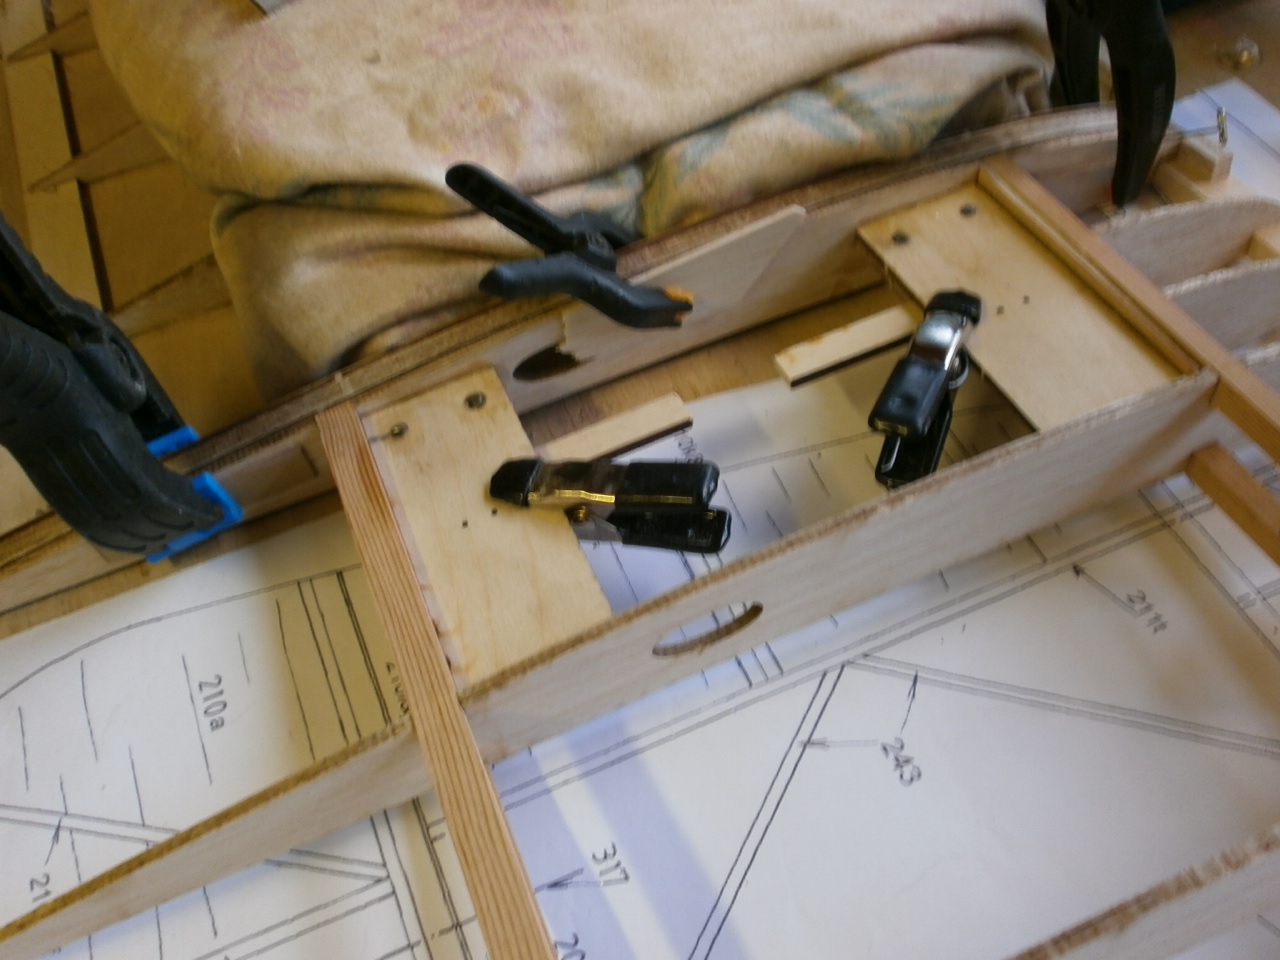
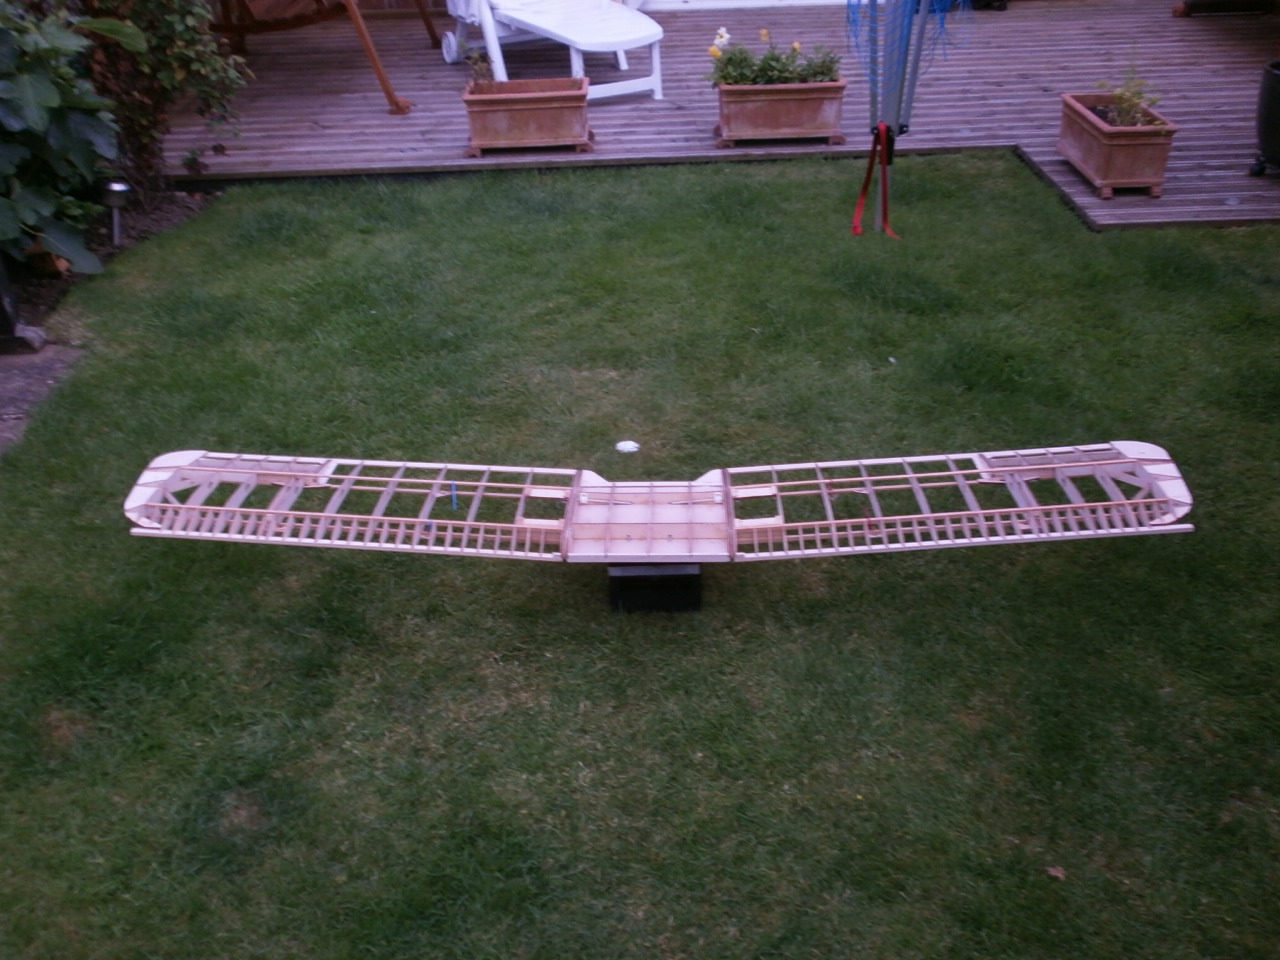
The second pic below shows the wing now clamped to the centre section with the correct dihedral set at the wing tip and the two units glued into position using 30 minute epoxy. It is important to ensure that these units both sit square with each other so a level was used spanned across the top of both units ensuring this was achieved.
 |
 |
This last picture showing the now added
scrap strengtheners as per plans / instructions.
Again to be belt and braces here we
decided to add additional strengtheners (although I'm sure that the
structural integrity of the suggested set up would be more than adequate
see last pic below)
 |
 Pics of front and rear unit extra bracing |
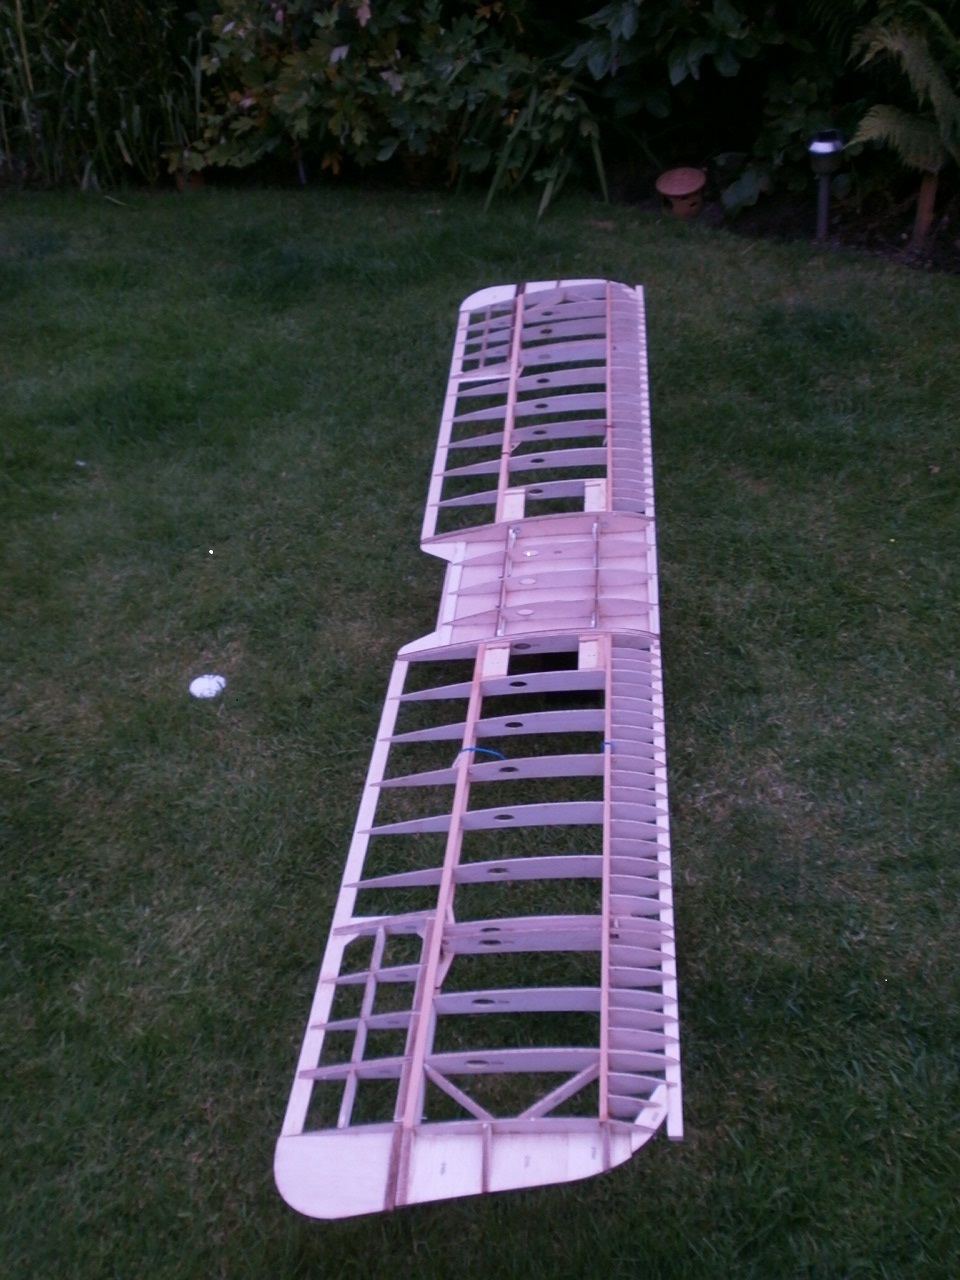
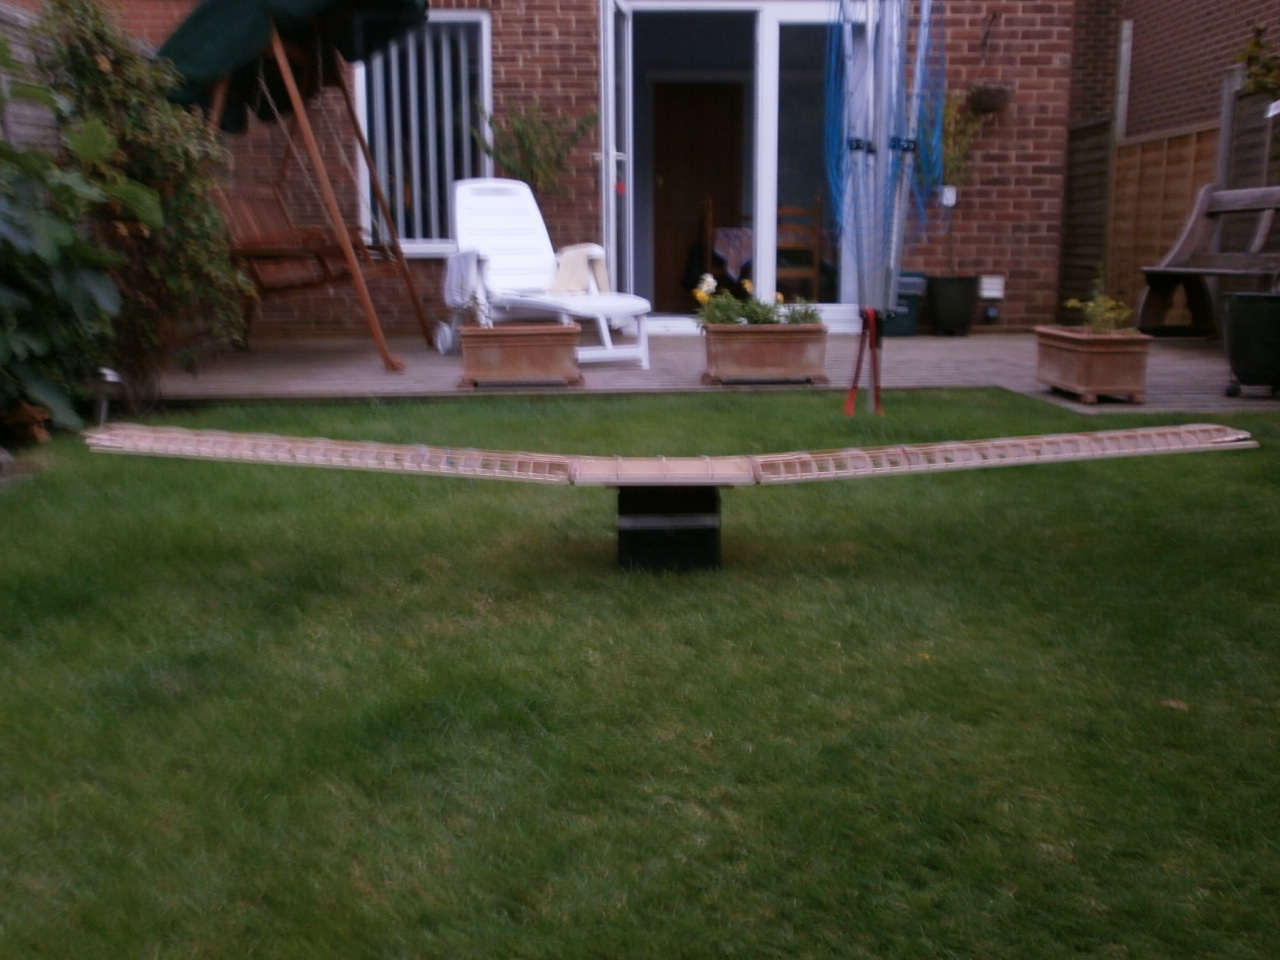
The following pictures showing the top wing panels
attached to the centre section. The same procedure will be carried out for
the bottom wing.
Although the wing looks complete here, there are still a number of tasks to
complete before final construction is complete and ready for covering.
 |
 |
 |
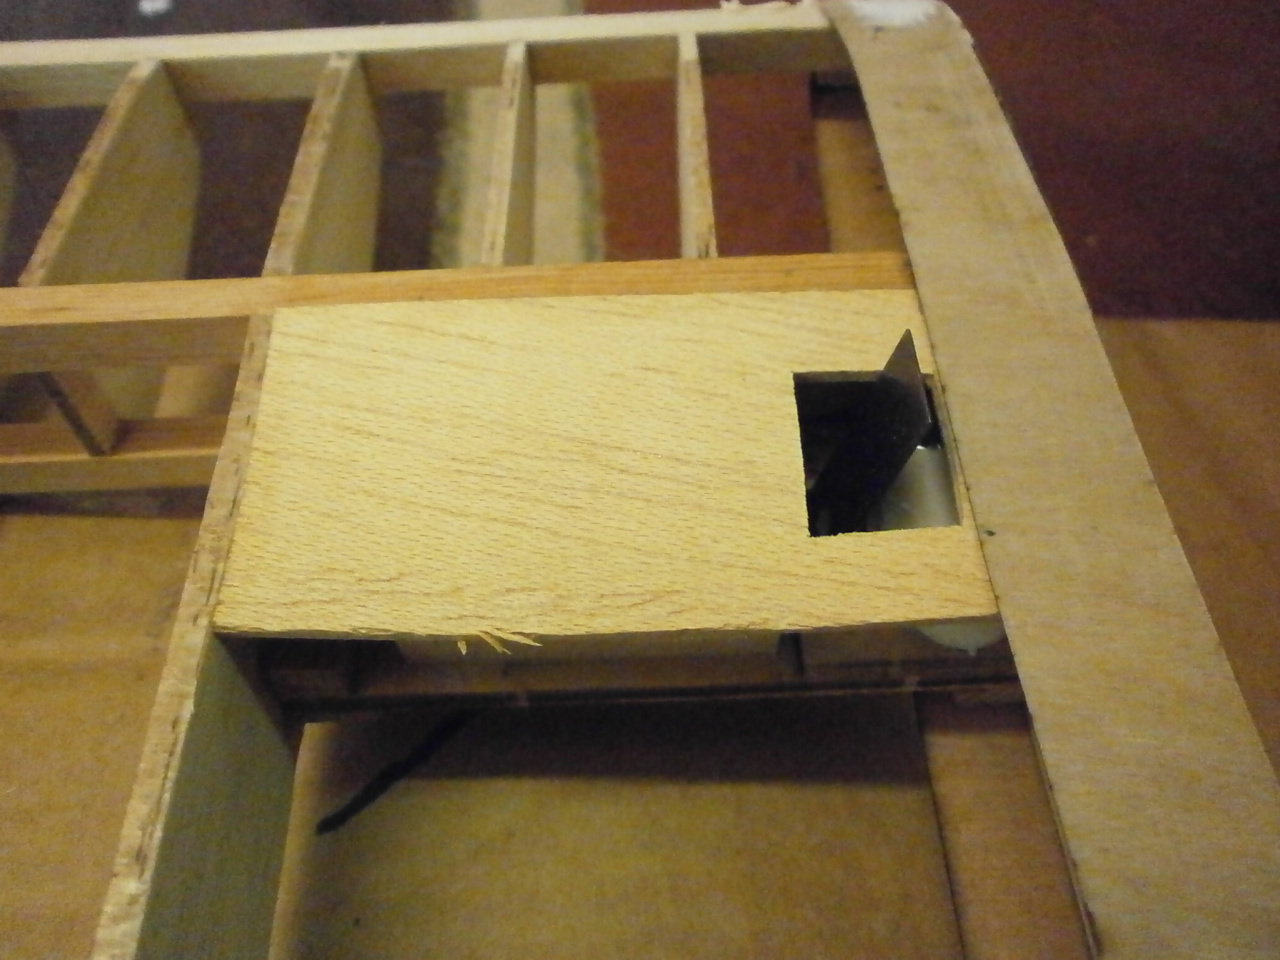
The next job on the list is to sand and profile the leading and trailing edges.
Once this has been completed our attention turned to the wing retention brackets. These are held in place by two self tapping screws and protrude out from under each wing section. To release the wing you push the brackets towards the wing tip. The problem with this setup is that both brackets have to be pushed back simultaneously. This is practically impossible to do unless you have help from another person. The problem was solved by installing a wooden cover over the bracket with a small cut-out which then allows a wooden wedge to be inserted between the root skin and the bracket tab, this then allows easy release of the wing when pulled with hands either side of the trailing and leading edge of the wing at the root end. See picture of cover below
 |
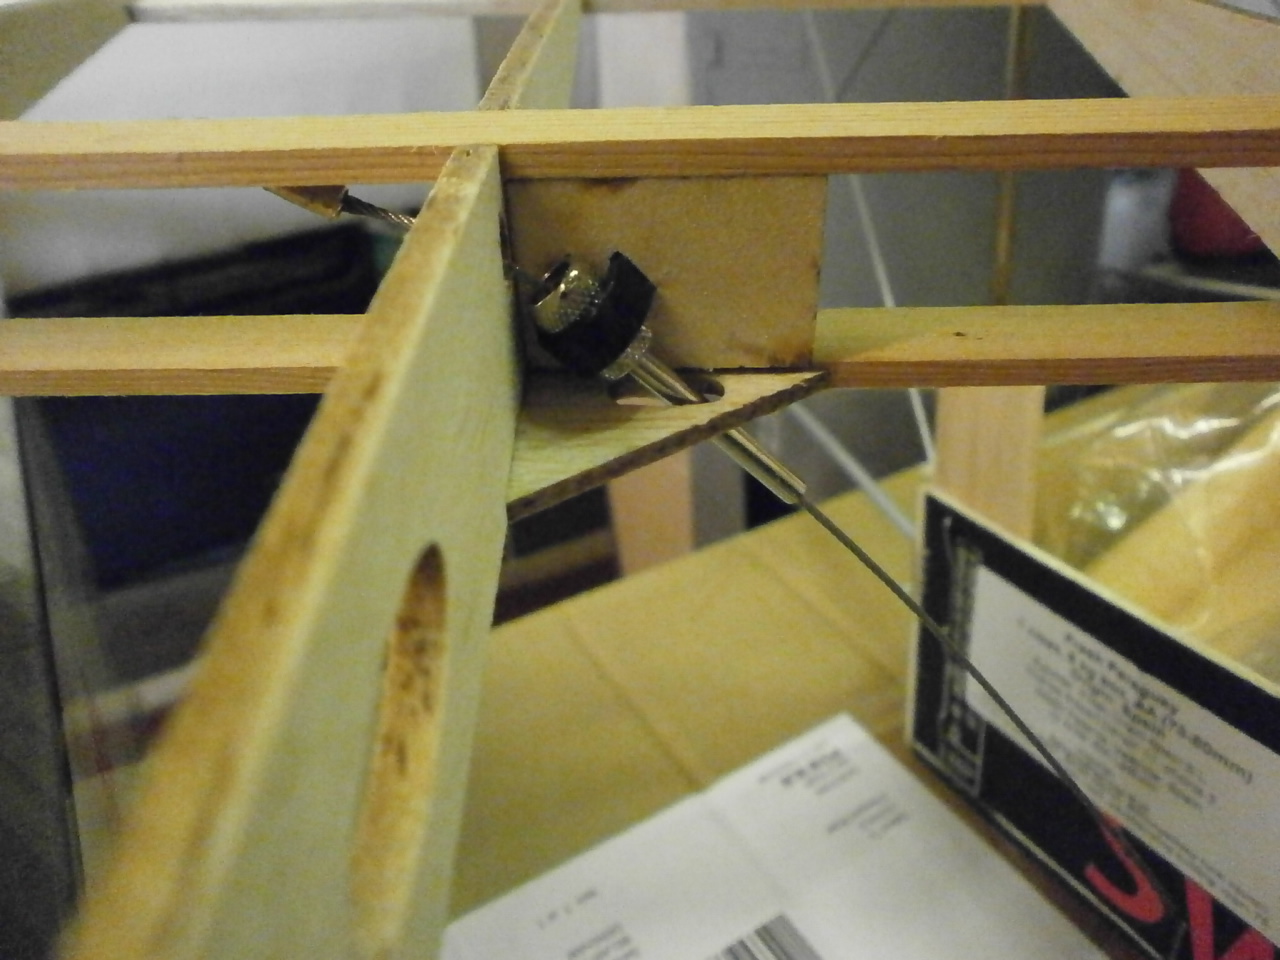
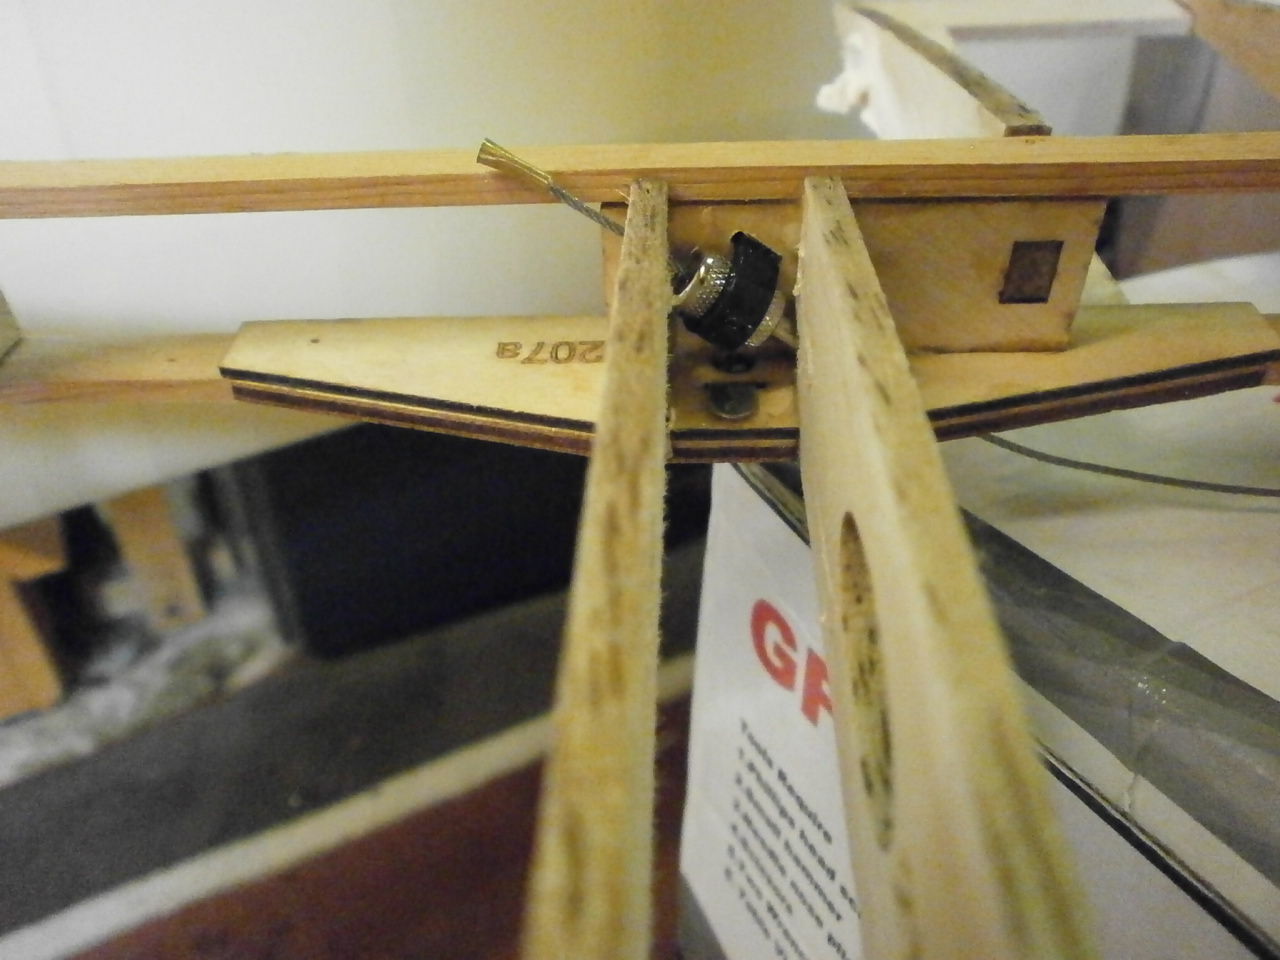
The following couple of pictures showing the now installed outer strut locator and also the rigging fasteners. To see how this all works visit http://dbsportandscale.com/How-rigging-works.htm
 |
 |
 |
More to come on this page |