 |
 |
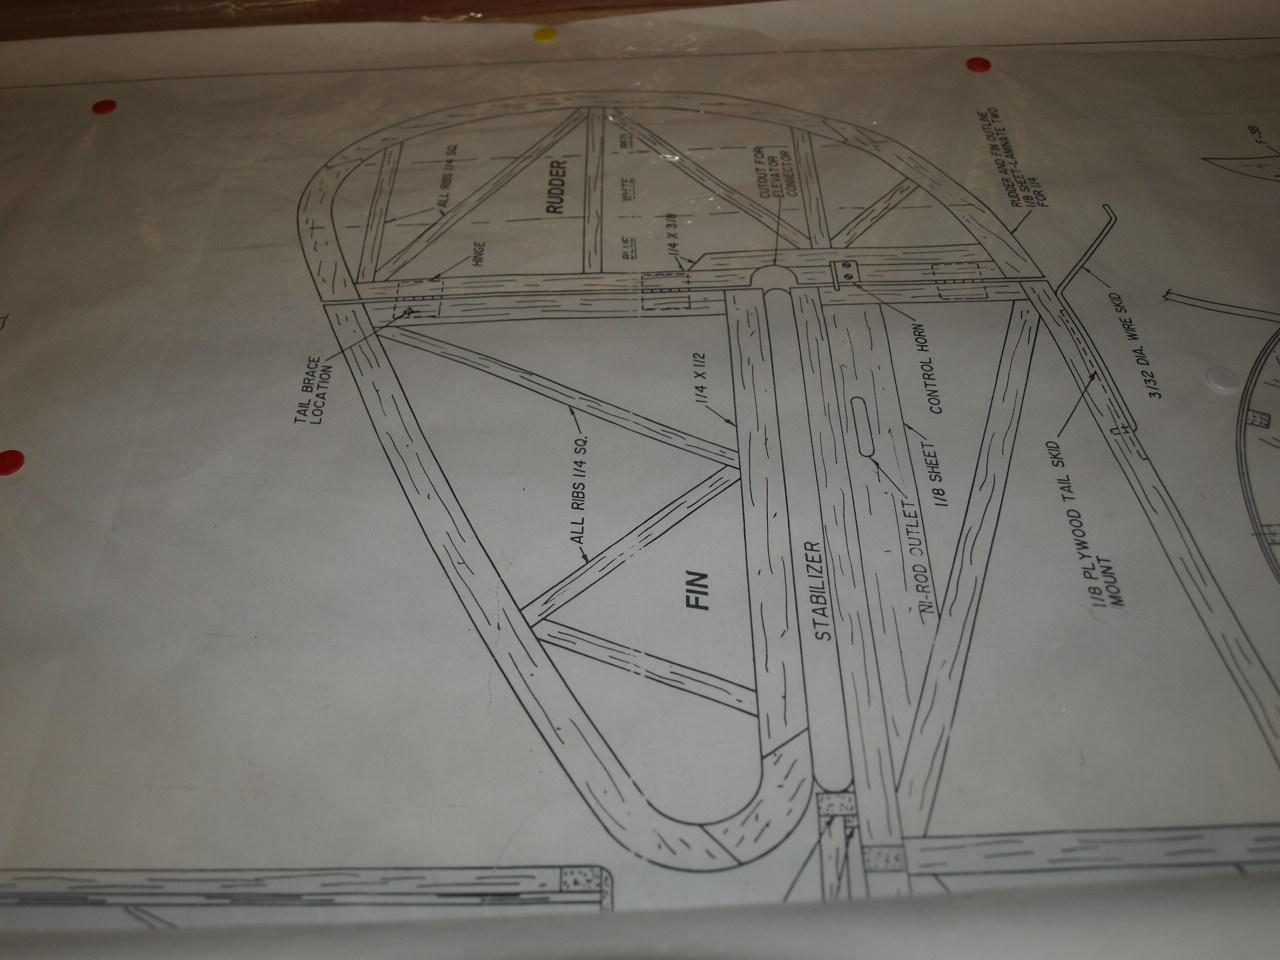
Rudder and Fin Construction
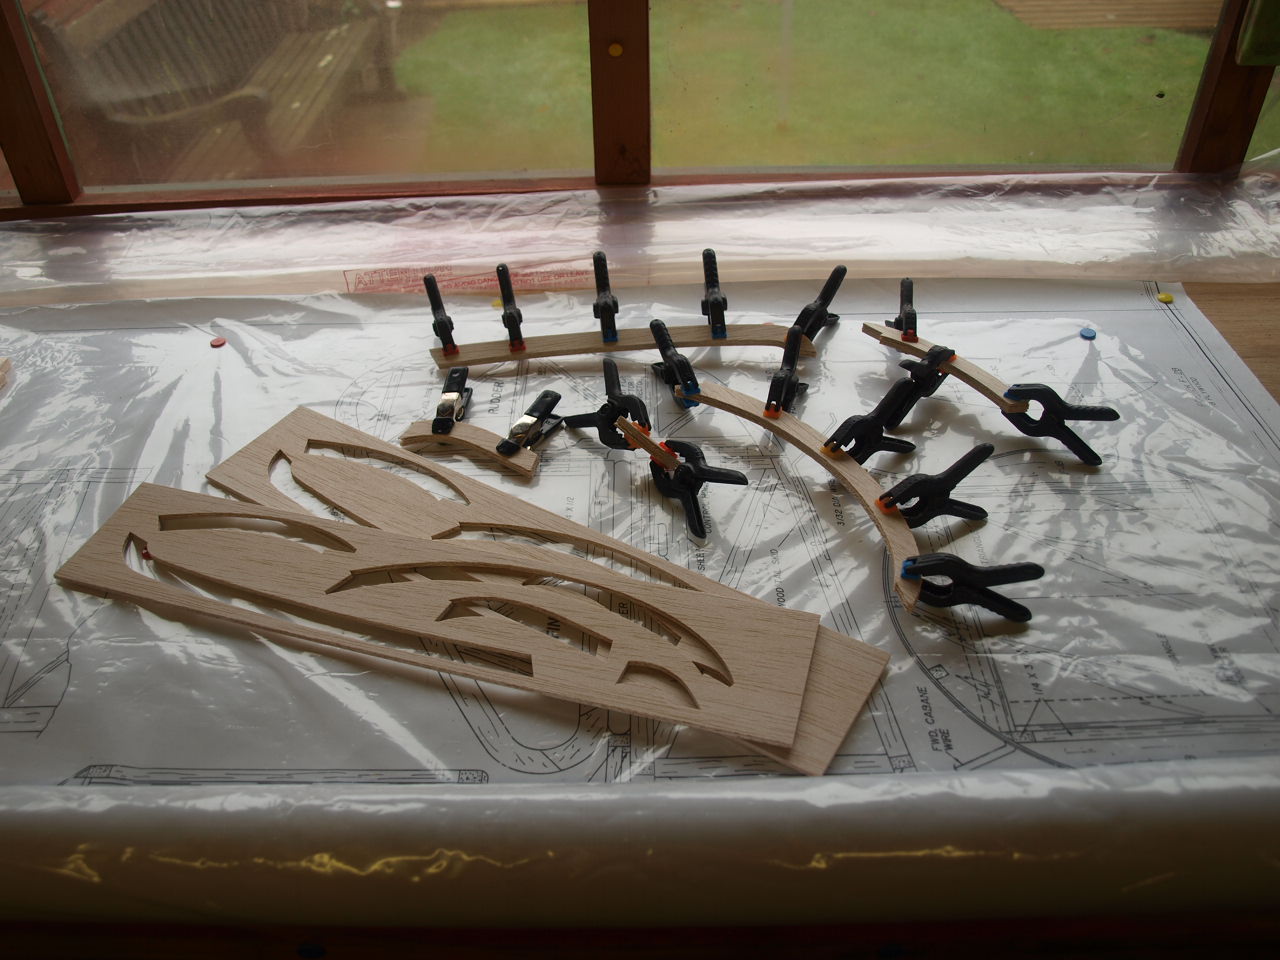
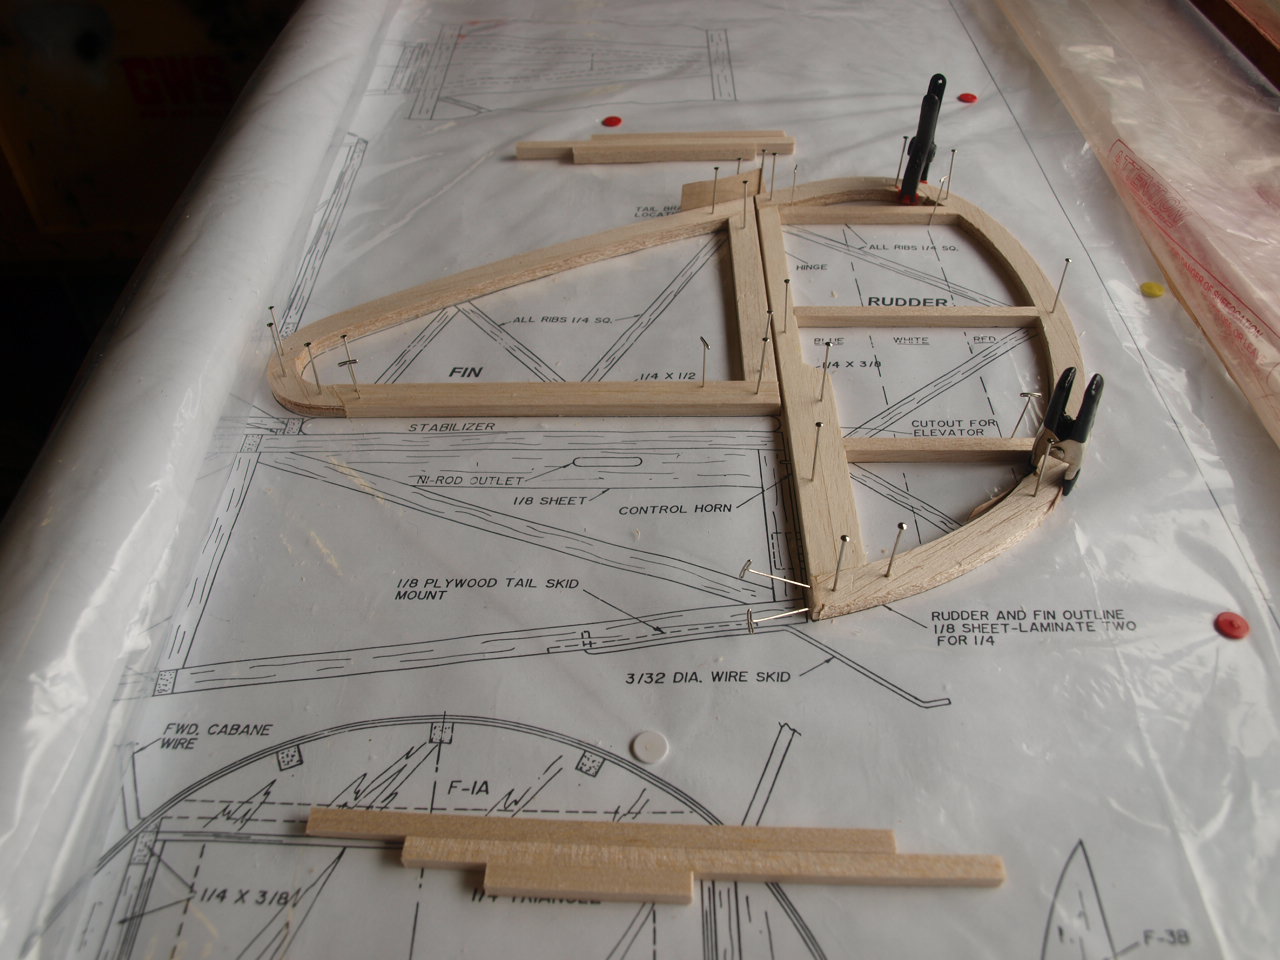
The Rudder and fin construction is basically the same as the stabiliser. The only difference being that the outer frame is produced from 1/8 balsa sheet with CNC cut parts which just push out from sheet. (see second picture below)
As you can also see in the same picture there are two sheets with identical parts. These have to be laminated together before joining the individual parts together. I found that once placed the laminated parts on the plans they where not quite the same size as the outlines on the plans. This was a little frustrating as I had to deviate from the plans slightly before I could get all these items to join up, which now means the outside diameter is about 1mm smaller than shown on the plans. All I hope is this will not be true of the remainder of the CNC cut parts.
|
|
|
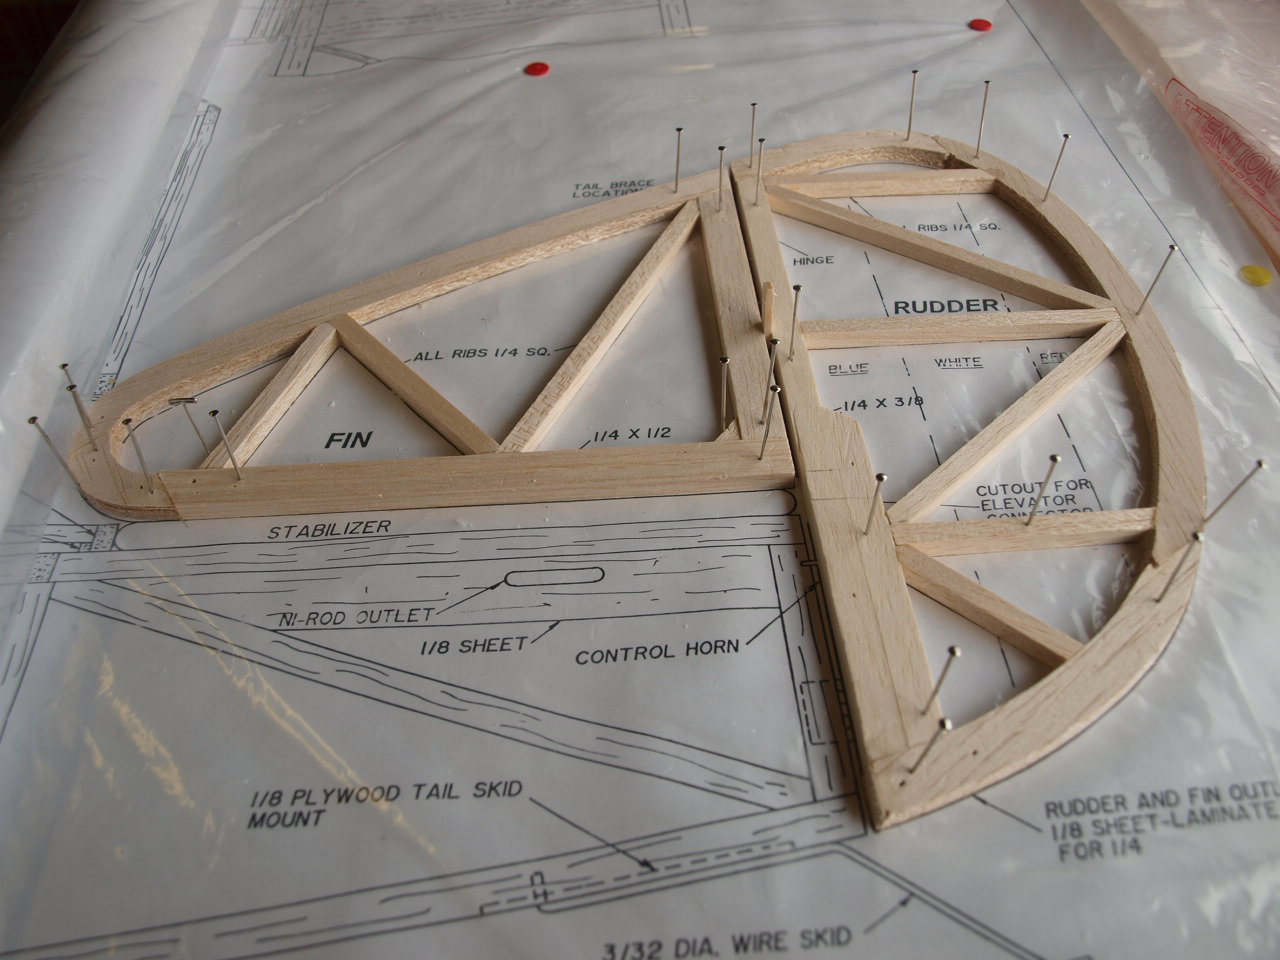
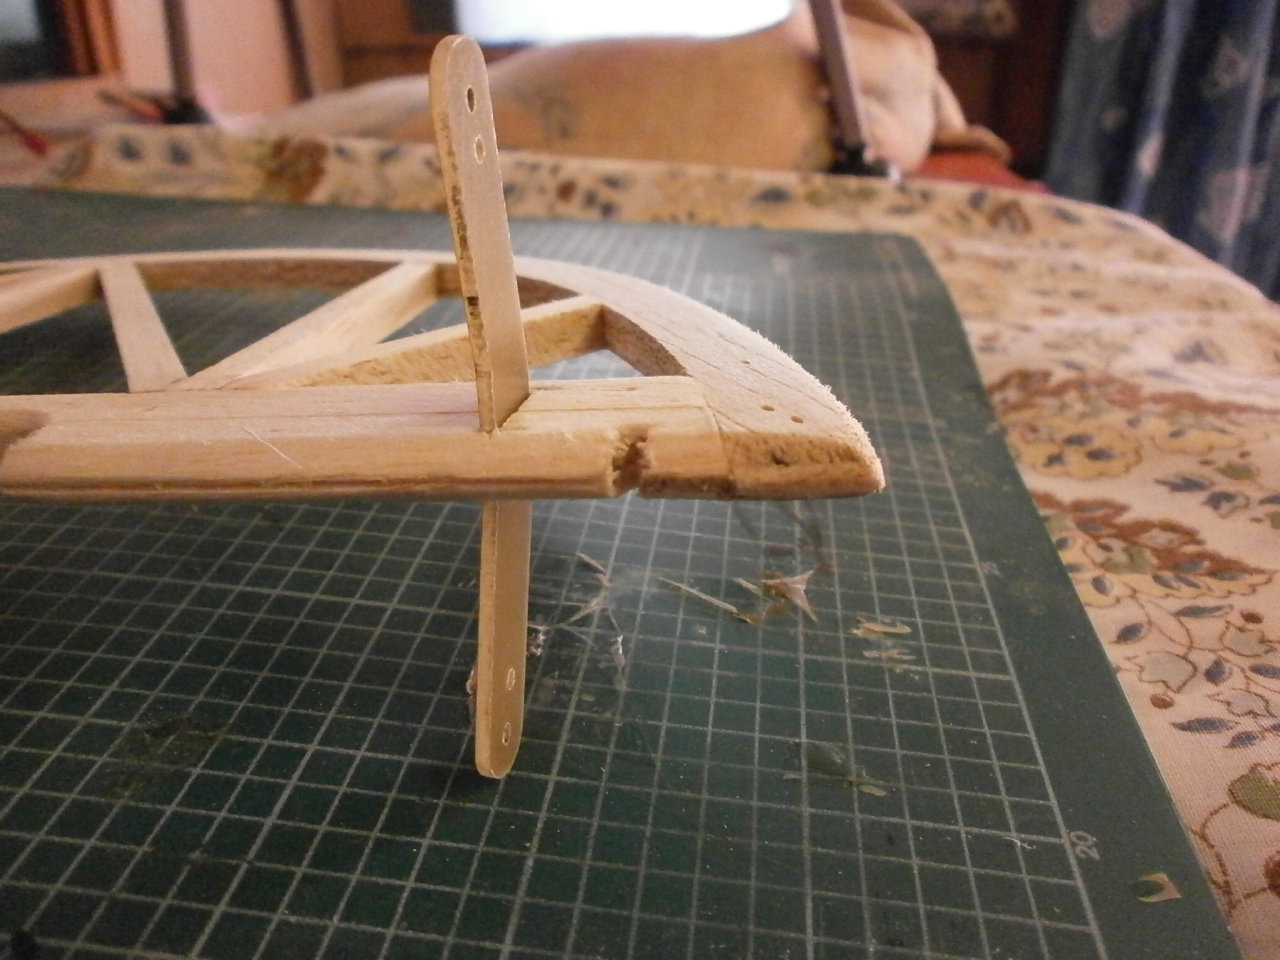
The pictures below show the Rudder and Fin laid out on the plans at various stages of construction with the last picture showing the completed articles with only the sanding left to do.
You will see in he first picture that there are to little clamps these had to be used on the rudder section to ensure the glued joints held firmly together as they kept wanting to come apart even though the structure was pined in place
 |
 |
Installing the control horn
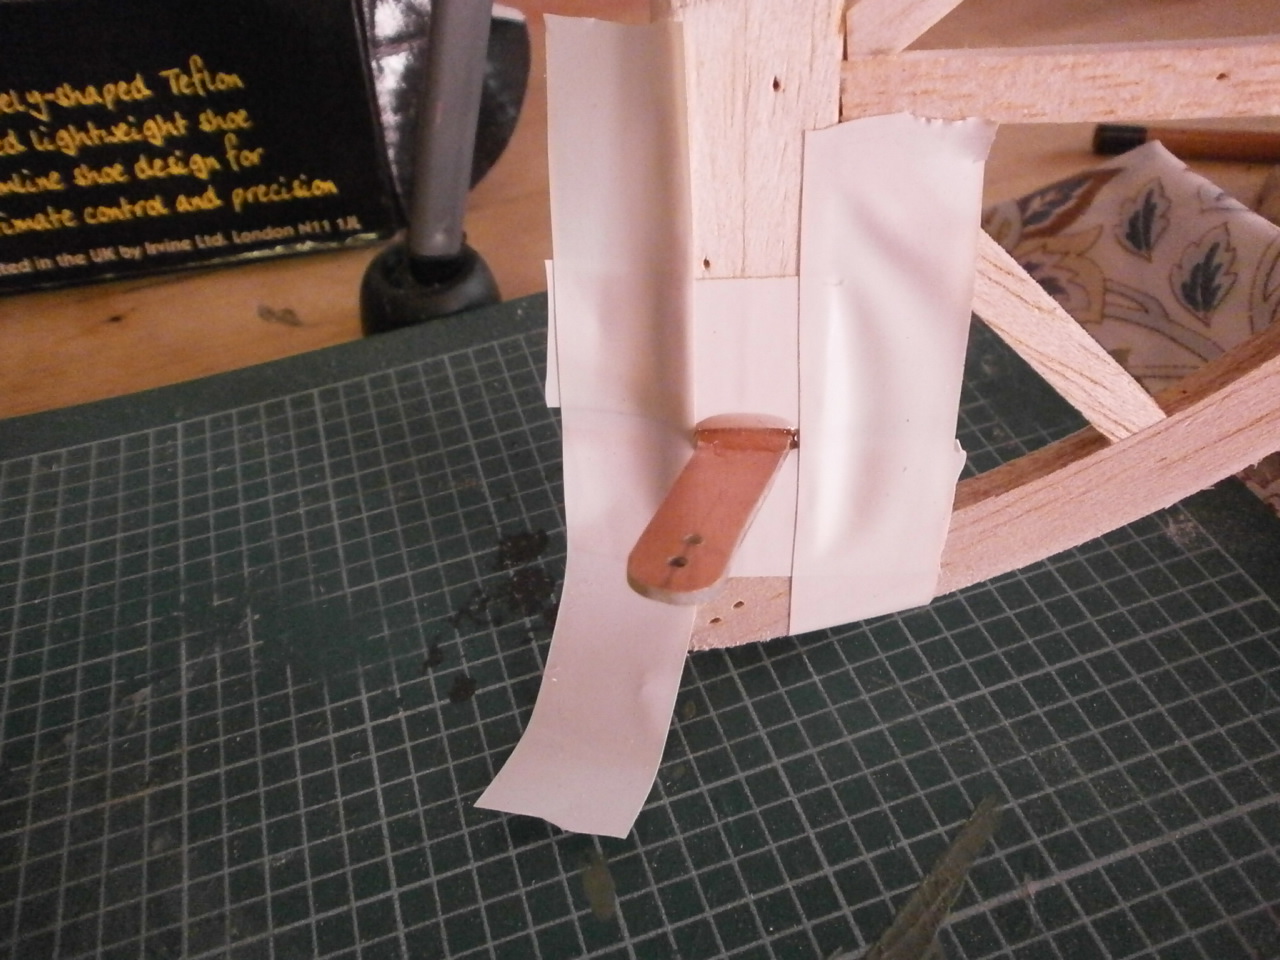
With the construction complete I now need to install the control horn. This has also been made from scratch out of a material used for circuit boards, as it is strong durable and fuel resistant.
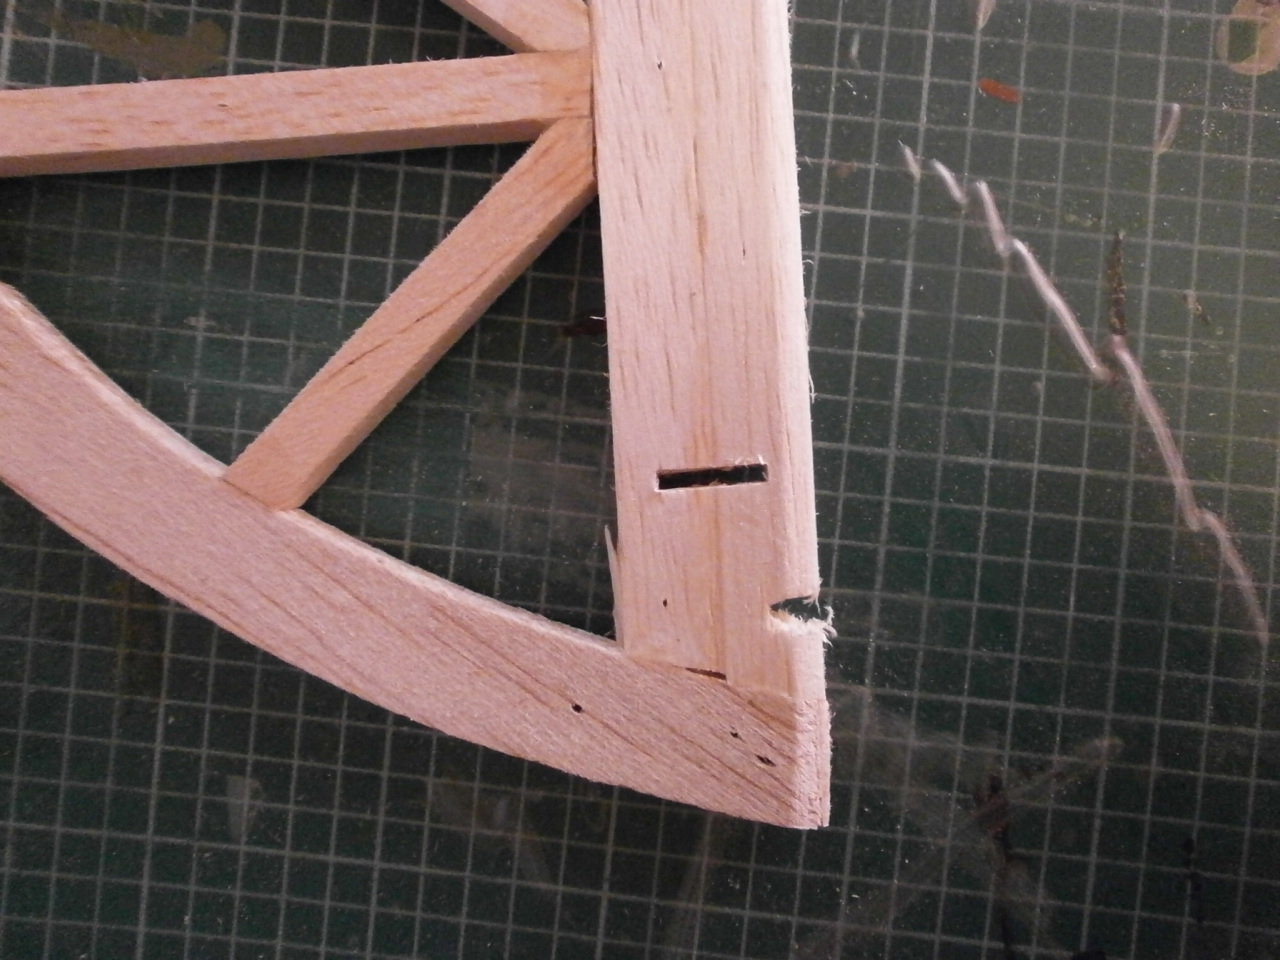
A slot is cut into the balsa at the predetermined position on the rudder leading edge, just large enough to receive the horn. See Pics below.
 |
 |
 |
 |
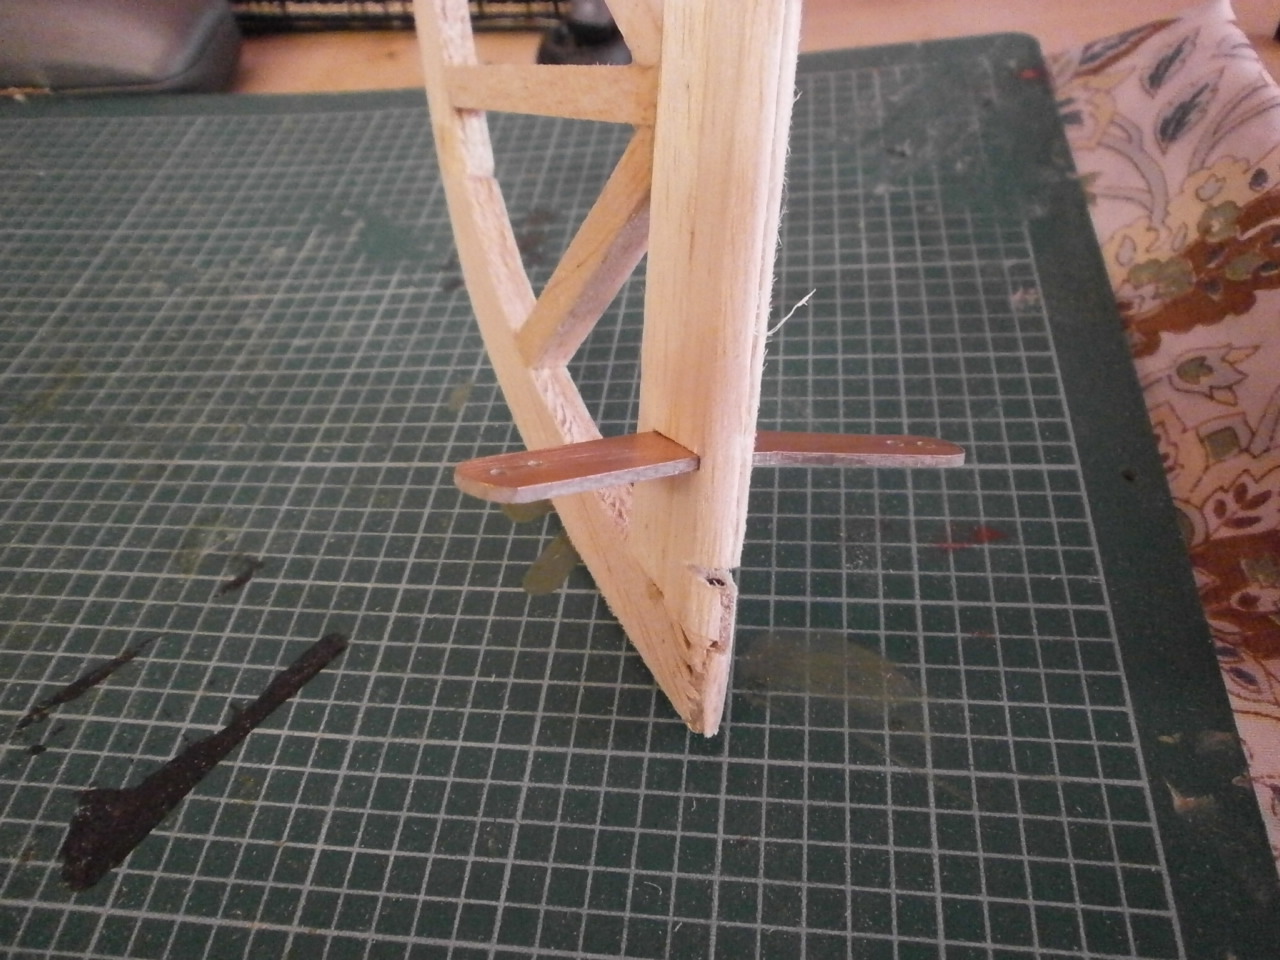
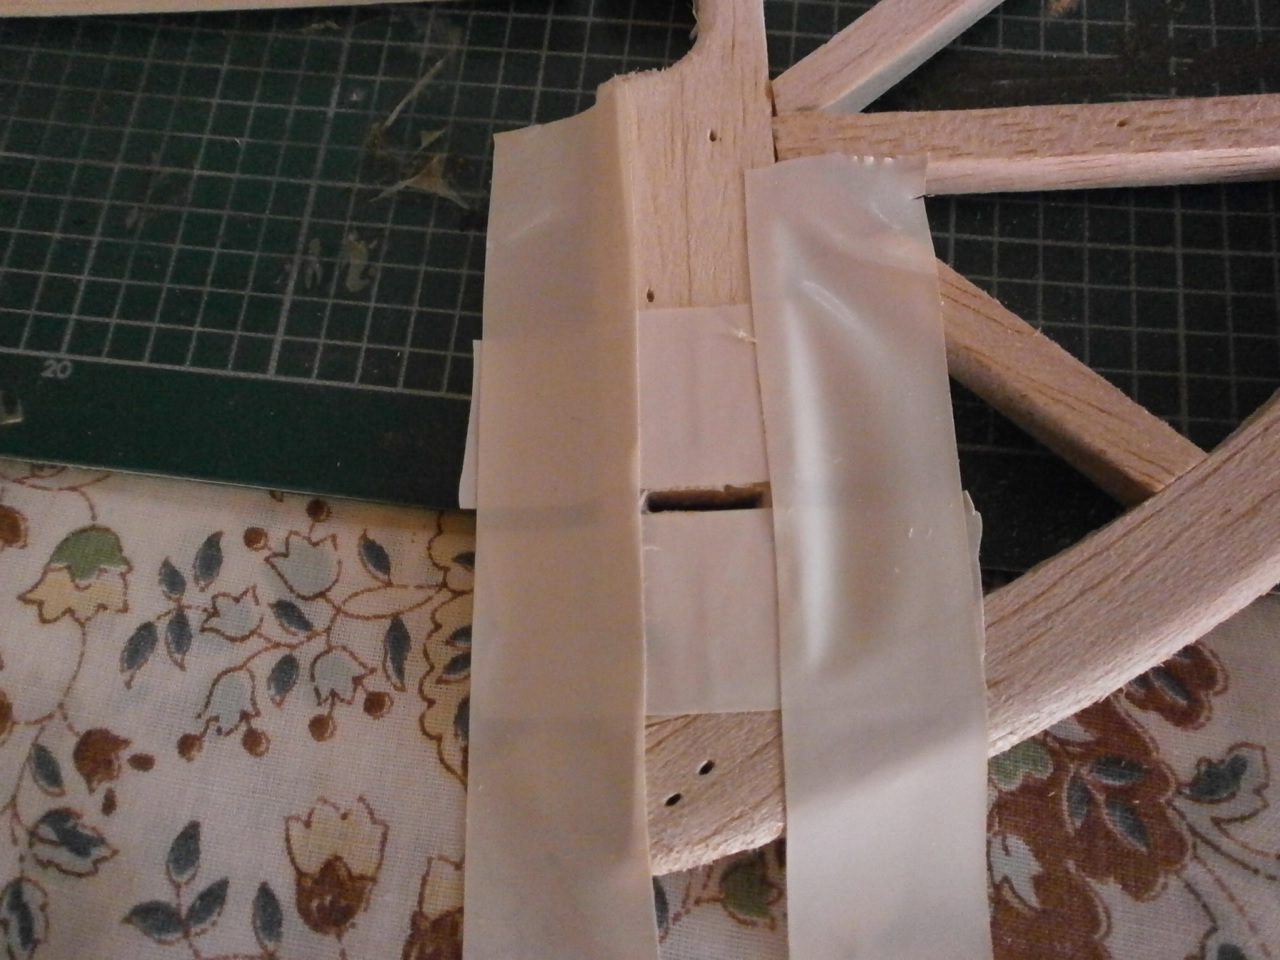
Once happy with the fit and alignment, one
side of the rudder is masked up, either using masking tape or as in the pictures
below electrical tape. This protection ensures that once the epoxy resin is
applied to the horn and the horn located into position, none of the glue that
oozes out of the joint comes into contact with the rest of the balsa structure.
Cleaning up the overspill is much easier as well, as when wiping away the access
glue the is no danger of the glue coming into contact with the balsa causing
unsightly glue deposits that are near impossible to remove.
 |
 |
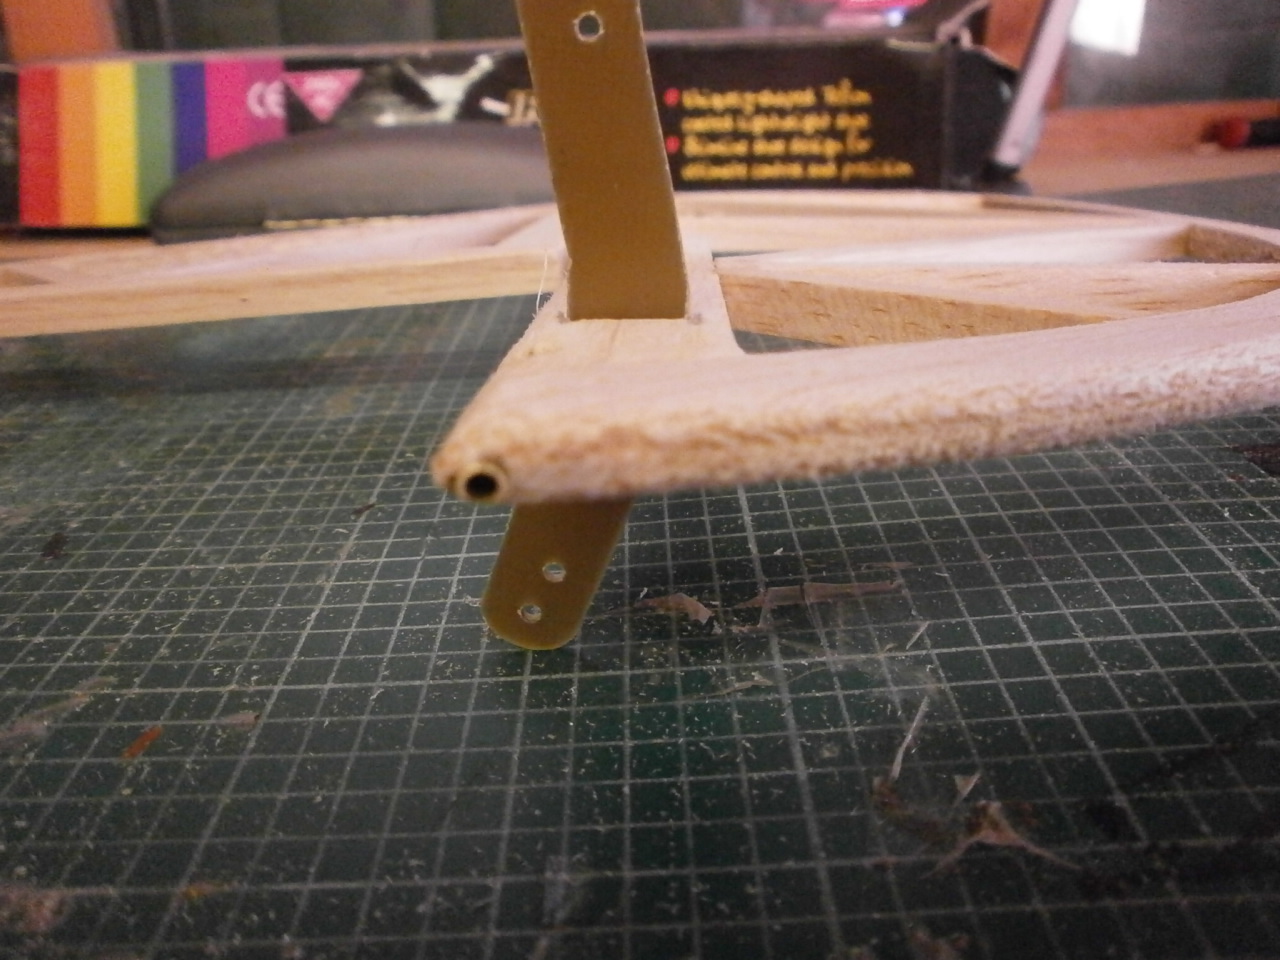
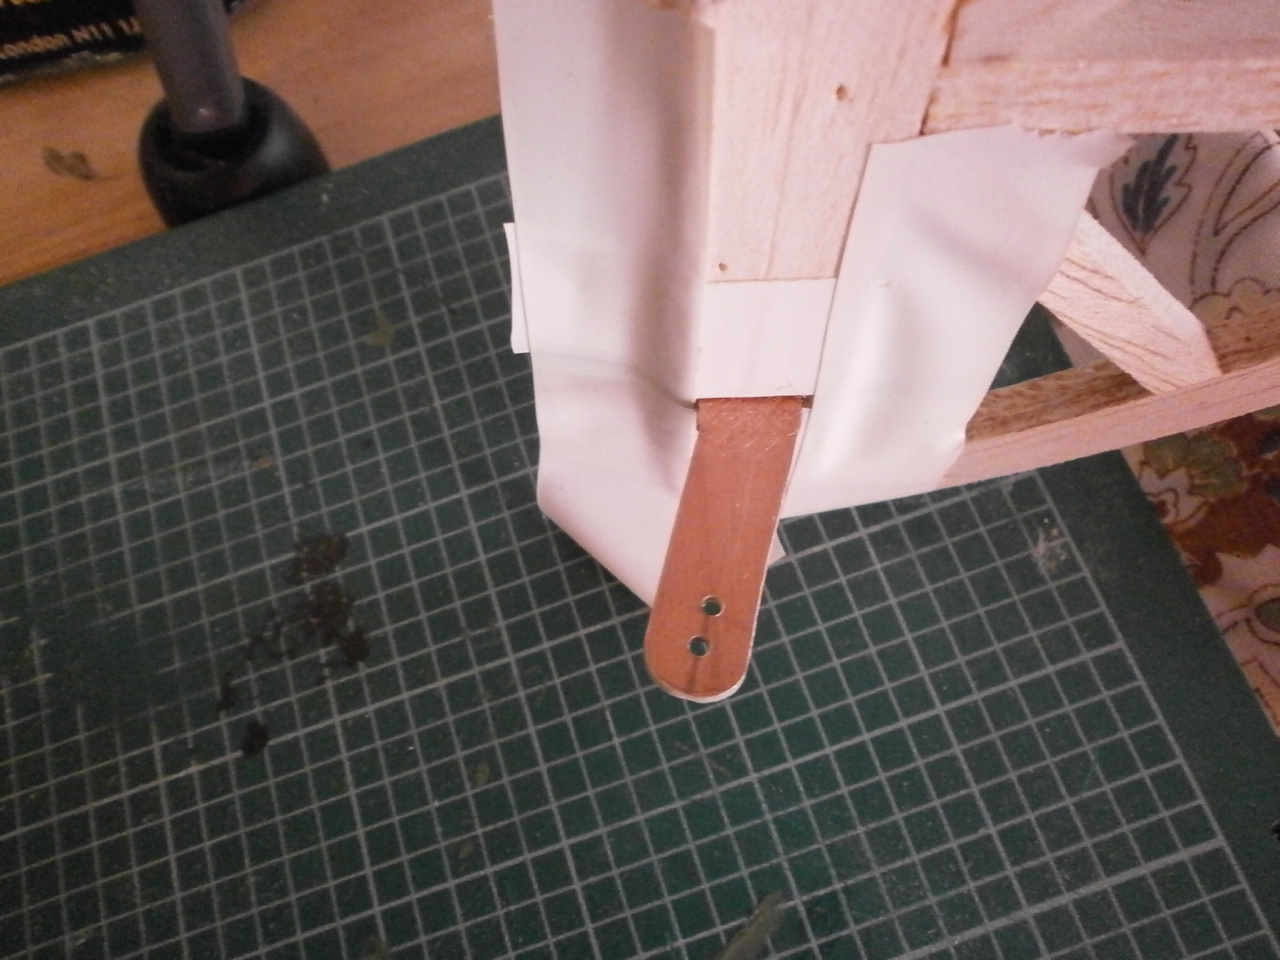
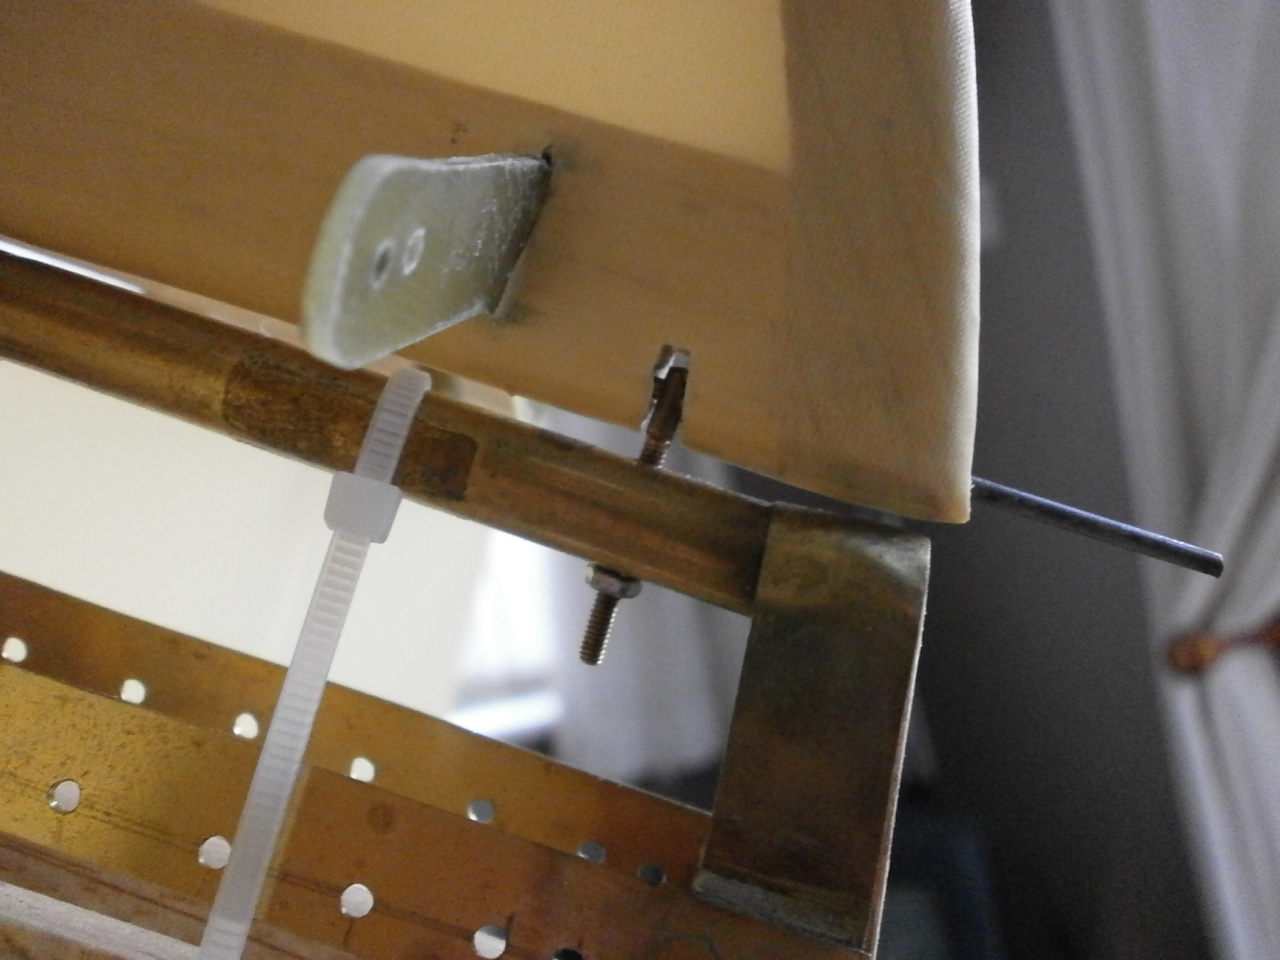
The last two pictures show the horn now glued into place with all the overspill removed leaving a neat installation and the rudder finally in position (more on rudder installation on Struts and linkages page)
 |
 |
Rudder construction video
Stabiliser
Construction
Wing Construction.
Aileron installation
Fuselage page
Struts &
Control Linkages
Engine installation
Sopwith page
Final Construction
Home page