|
|
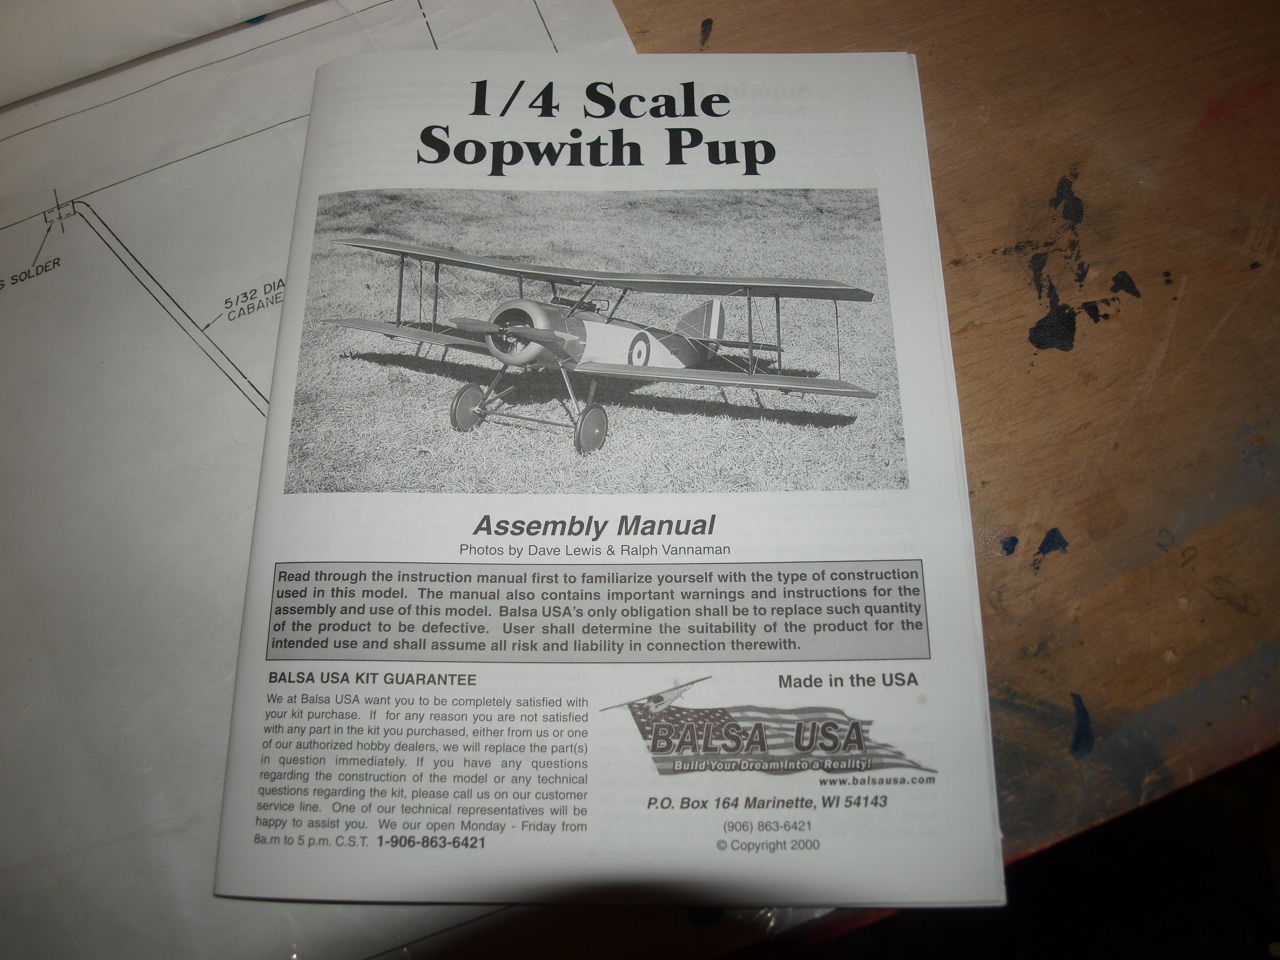
Stabiliser Construction
This Kit comes with an extensive assembly
manual taking you right through every stage of the building process. The
manual actually starts with the construction of the wings. I have decided, after
pre reading through the manual to skip starting with the wings and concentrate
on building the stabiliser.
The reason I have opted to do this is because it is relatively straight forward
to build and will allow me to get used to the plans and the assembly manuals
instructions.
|
|
Before I start I need to secure the plans to the building board and cover them with a sheet of clear plastic to protect them from any glue that may come into contact with them during the building process(picture1).
I also like to place a further piece of plastic (although not essential) over the project for when I've finished working on it to help reduce the damp when working during the winter months (picture 2)
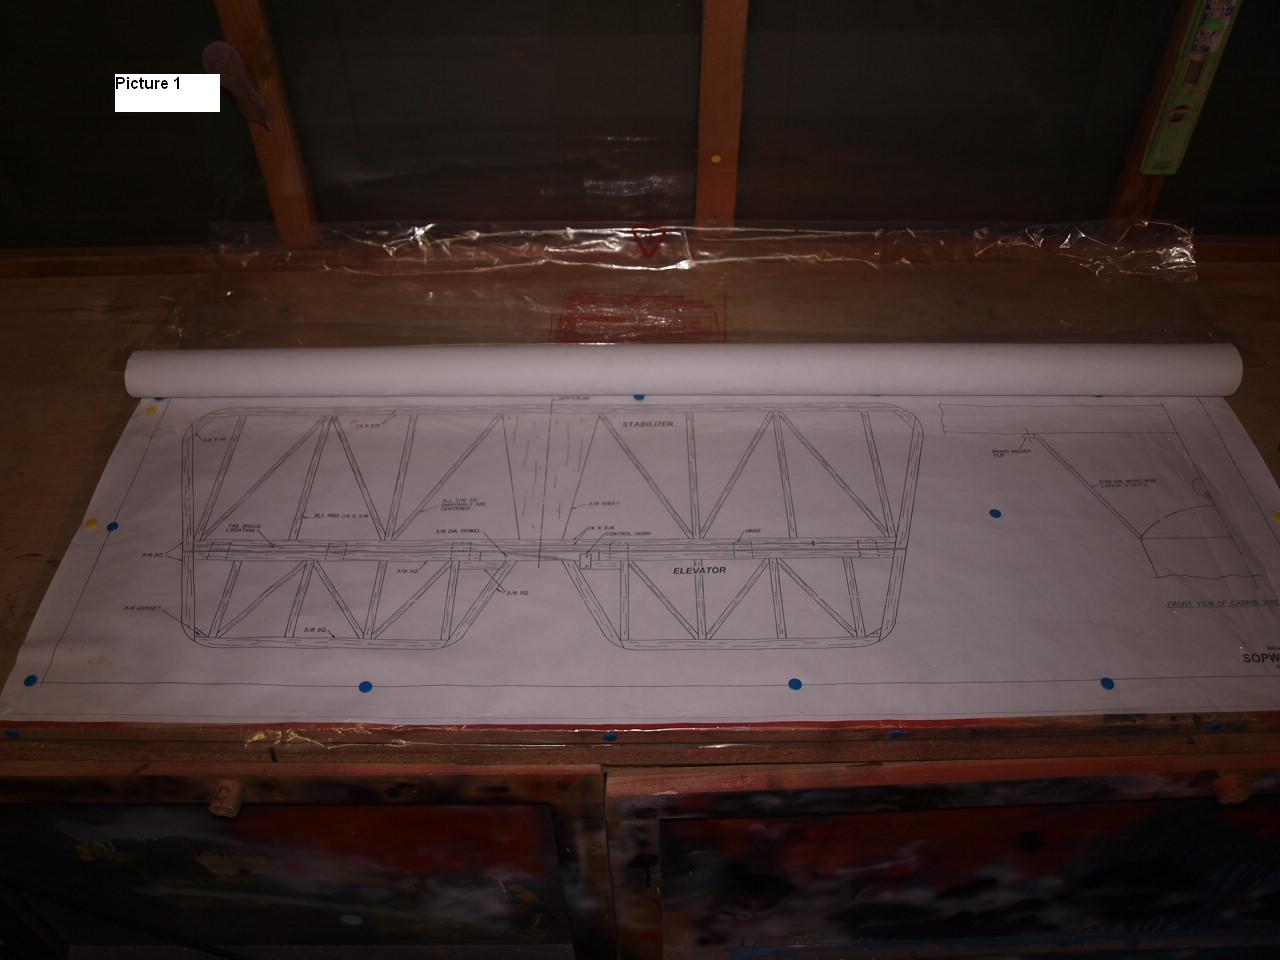 Picture 1 |
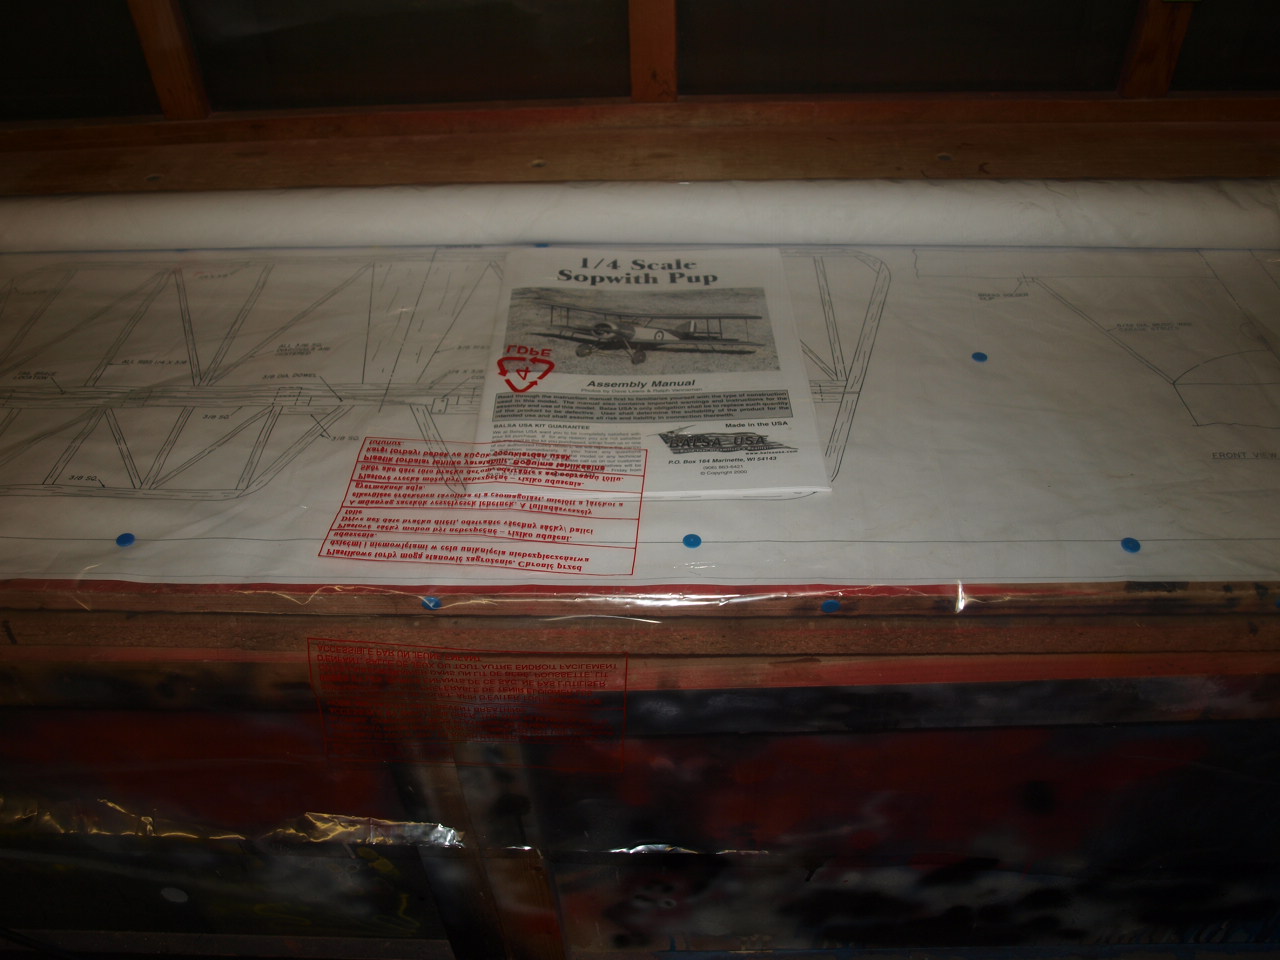 Picture 2 |
Once the plans are in place, we can start the
construction of the stabiliser.
Using both the plans and the instruction manual a selection of balsa wood is
gathered and cut to required sizes.
Also in the instructions it is required that I make up both the leading edge and
trailing edge of the stabiliser by laminate two pieces of 3/8 x 1/4 x 30
inch balsa.
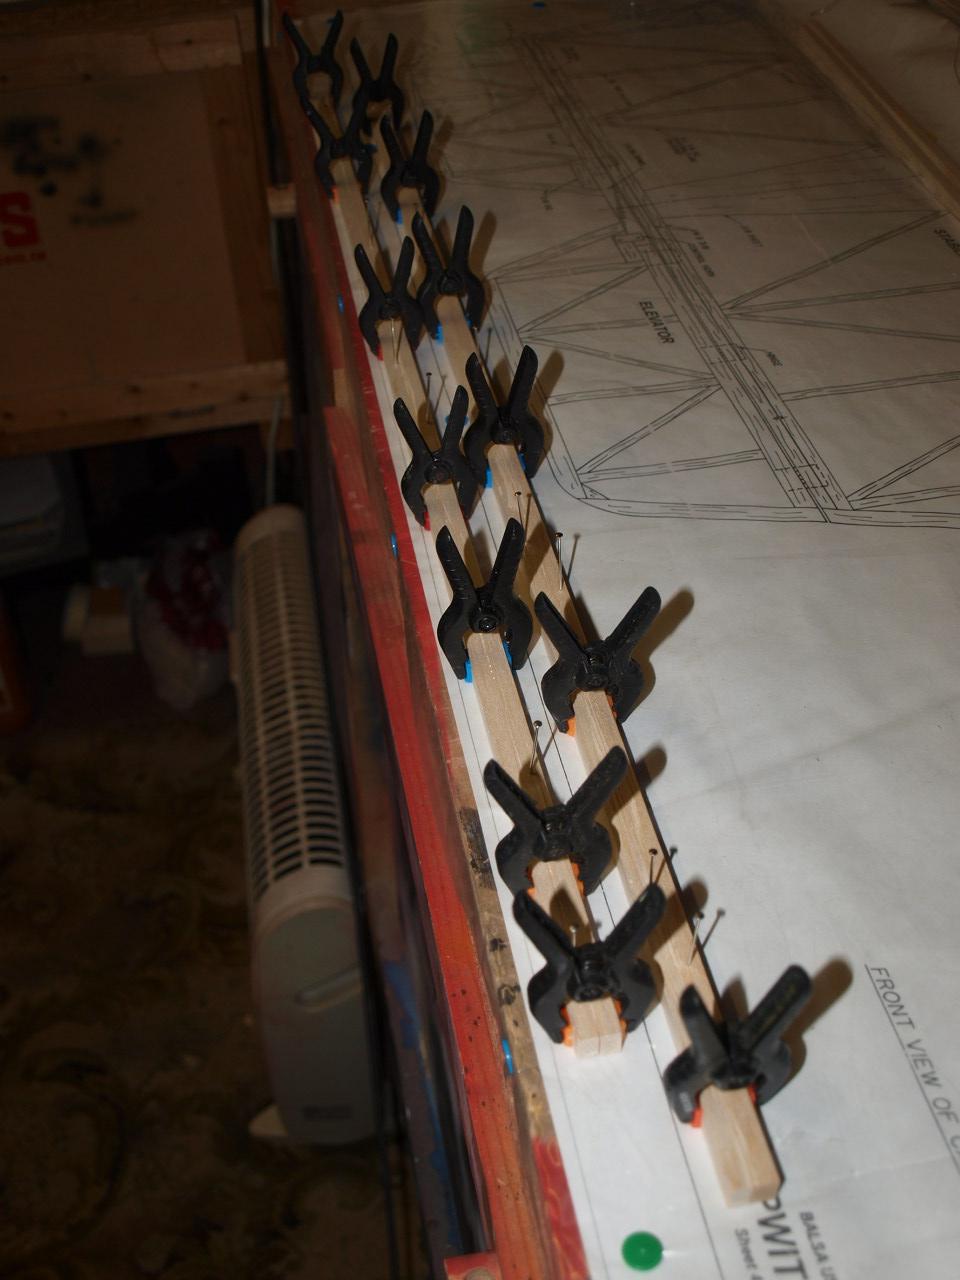
As you can see from the picture below this was carried out by running aliphatic
glue on one piece of balsa and then marrying up the other piece too
it, clamping and then pinning it to the building board ensuring it remains
square and true. Once these pieces are dry they are placed onto the plan in
their respective positions along with the remaining components that were cut to
size earlier and glued into place over the plan and left to cure.
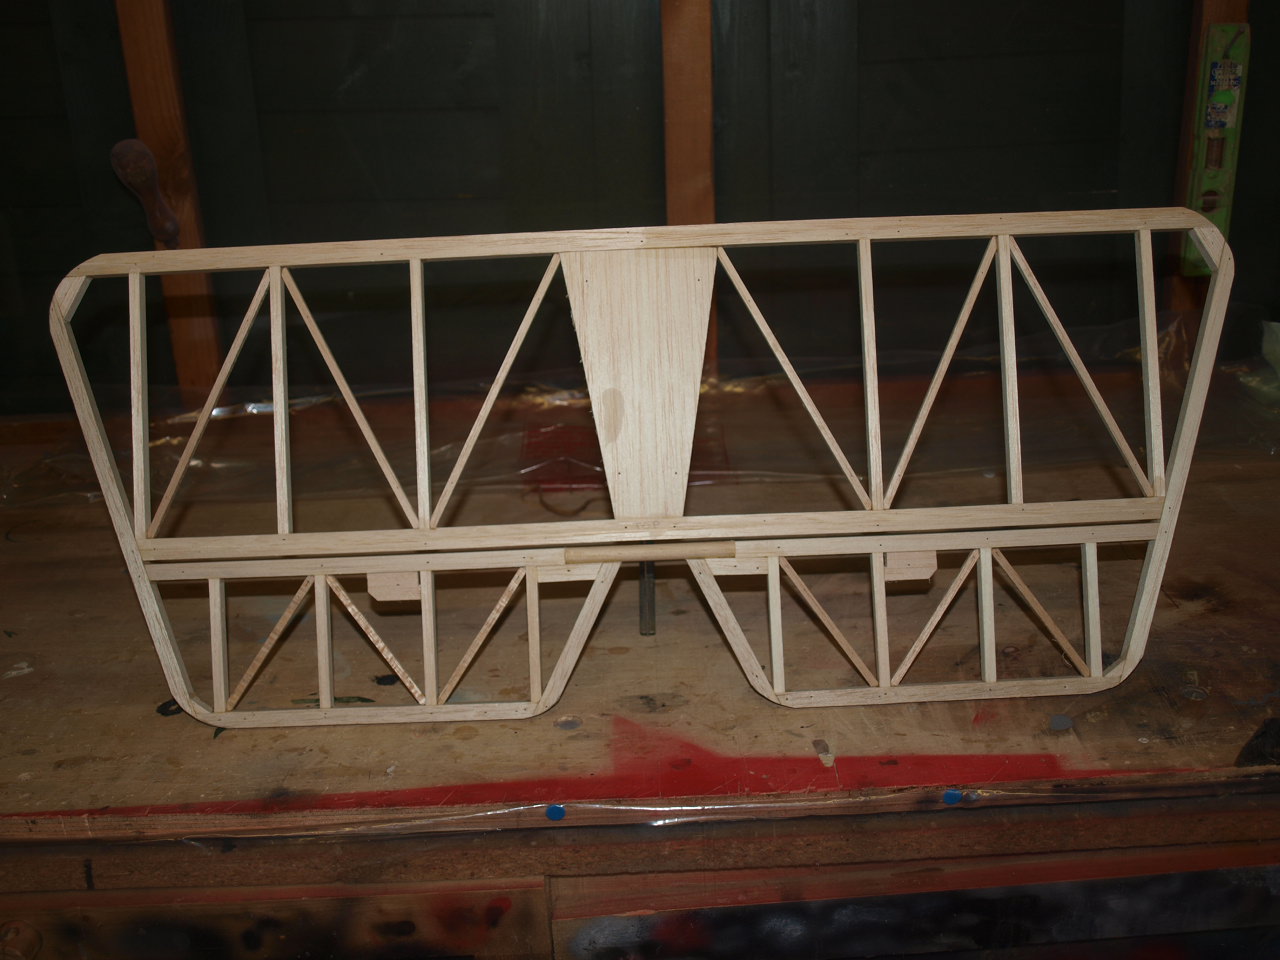
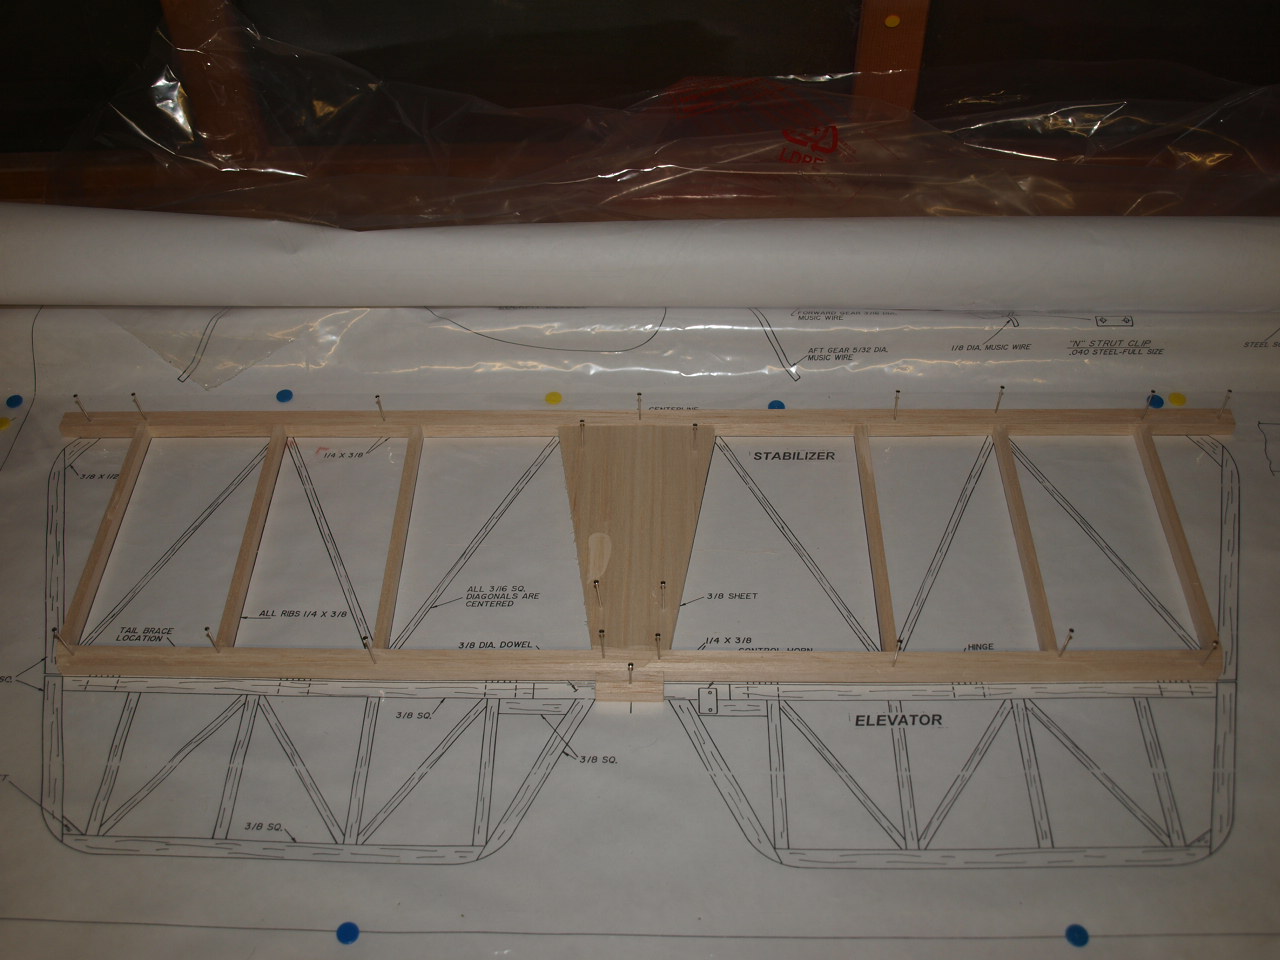
The next picture shows the basic frame in place ready to receive the diagonal braces and the other components that make up the remainder of the stabiliser.
 |
 |
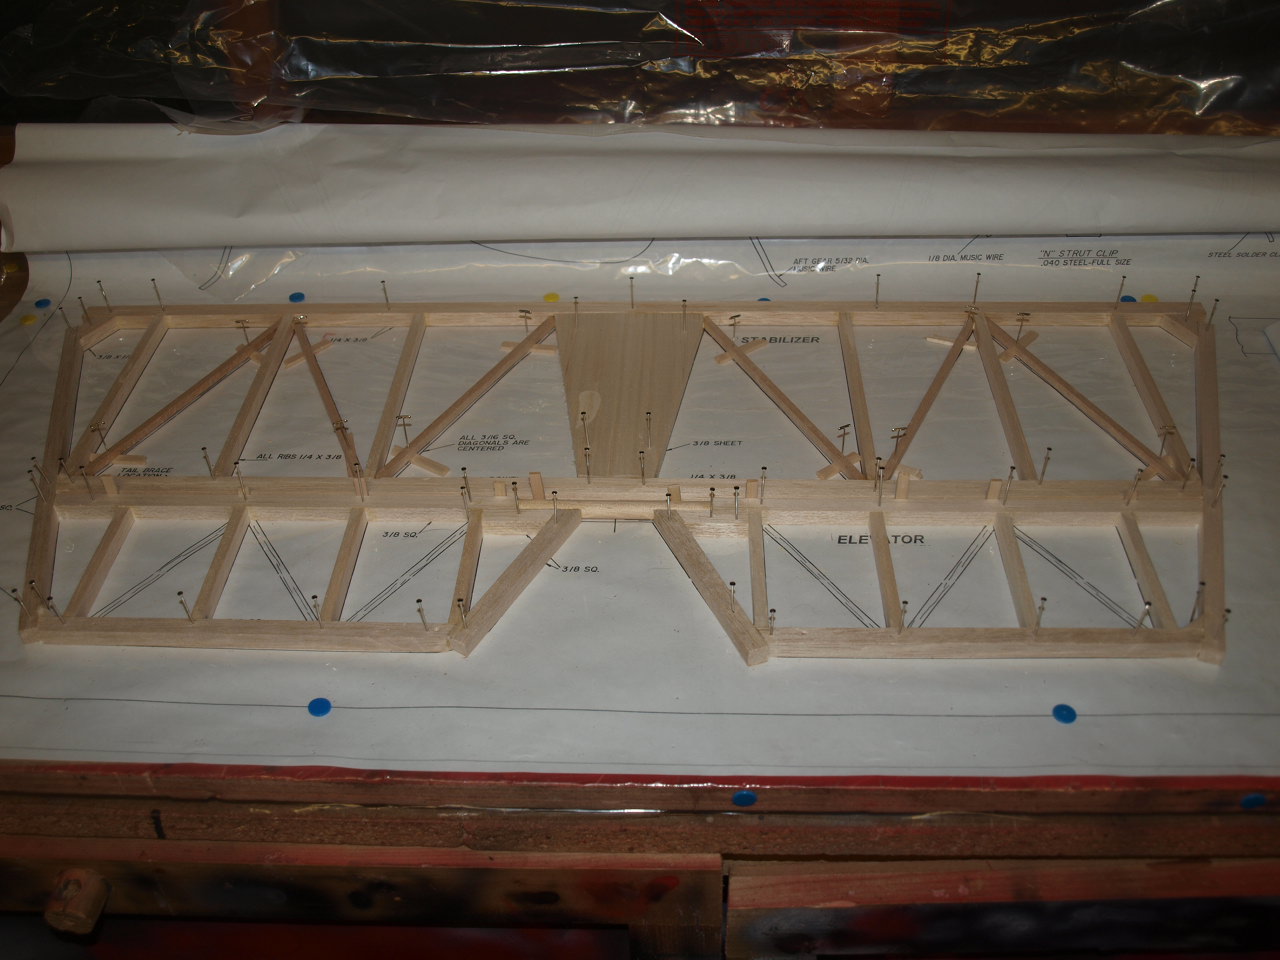
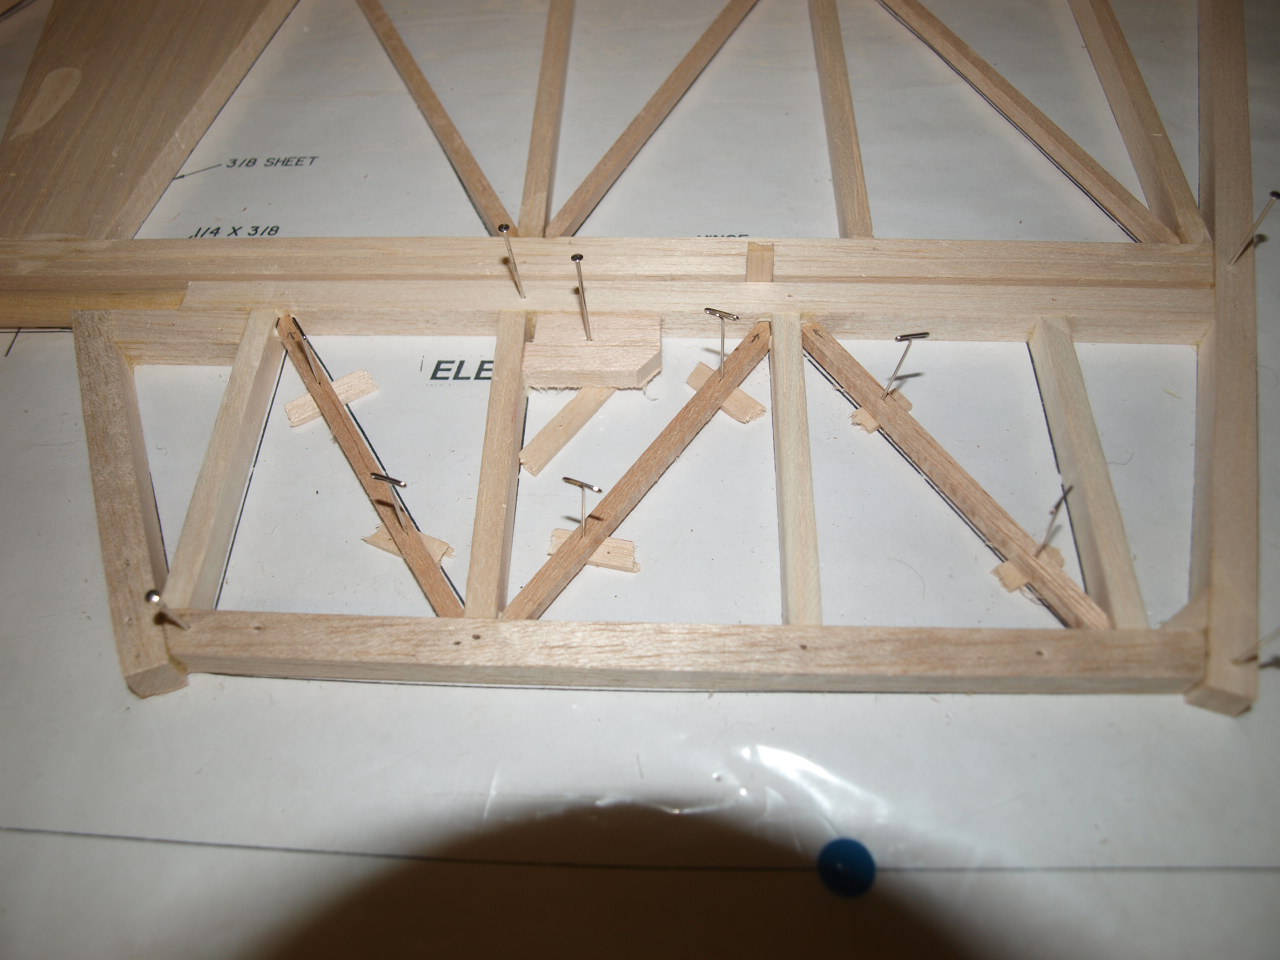
The next picture below shows the stabiliser with the diagonal braces now in place. These where cut from 3/16 SQ balsa and have to have angles to differing angles cut on them at each end . To ensure the angles where marked out correctly prior to cutting I gently lifted the main frame off the building board, but with the pins still in place just enough to slide the 3/16 SQ under into their required positions. Then pushed the frame back down onto the 3/16 SQ and marked the angles each end ready for cutting. This process was carried out for each brace giving me a perfect fit each time. The second picture shows a close-up of the stabiliser and nearly completed elevator which just needs to have the diagonal braces added. Note that the ends of the stabiliser and elevator are currently one piece. They will be separated later in this project once the sanding to shape has been carried out.
 |
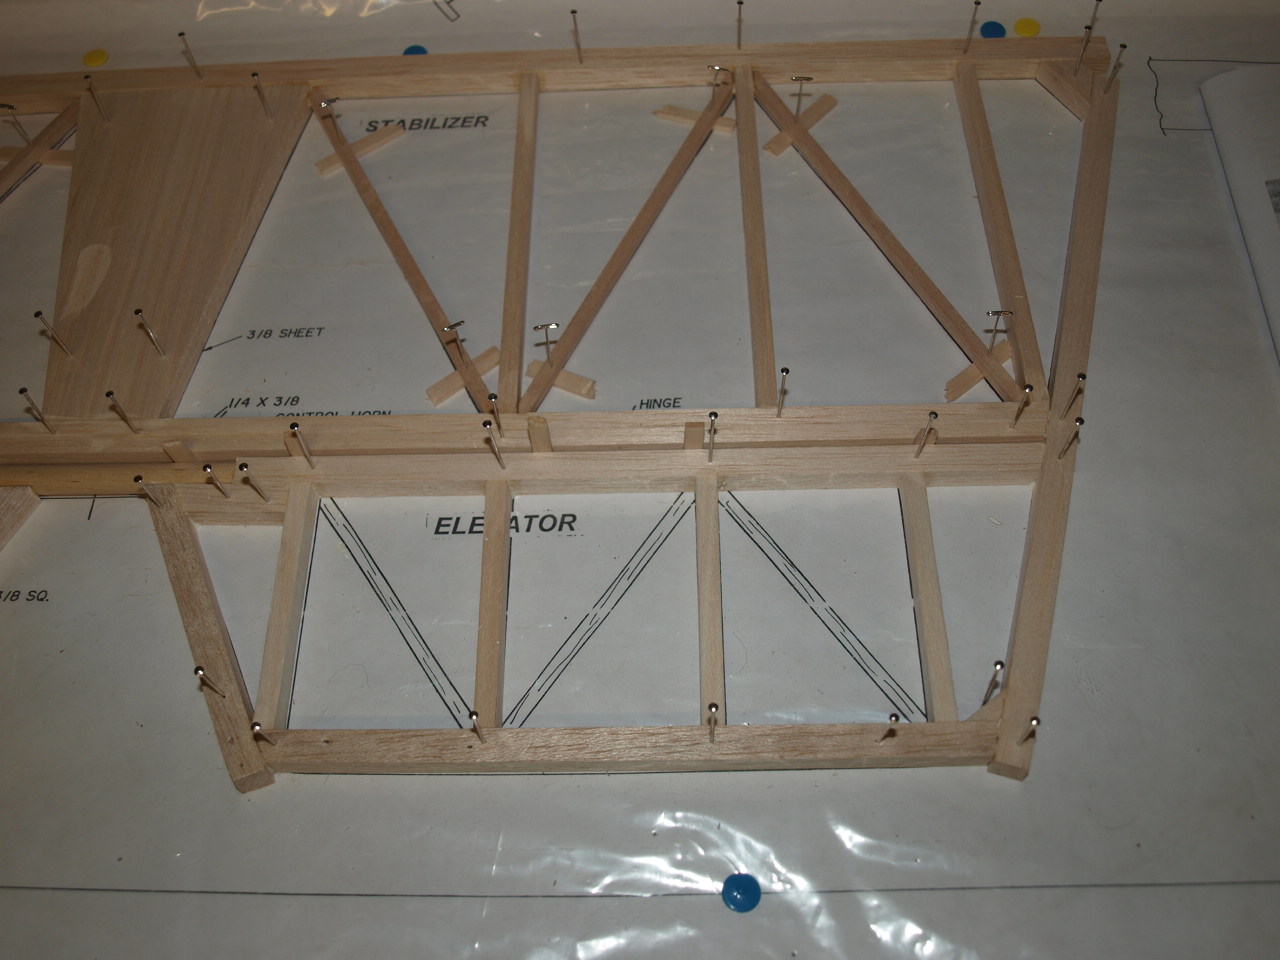 |
The picture below on the left shows the elevator and diagonal braces now in place. Note also the small notched balsa block that has been placed on the third rib in from the outside edge of the stabiliser. This is not per the plan or instructions. This has been added to allow me set up a closed loop system as per the full size aircraft. The location of this horn mounting is also in the same position as the full size as I want to keep the model as true as possible in detail to the original. The kit setup uses a push rod system that runs through the fuselage which is not scale .
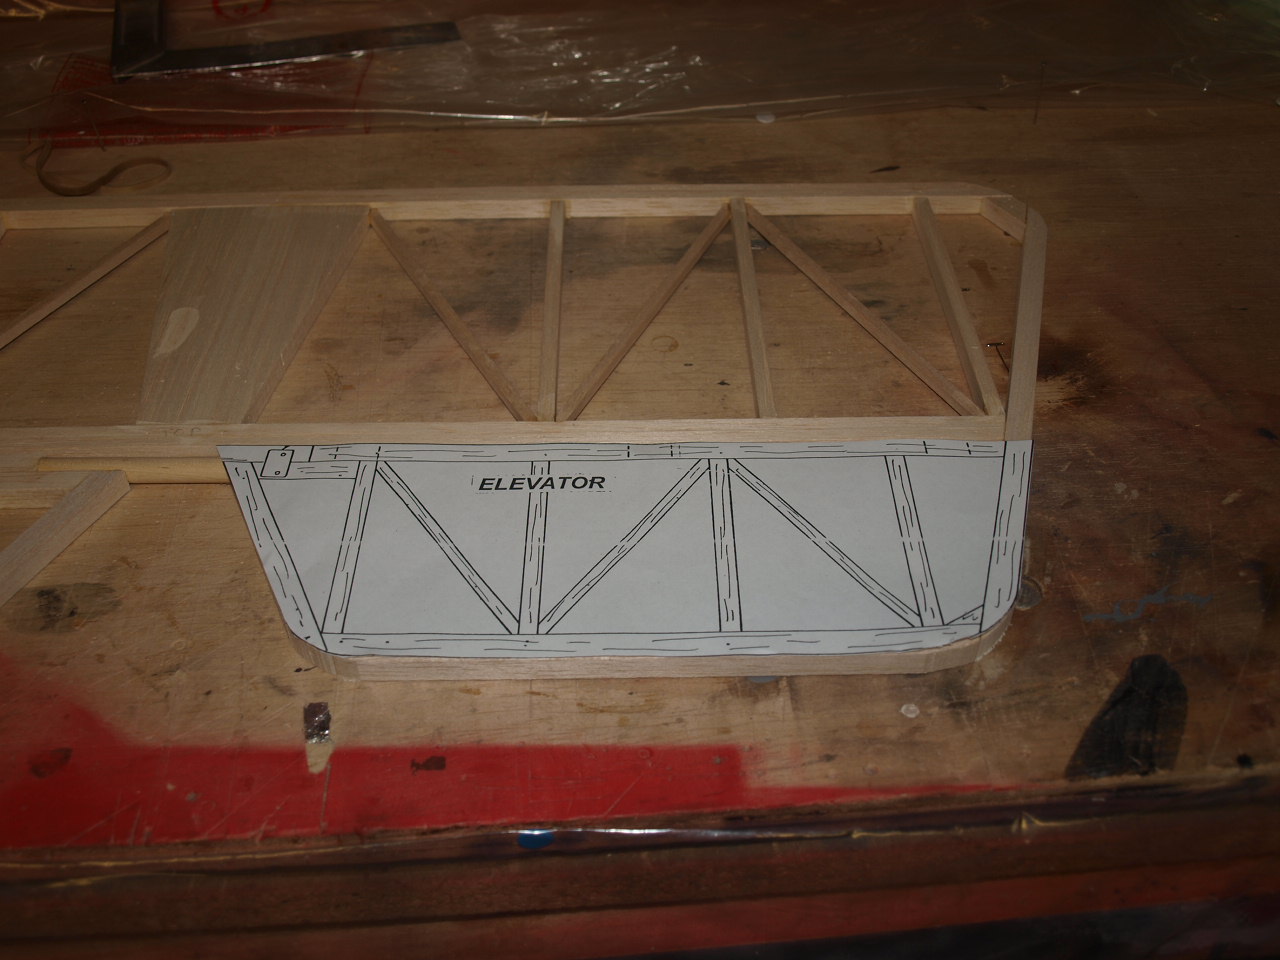
The next picture shows a photo copy of the plan cut out to make template so that I could accurately mark out the curves of both the stabiliser and the elevator. Once marked in pencil the whole structure was taken to a small band saw and the curves cut out using a very fine saw blade.
 |
 |
The final picture below shows the now contoured stabiliser and elevator ready for sanding which will be carried out at a later stage.
|
|
Sopwith Page
Rudder Construction
Wing Construction
Aileron installation
Fuselage page
Struts & Control Linkages
Engine installation
Final Construction
Home Page
Stabiliser construction video part 1
Stabiliser construction video part 2
Stabiliser construction video part 3