AILERONS
We are at the final stages of completing the model airframe now and my attention has been drawn to the ailerons.
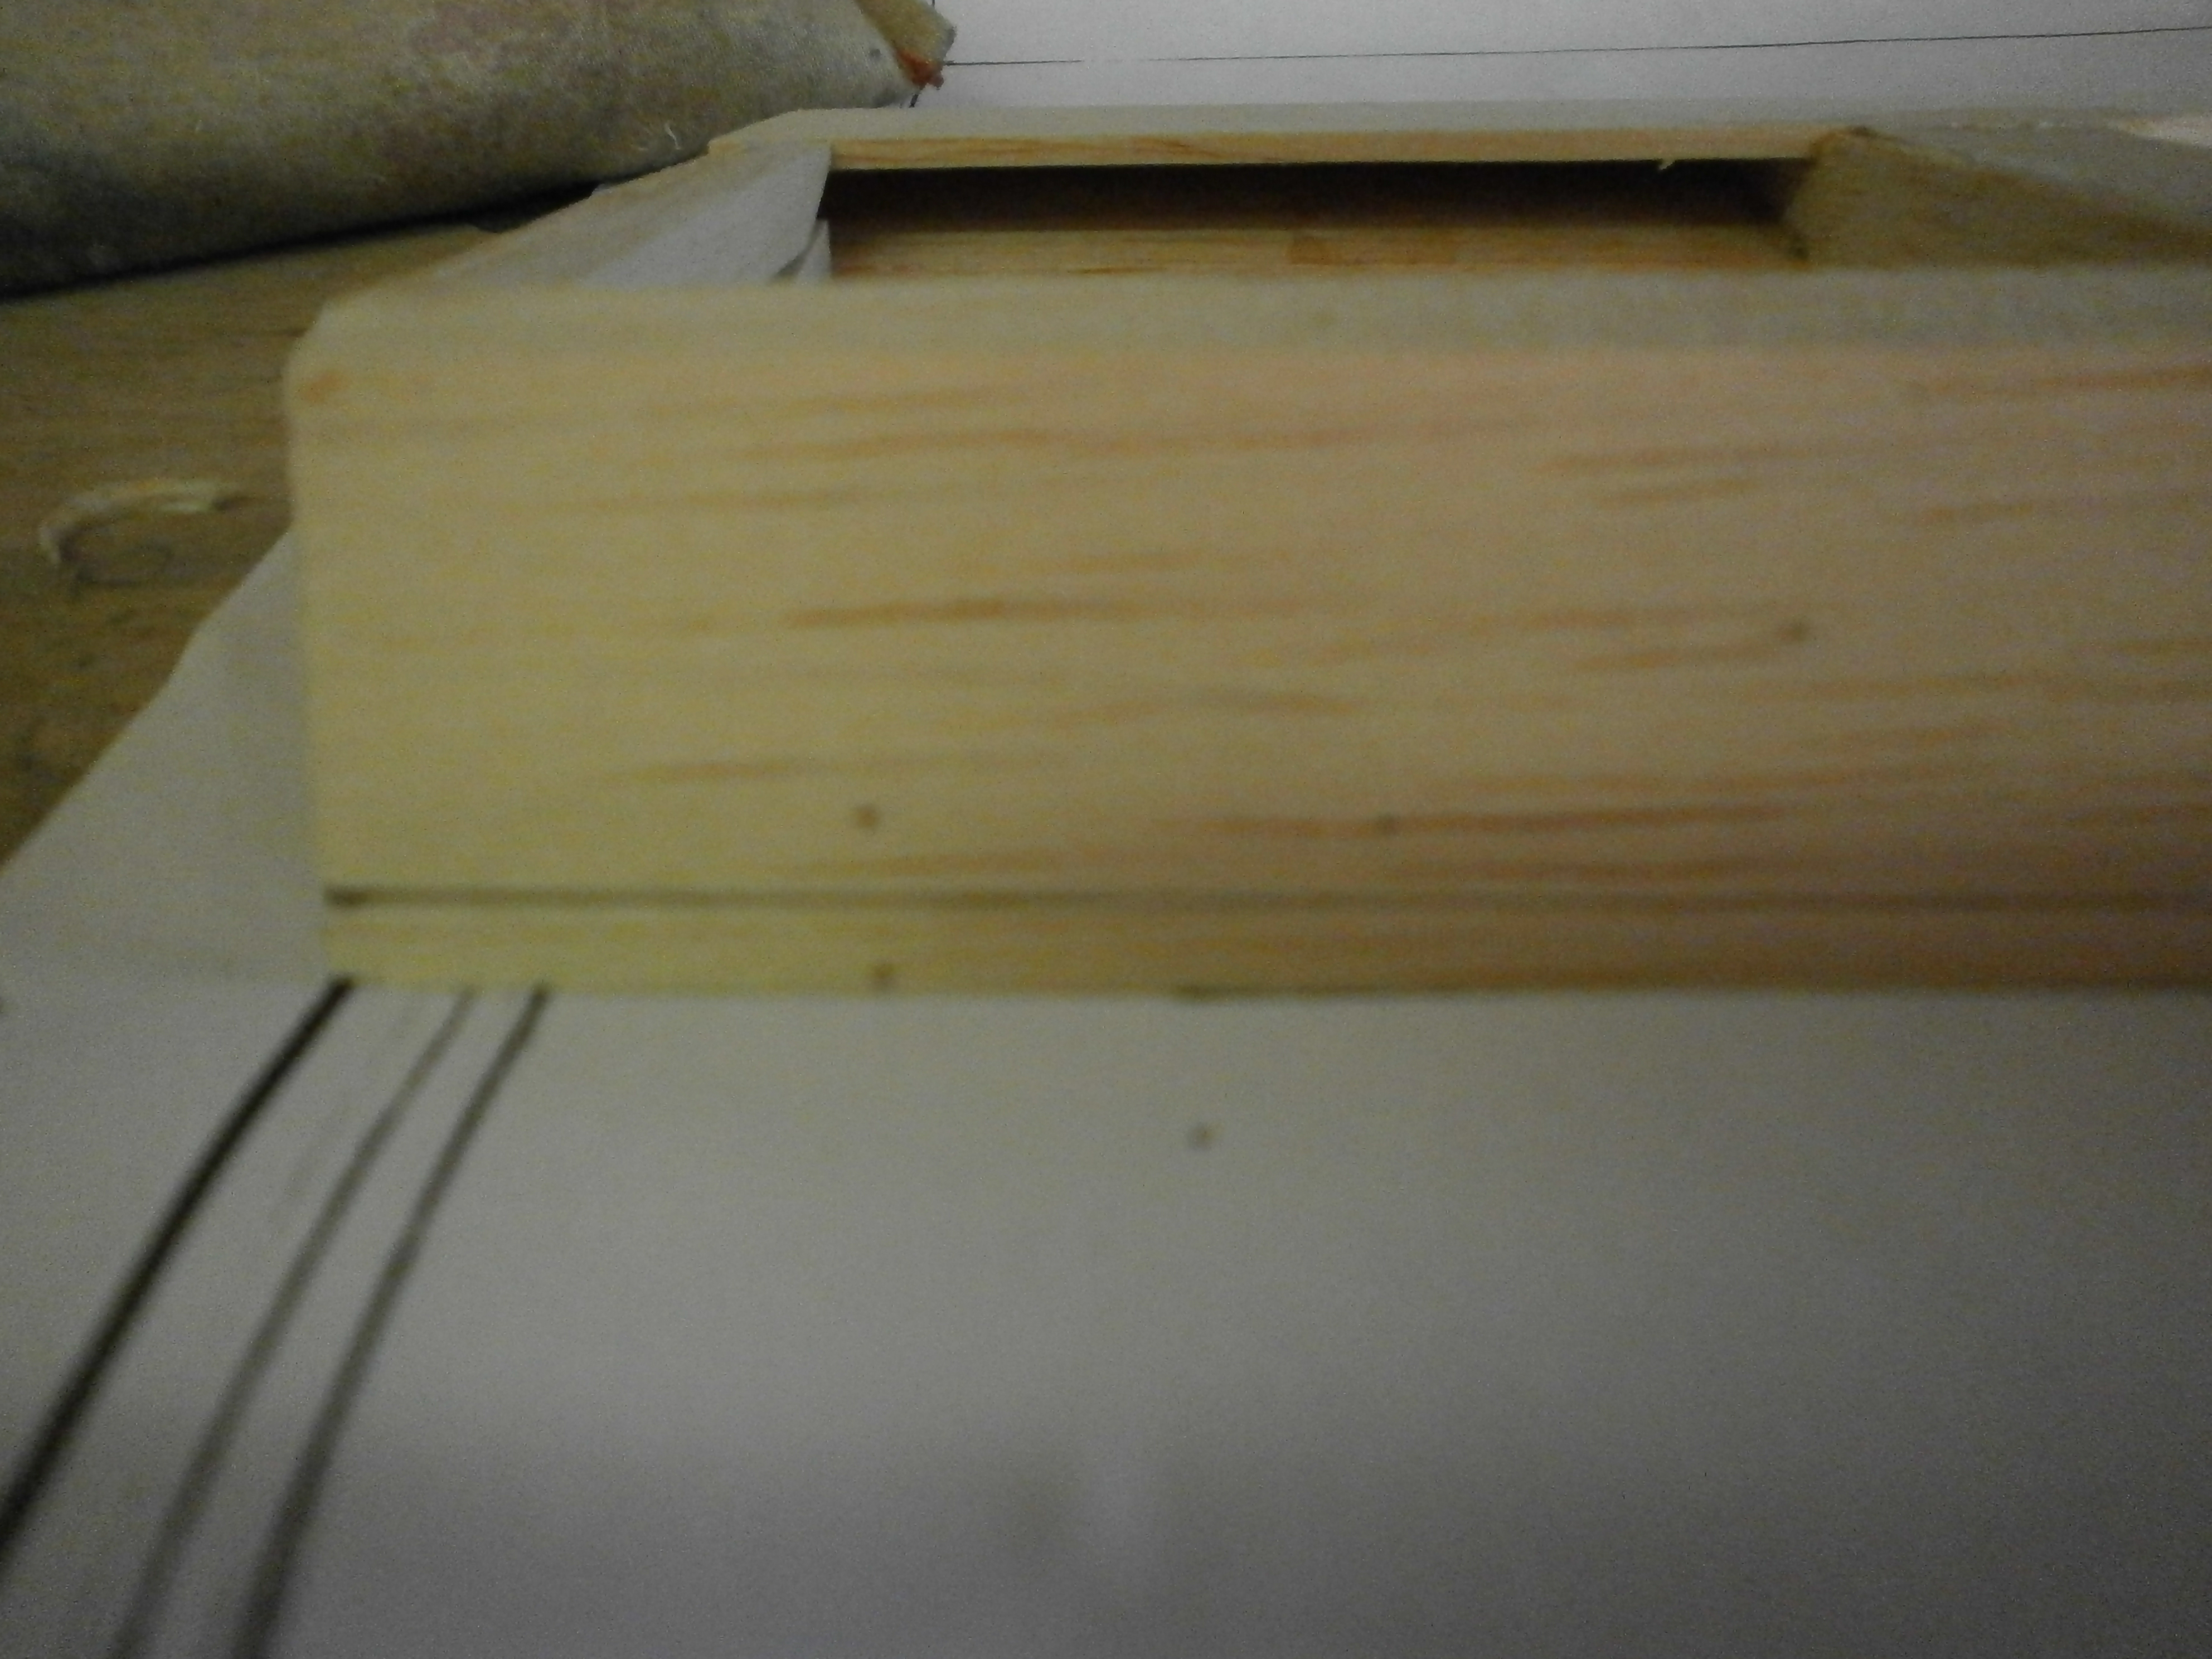
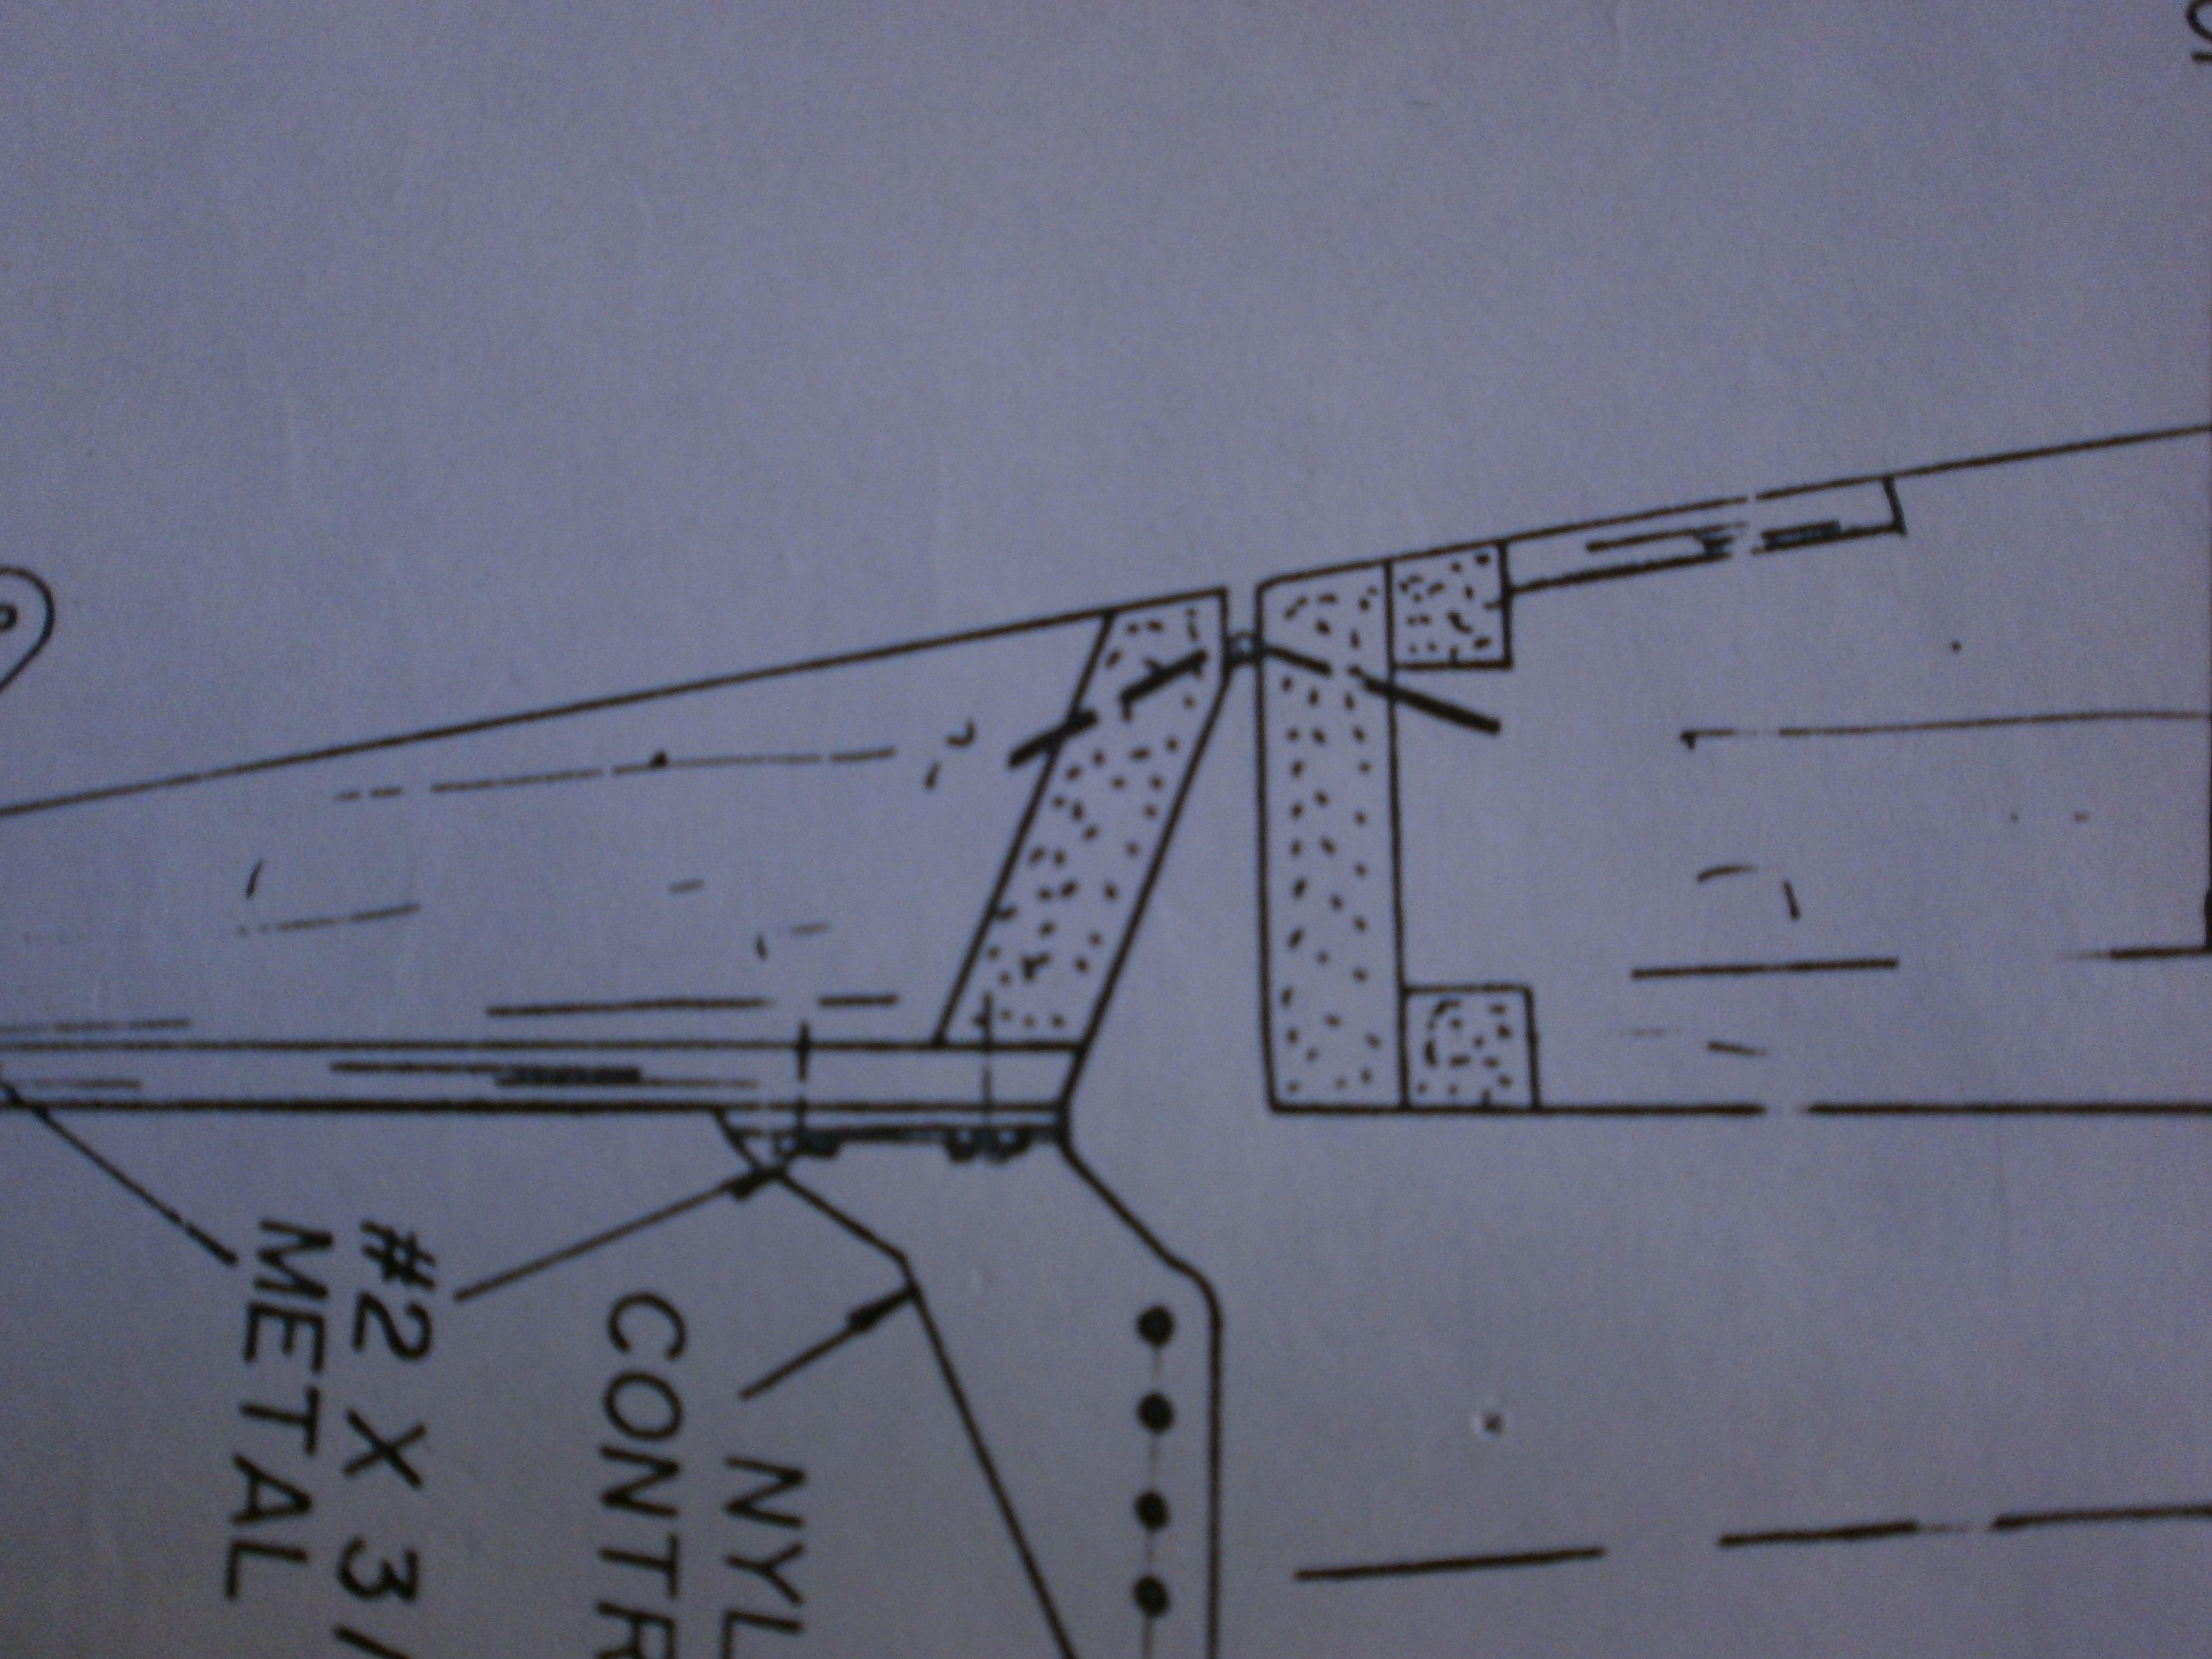
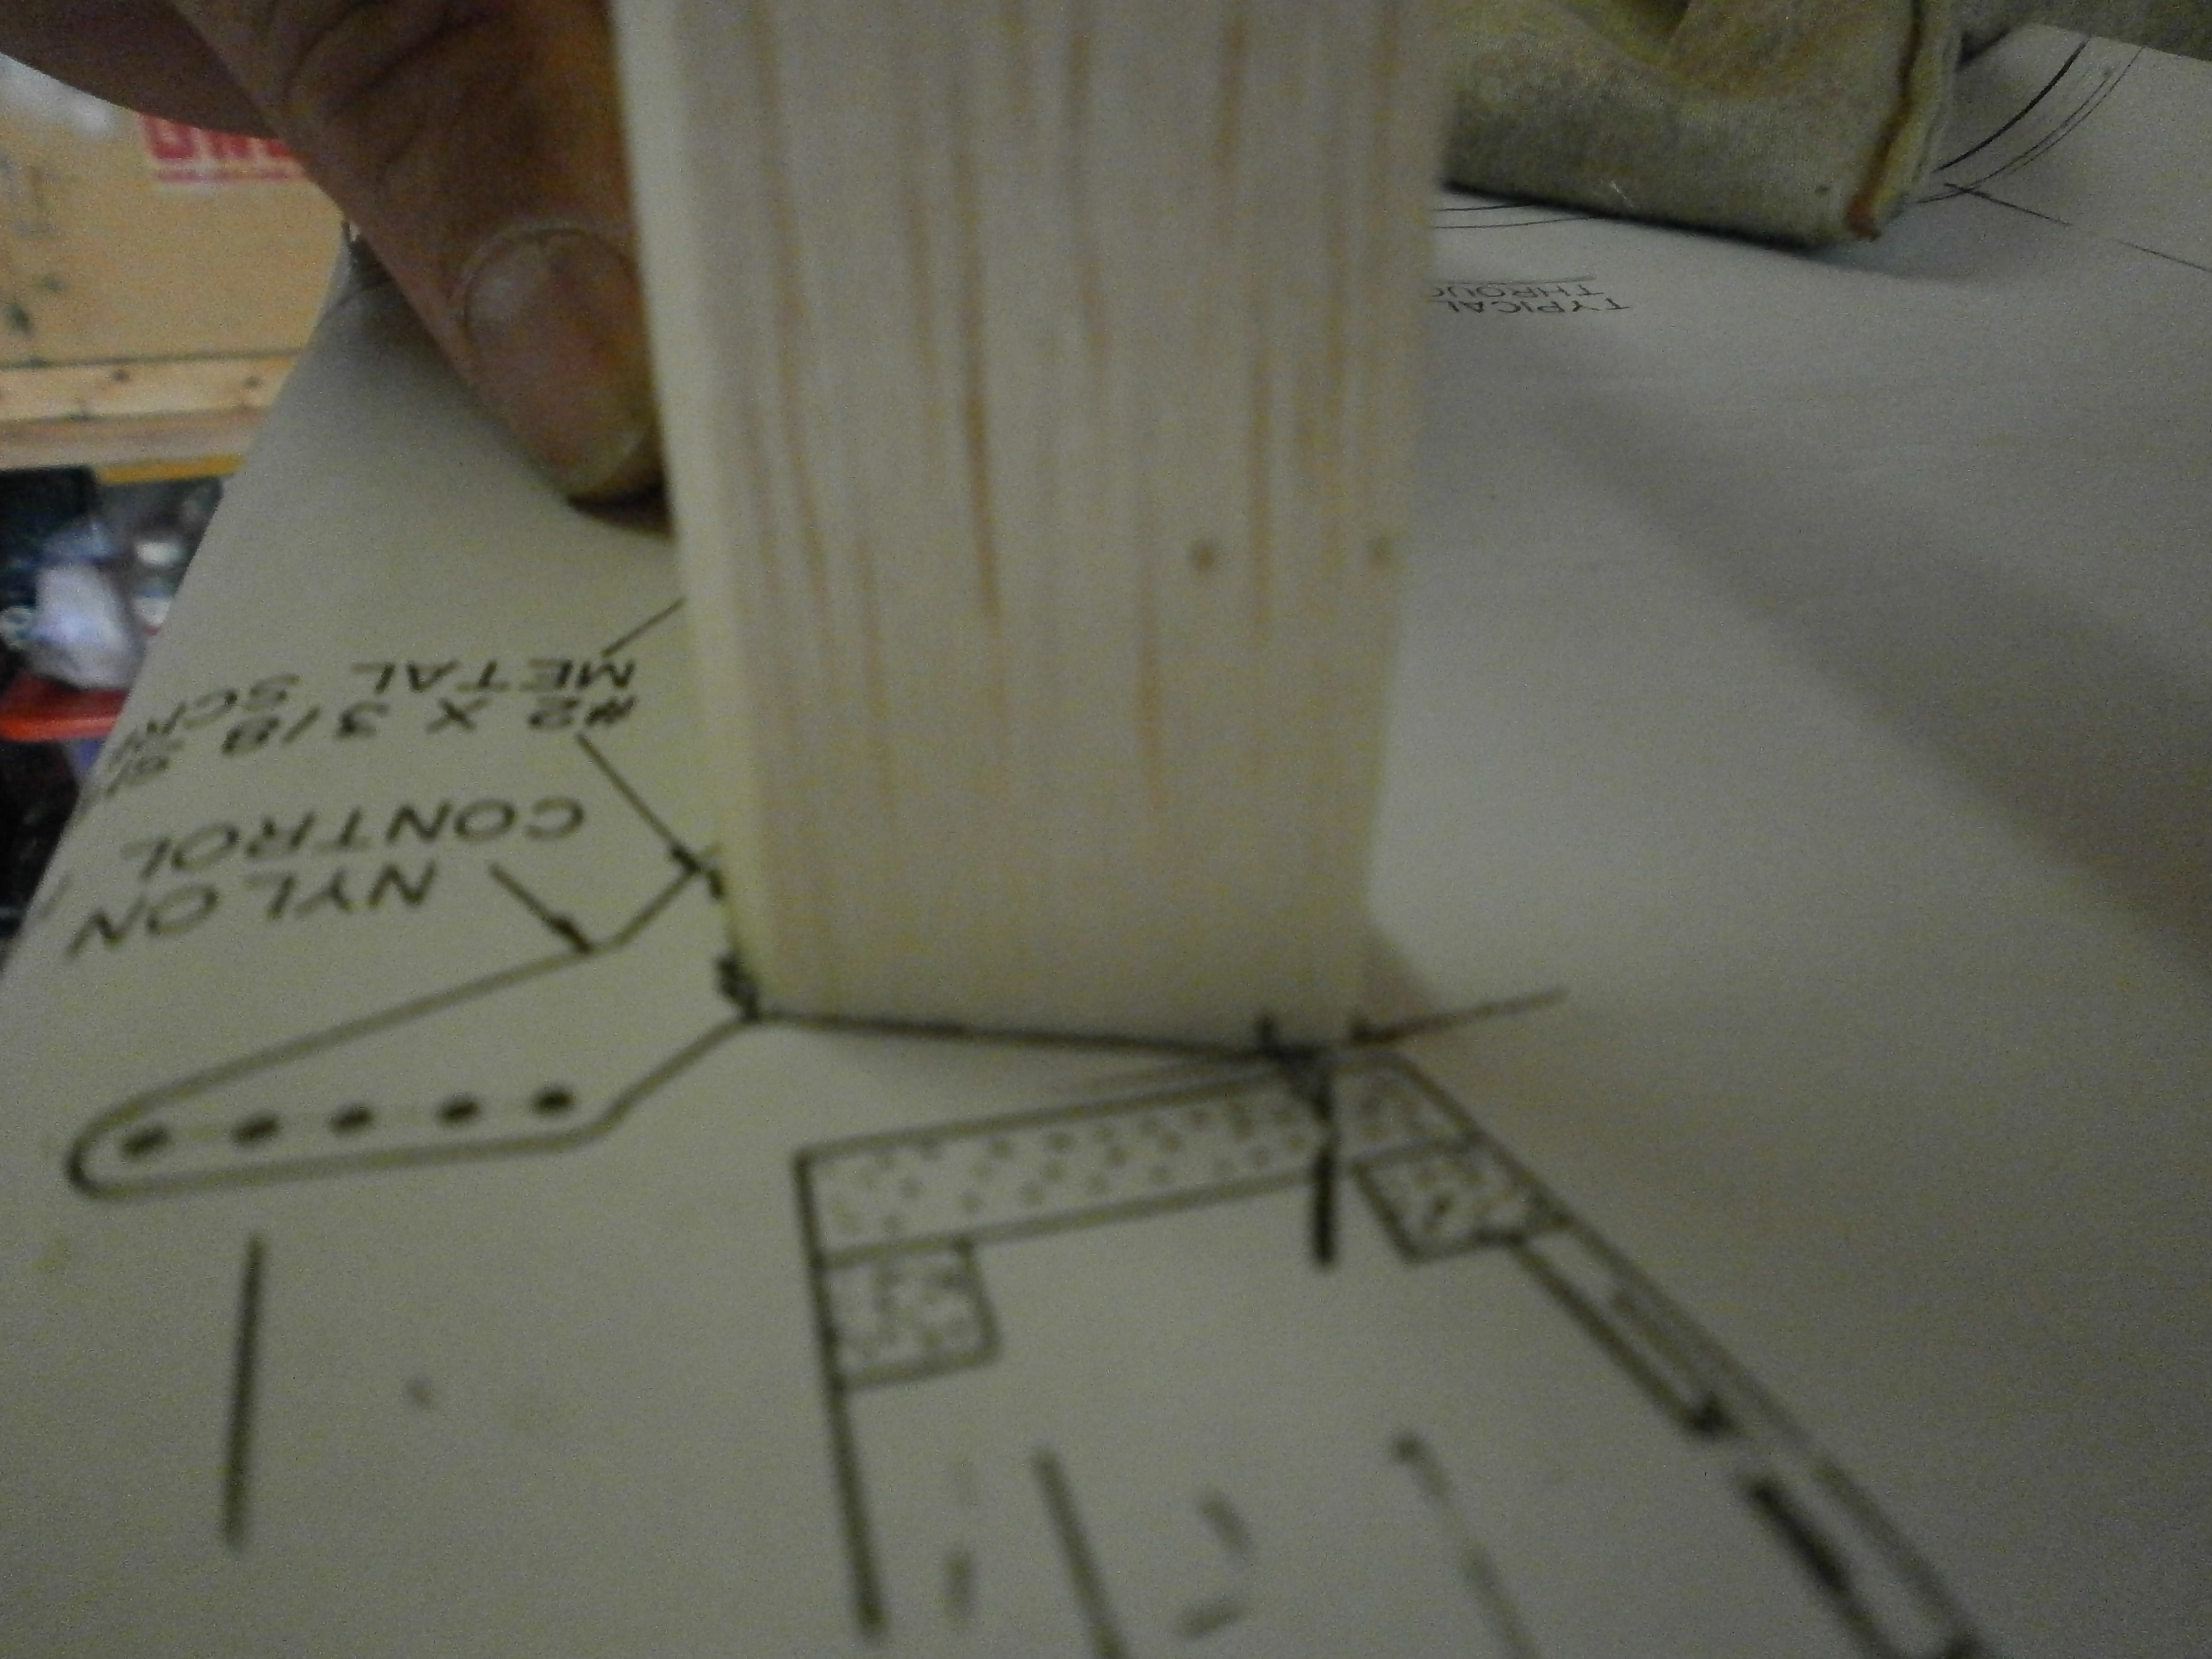
The first thing here is to select the right ailerons for the individual wings. If you remember I marked each aileron with a corresponding mark on the wing to avoid any confusion when we reached this stage. The first picture below shows a cross section of the wing and aileron. You will notice that the top of the leading edge of the aileron has a vertical lip which has to be introduced. This is transferred to each aileron by first offering the aileron to the plan and marking with a pencil down from the top to where the vertical will finish. see picture 2 below
|
|
|
This mark is then measured and a pencil line run
horizontally along the length of the aileron. See picture 1 below
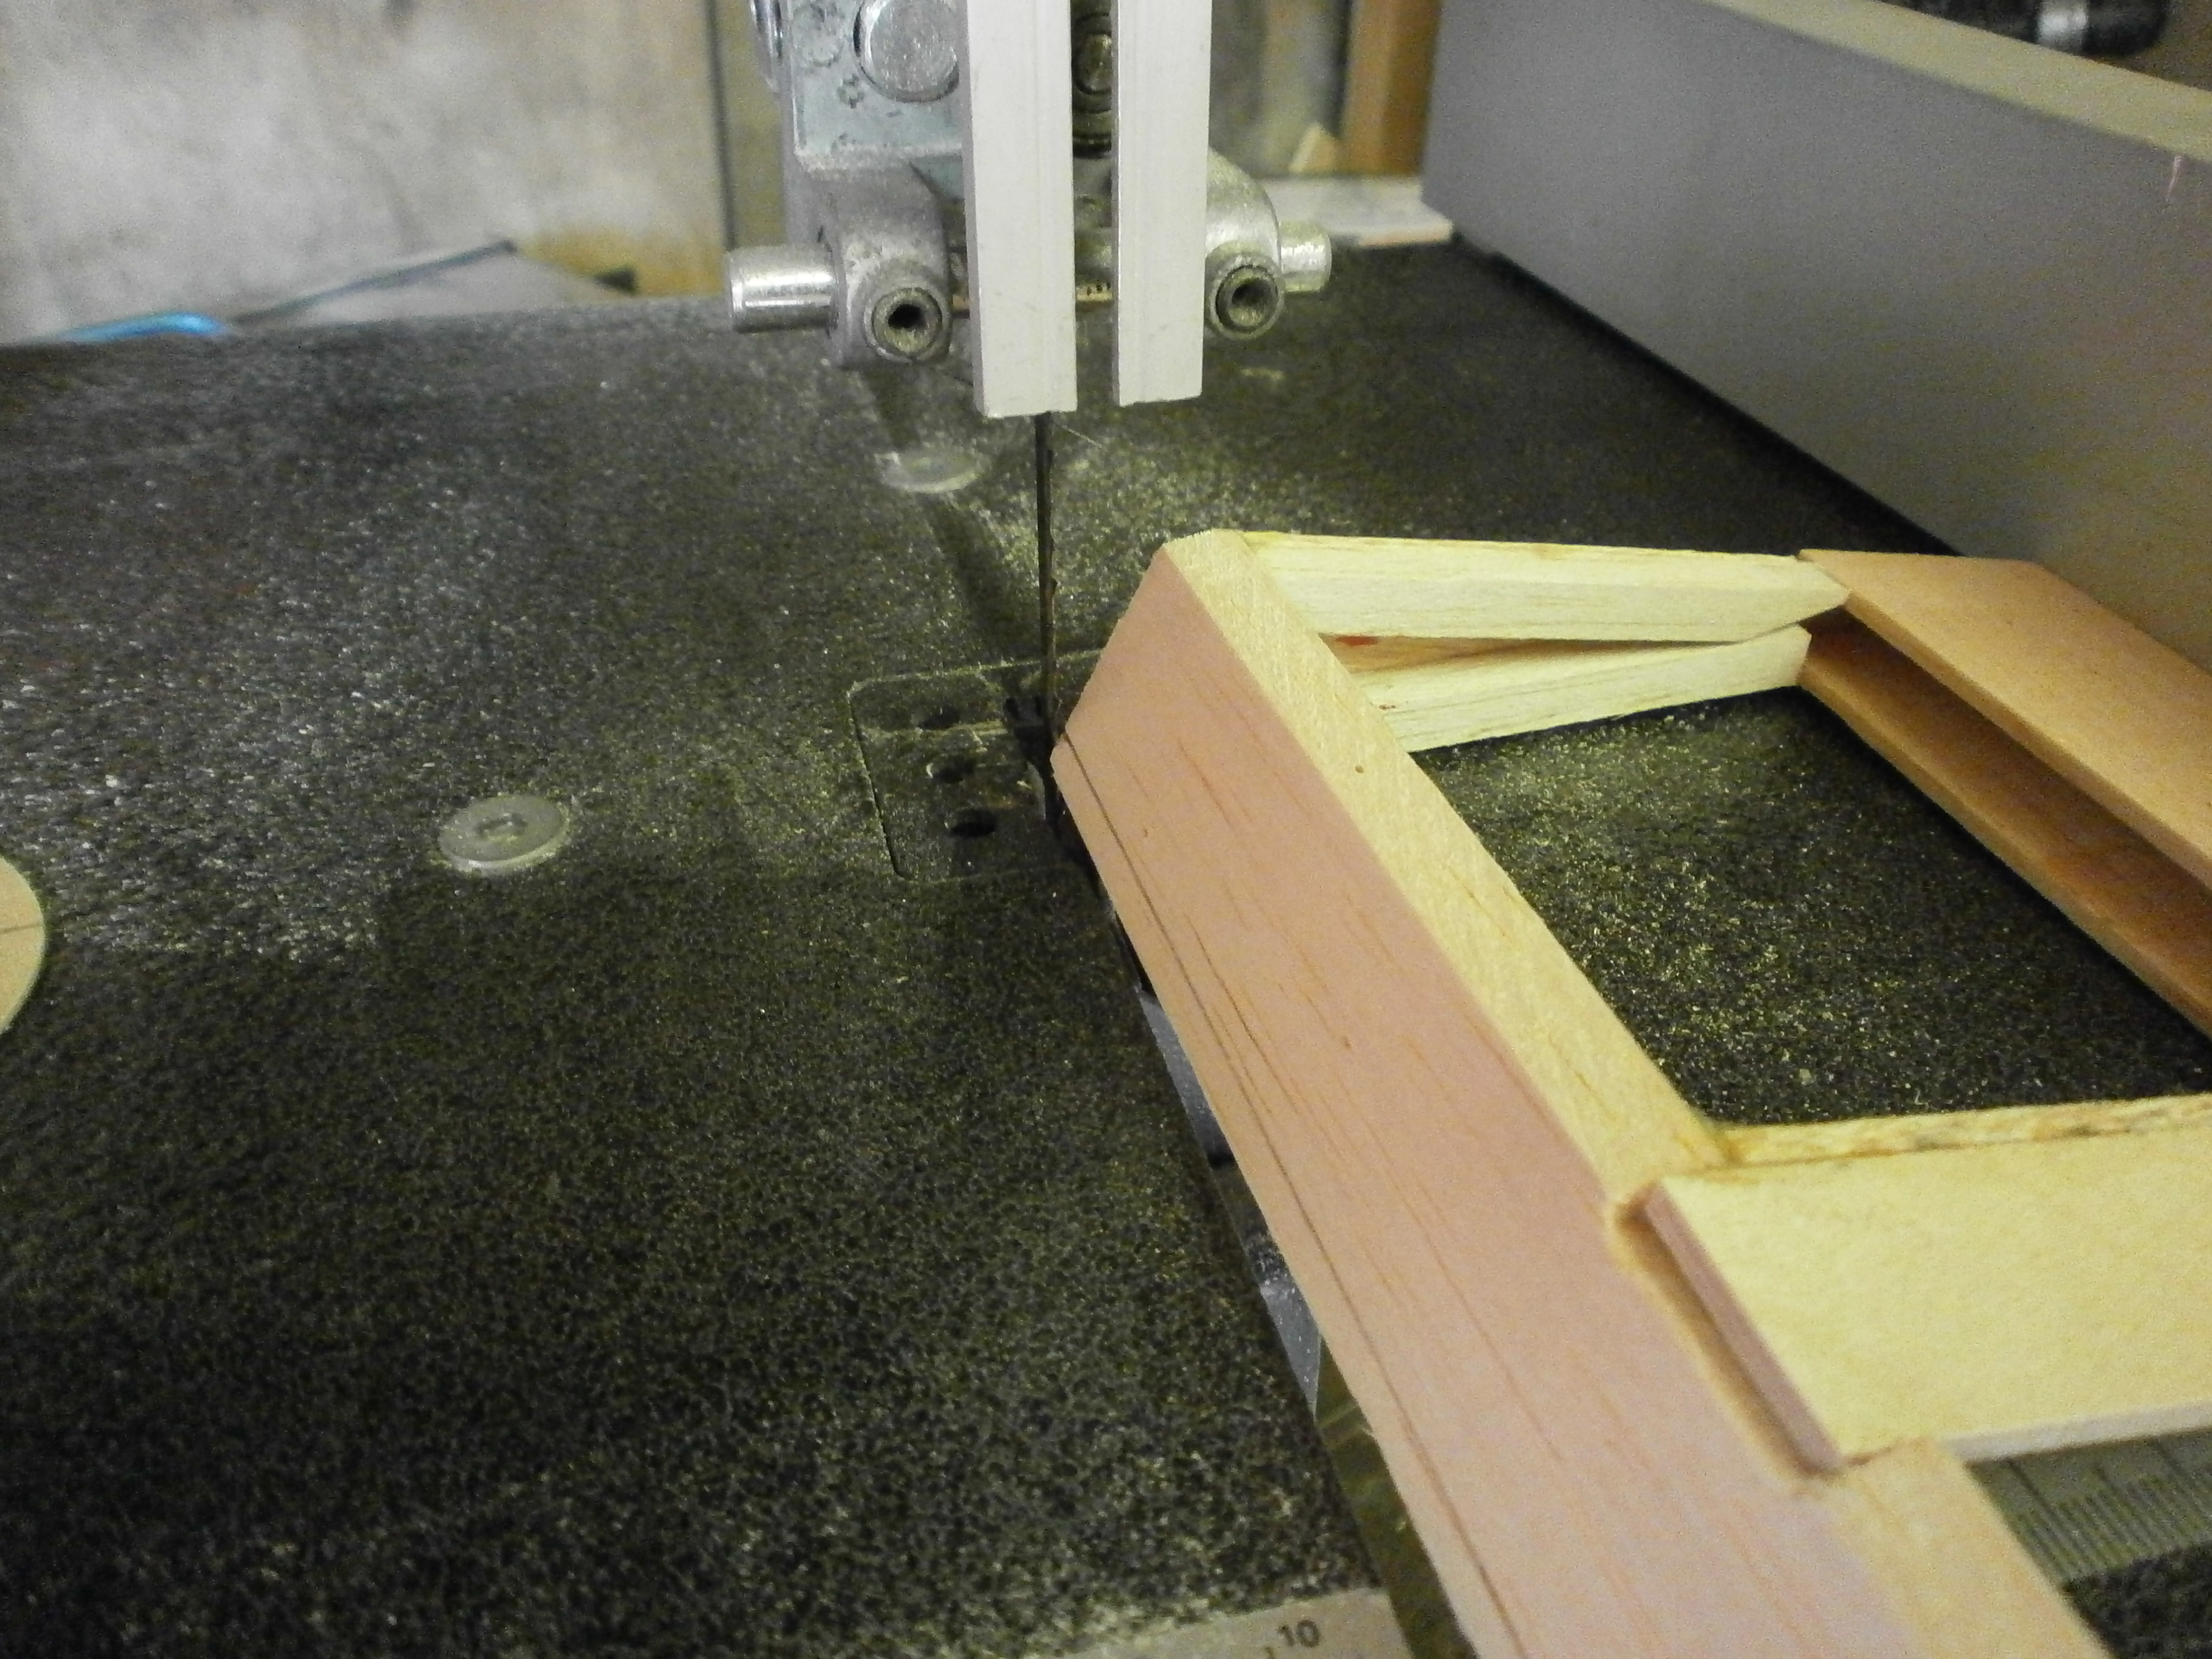
The aileron is then transferred over to a band saw set up to just take the wood
away to our marked line. See picture 2 below
|
|
|
Once this has been carried out the aileron can now have its hinges installed. This operation was carried out as the elevator hinges ,except that as per the plan above the hinges are set in at an angle. See pic 1 below
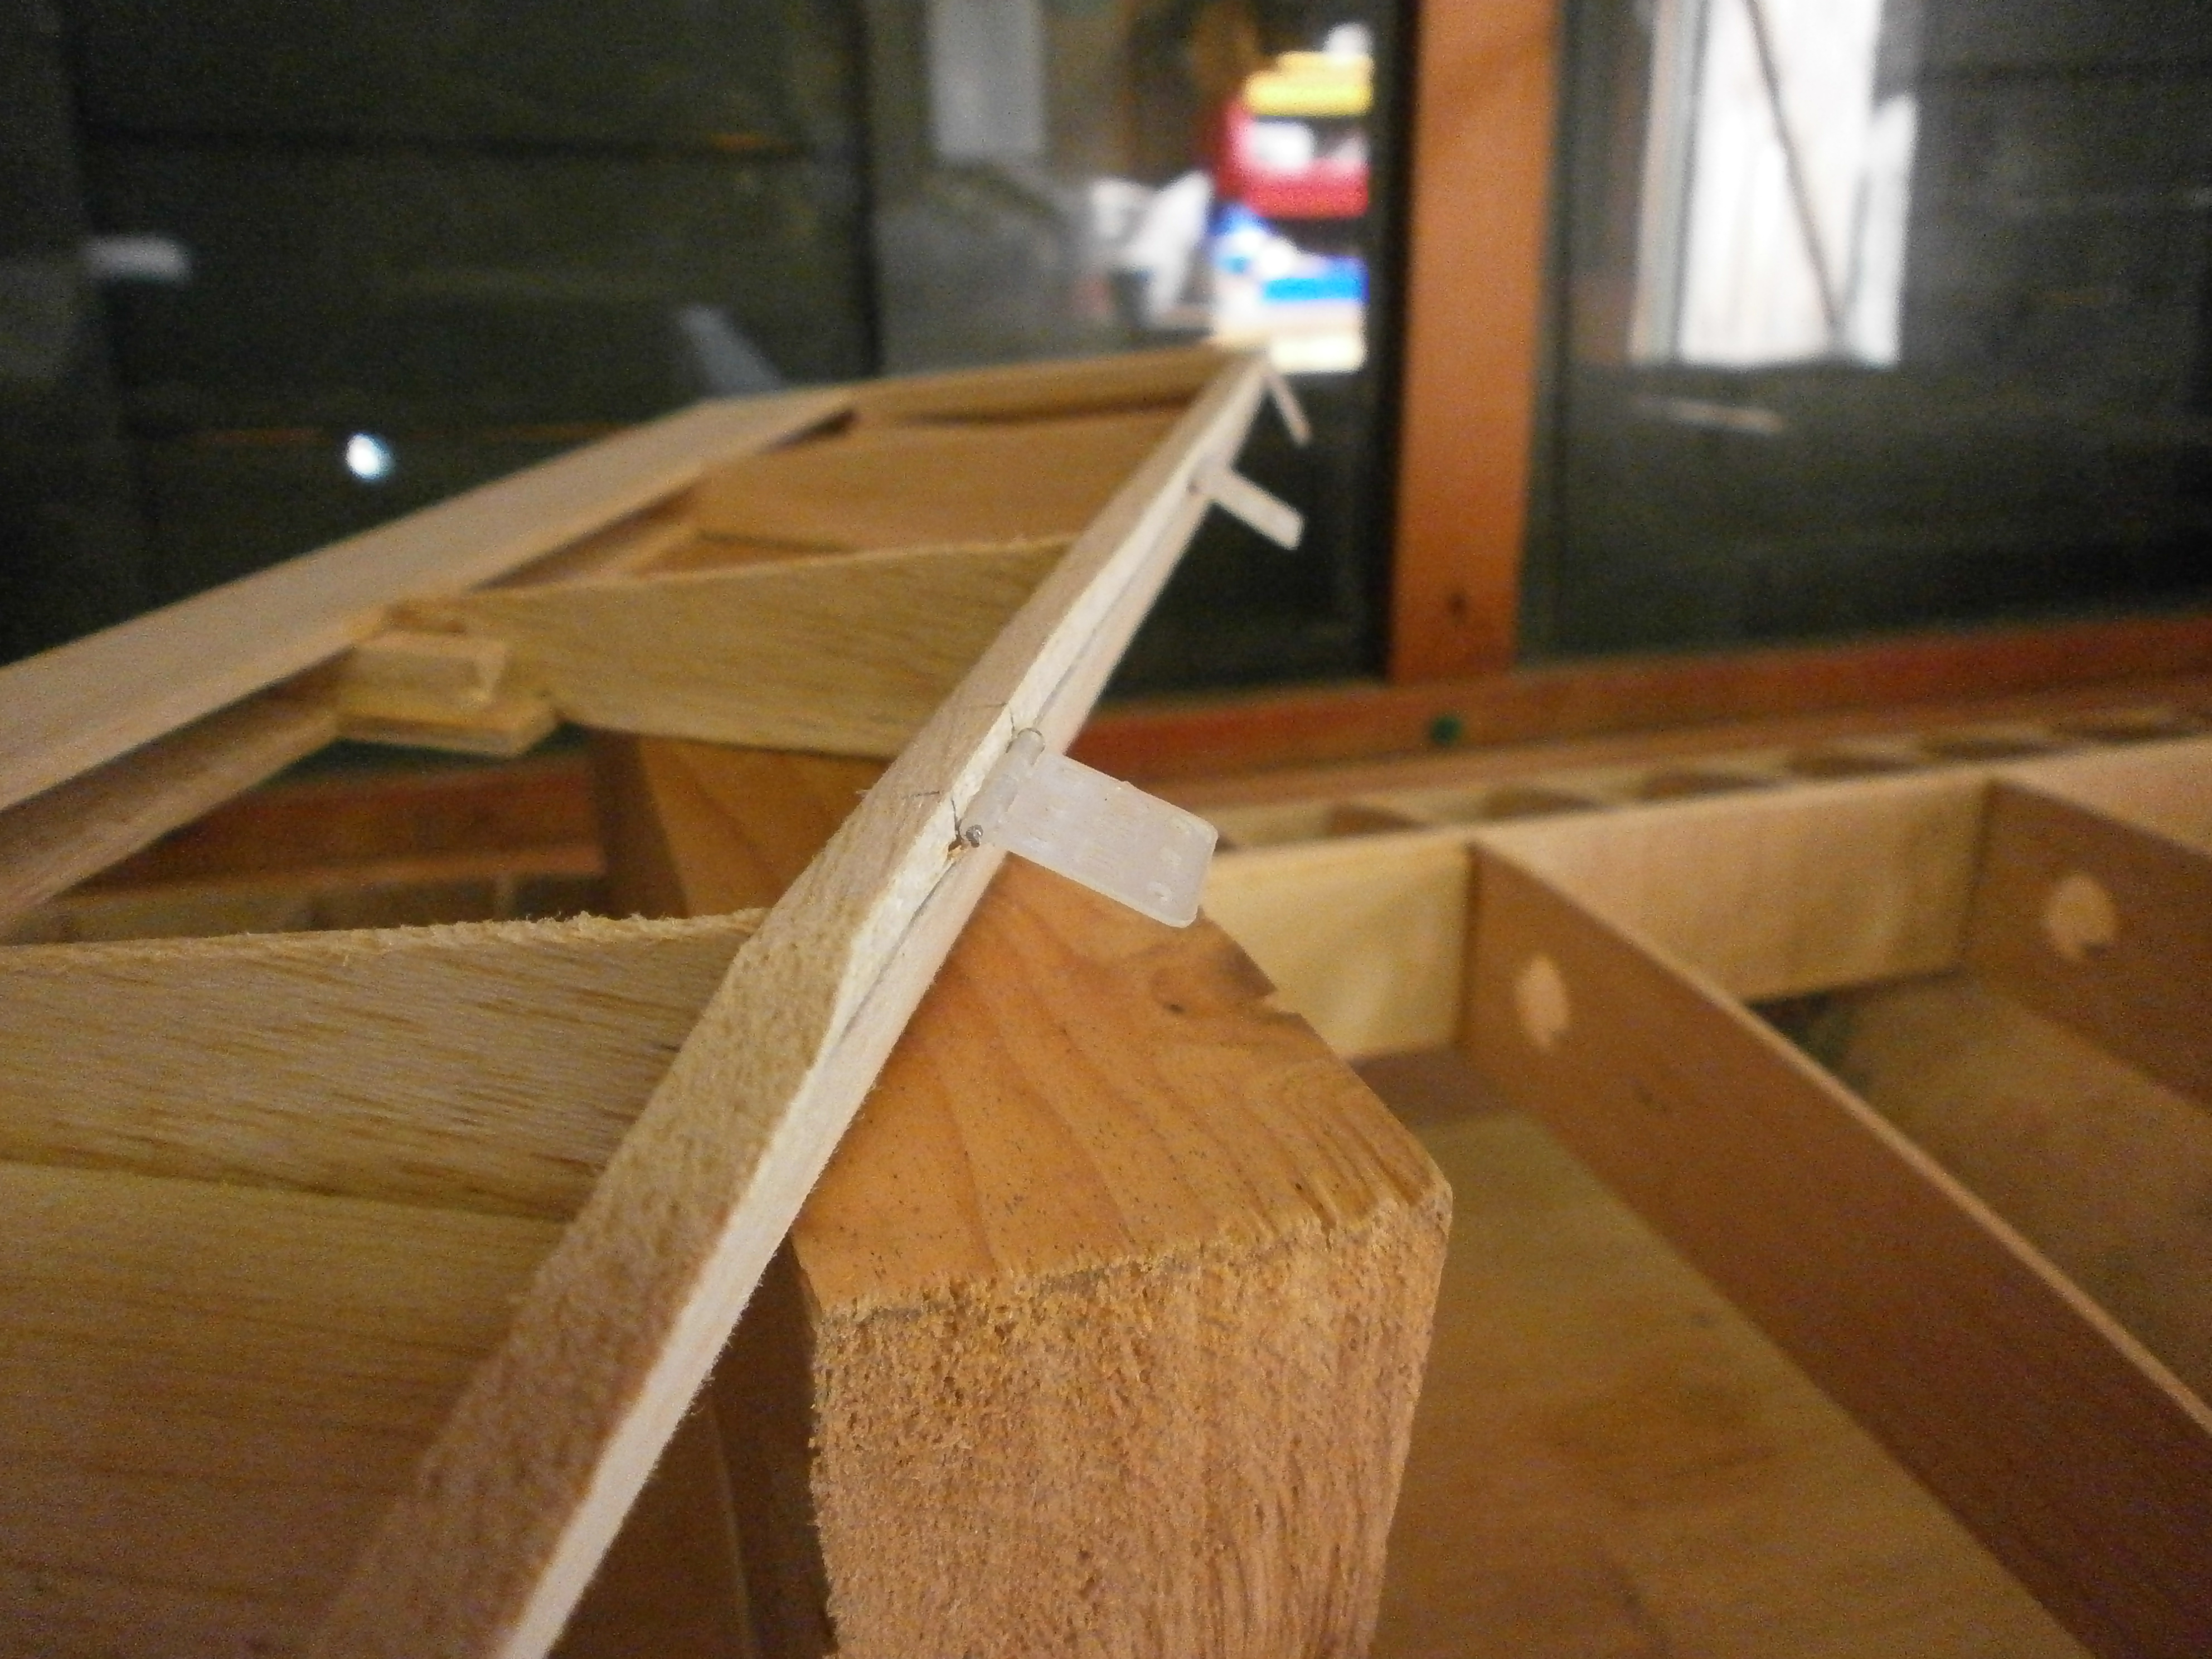
Once the hinges are located into the aileron, the aileron is then located into position on the wing, remembering to allow for the gap where the side of the aileron meets the wing rib and ensuring it is flush with the top of the wing. Marks are then transferred onto the wing and at each hinge the hinges are pressed onto the wing aileron spar. This leaves a nice indent identifying where the hinge slots will need to be cut. See pics 2 and 3 below
|
|
|
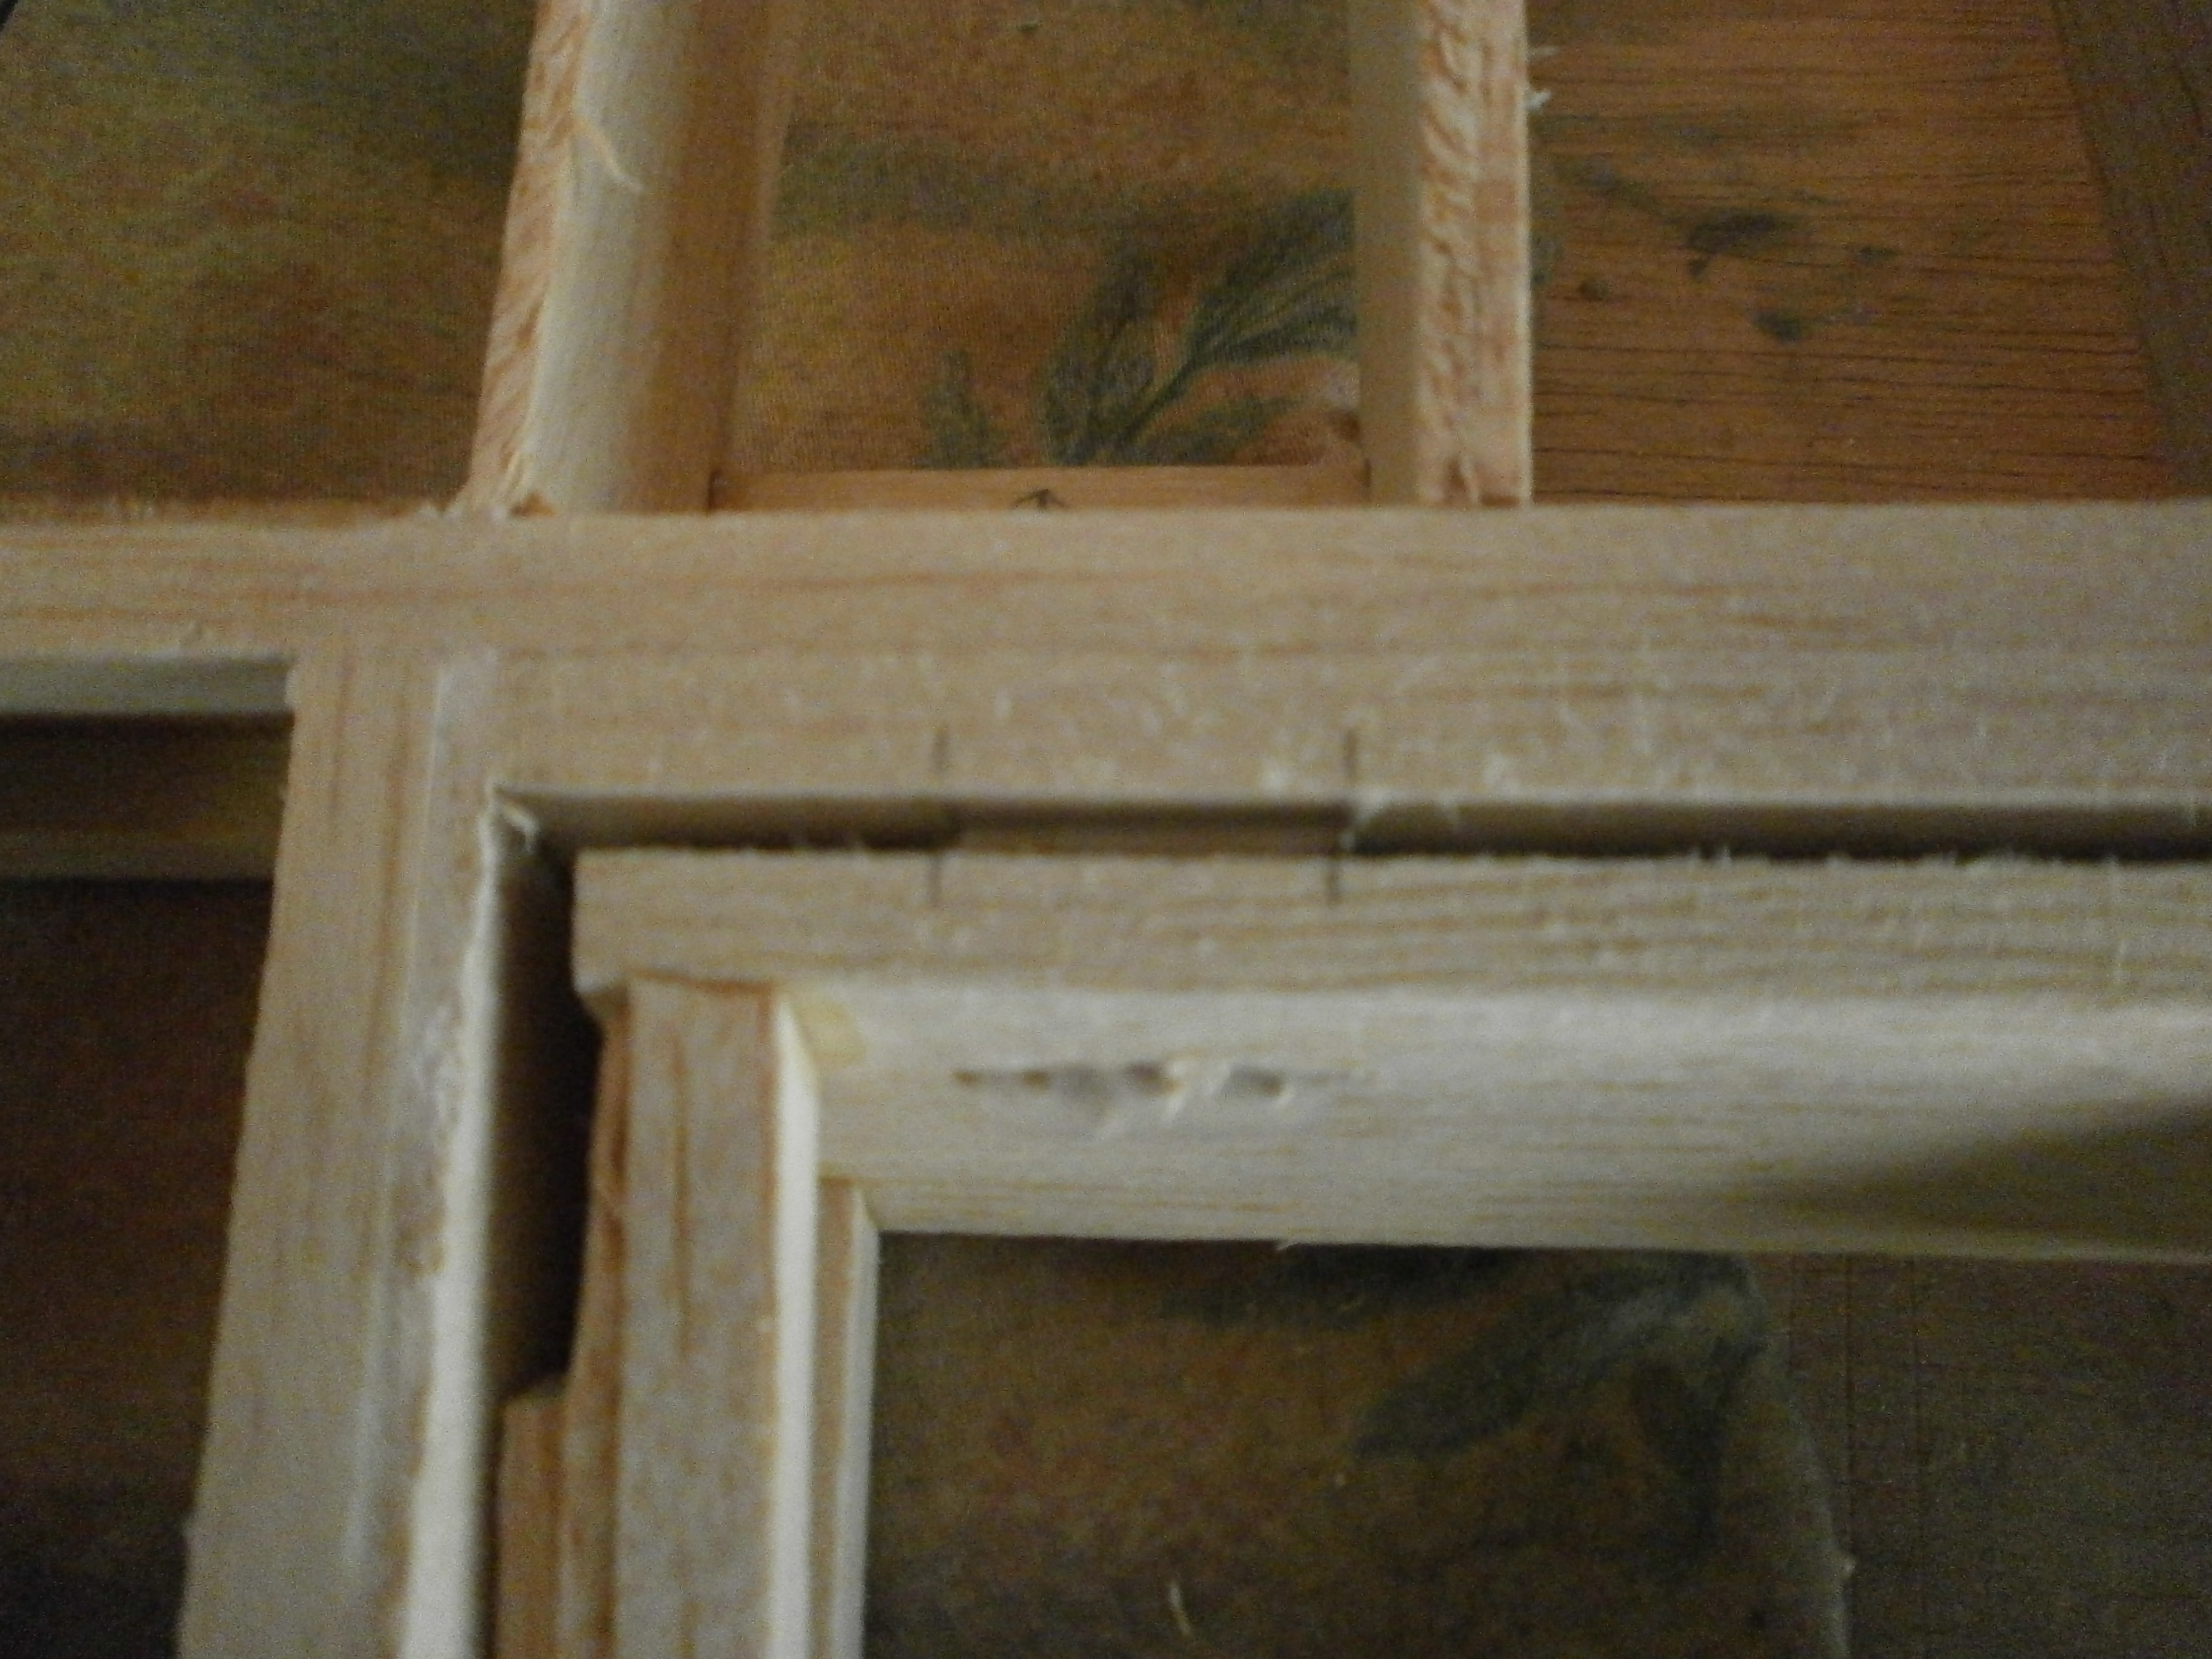
Once the marks are visible a straight line is drawn in the centre of then and again slots are pushed through at an angle as per the plan with the hinge slotting tool.
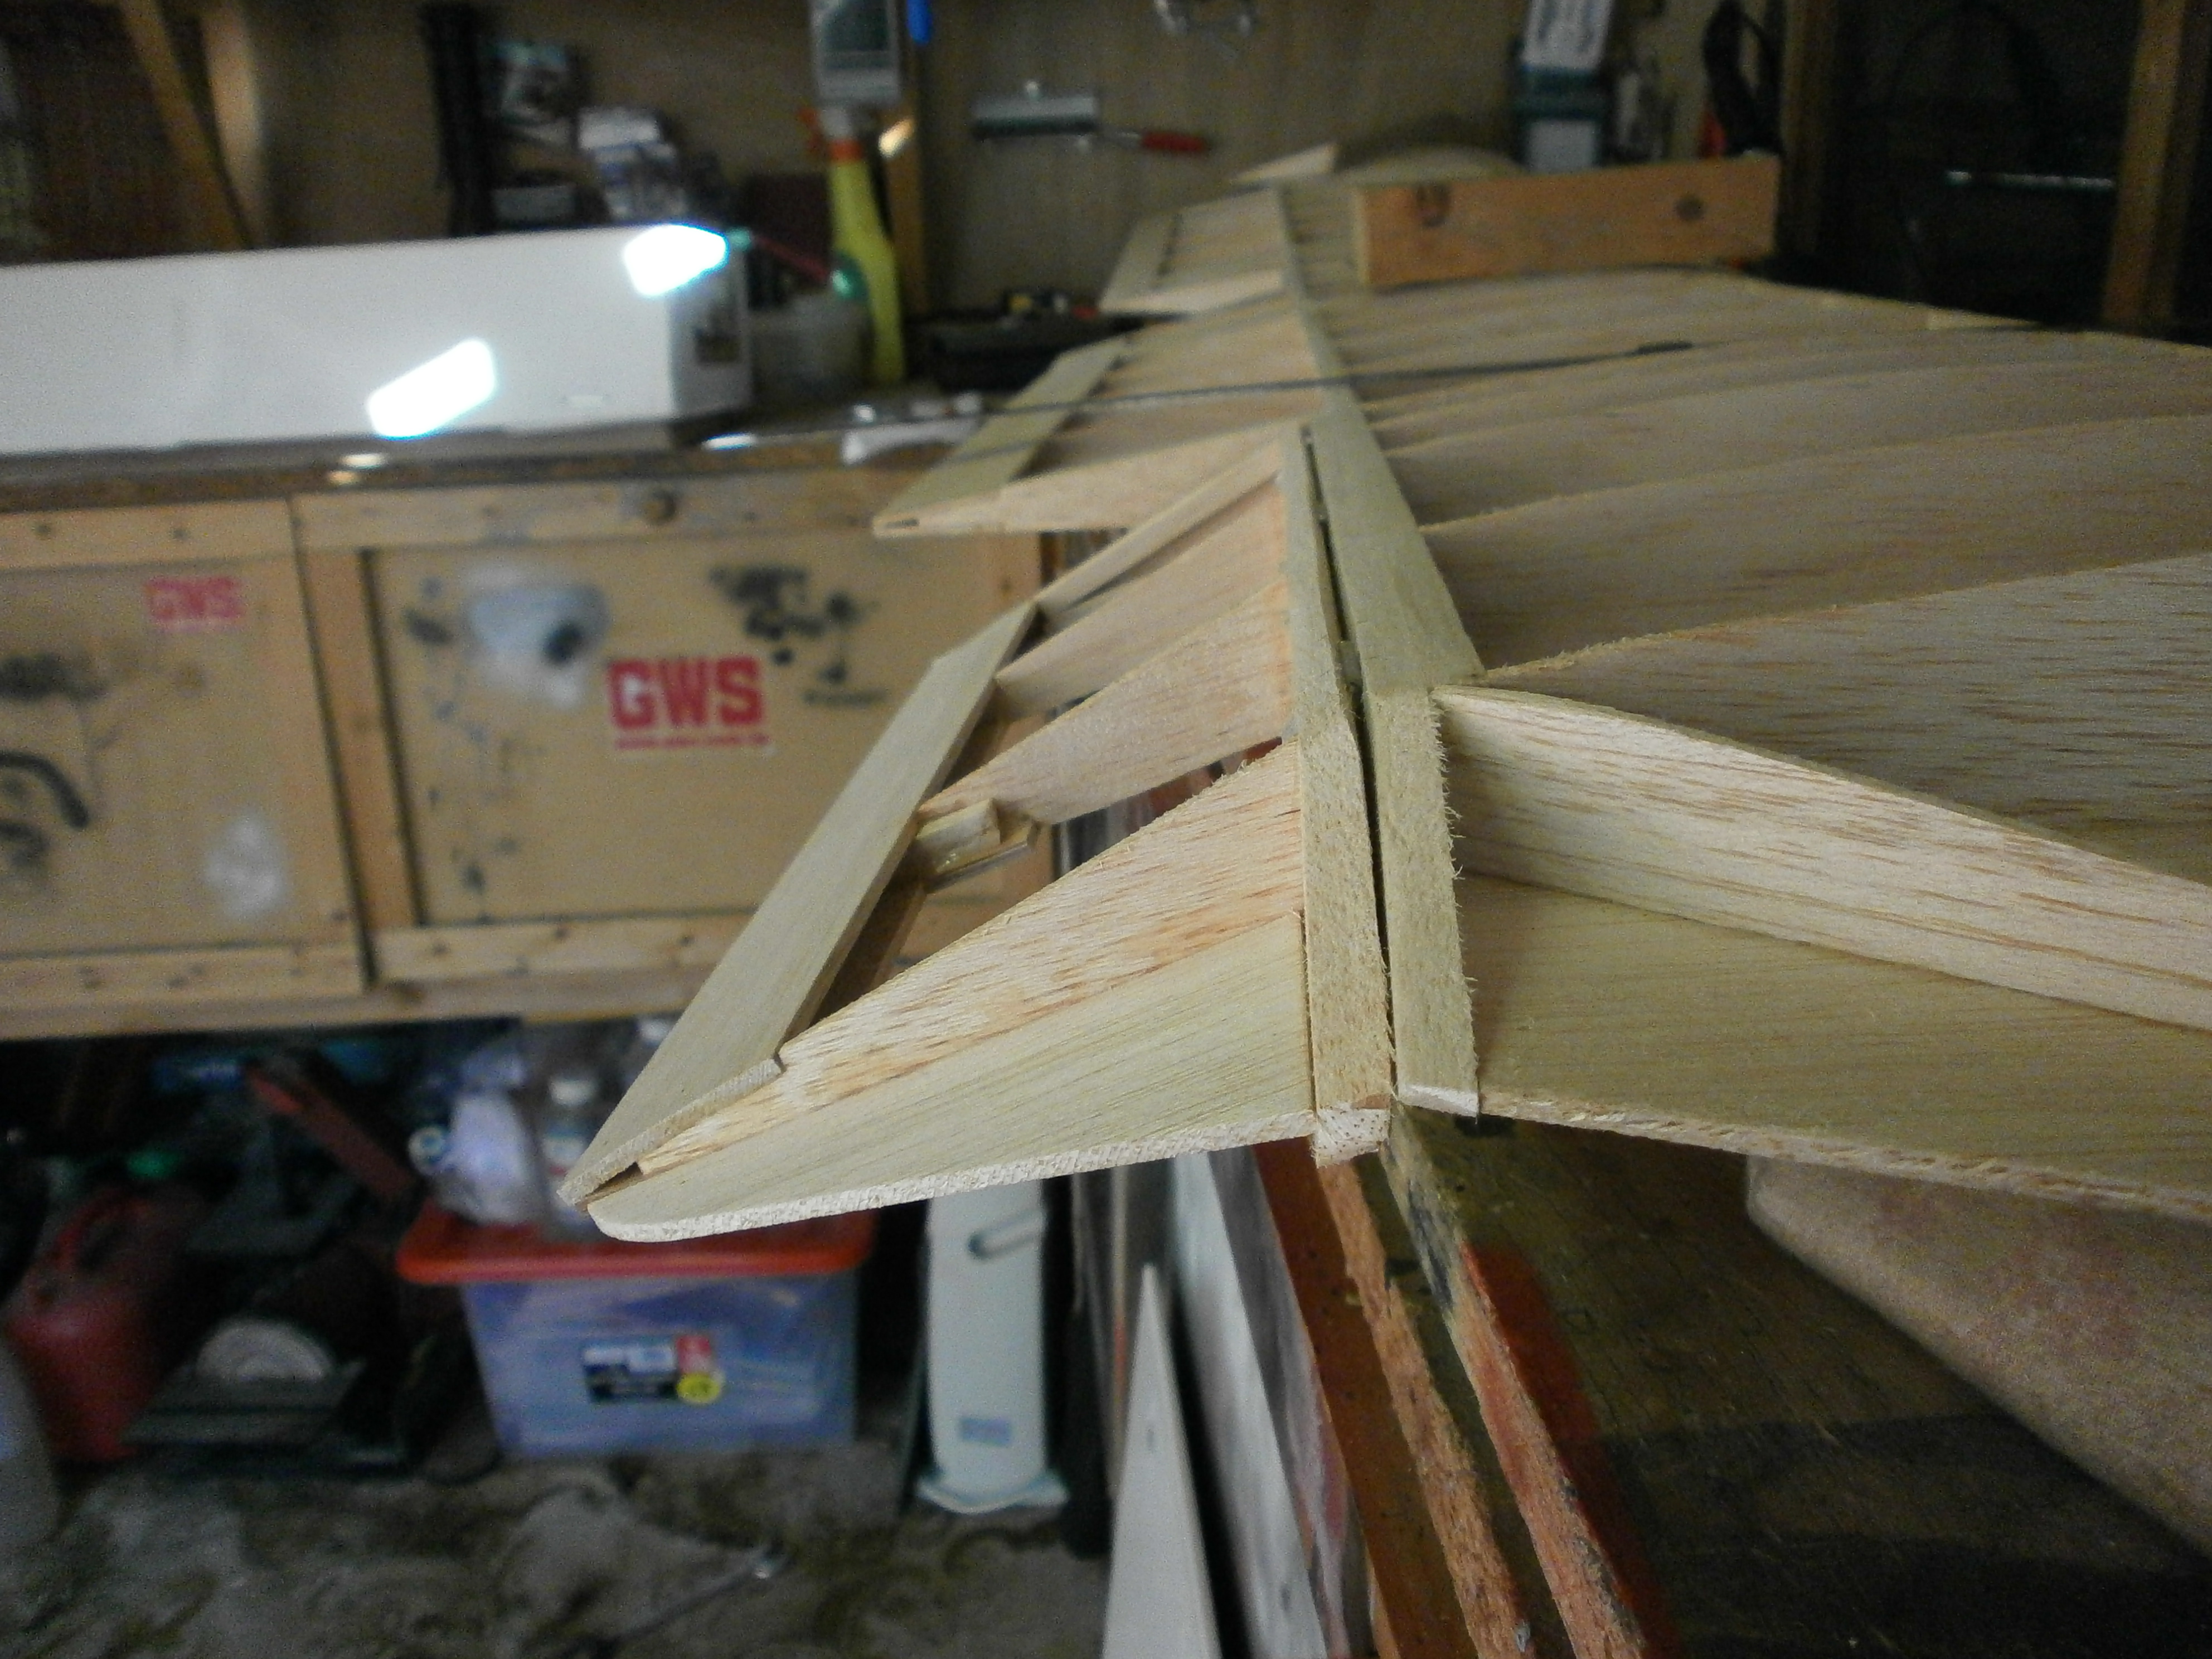
The final picture shows the aileron now in place Note the vertical angel cut into the aileron this will allow for unrestricted movement of the aileron stopping any potential binding.
|
|
|
Aileron installation video
Stabiliser Construction
Rudder construction
Fuselage Page
Struts & Control Linkages
Final Construction
Engine installation
Sopwith Page
Home page